Installing a herringbone backsplash involves preparing a clean surface, precise measurement, careful planning, and methodical tile placement. The herringbone pattern adds elegance and visual interest to any kitchen or bathroom, making it a popular choice among homeowners in Lowell, MA, and beyond. While the zigzag pattern may seem intimidating at first, breaking down the process into manageable steps makes it achievable even for DIY enthusiasts. This comprehensive guide will walk you through everything you need to know about installing a stunning herringbone backsplash that will transform your space and protect your walls for years to come.
Understanding the Herringbone Pattern
The herringbone pattern creates a distinctive “V” shape layout that has been popular in architecture and design since the Roman Empire era. This timeless pattern has made its way into numerous residential spaces due to its versatility and visual appeal. Before diving into installation, it’s important to understand what makes this pattern unique.
What Makes Herringbone Special
Herringbone tile backsplash creates an intricate pattern where rectangular tiles are placed at 45-degree angles to each other, forming a zigzag or V-shaped pattern. Unlike standard grid patterns, herringbone adds depth and movement to your space, drawing the eye across the surface and making even small areas appear larger.
Different From Standard Layouts
The herringbone pattern differs from standard grid patterns in several ways:
- Tiles are placed at angles rather than straight
- The pattern creates visual movement and energy
- Installation requires more precise cuts and planning
- The finished look offers more visual interest and complexity
Many homeowners choose herringbone backsplash tile for kitchen renovations because it brings character to the space while remaining timeless. The pattern works beautifully with various materials, including ceramic, porcelain, marble, and even brick for a more rustic appearance.
How to Measure for Backsplash
Start by measuring the width and height of each backsplash section. Multiply width by height (in inches), then divide by 144 to convert to square feet. Always add at least 10% extra for waste, as the herringbone tile backsplash produces more offcuts than standard patterns. Label each wall section (A, B, C), calculate their square footages, and sum them for your total tile estimate. These precise measurements are crucial for layout planning and ensuring your herringbone pattern backsplash lines up perfectly.

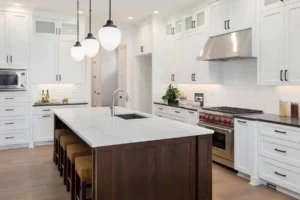
Benefits of a Herringbone Backsplash
Choosing a herringbone backsplash tile brings several advantages:
- Visual Interest: The herringbone pattern backsplash adds depth and movement, making any space feel more dynamic.
- Wall Protection: It shields walls from moisture, grease, and stains, especially in kitchens and bathrooms.
- Material Versatility: Works beautifully with ceramic, porcelain, marble, or even herringbone brick backsplash for a rustic look.
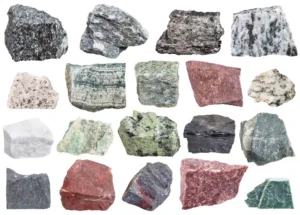
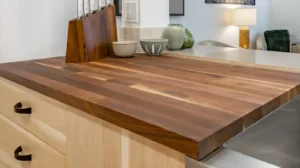
Material Selection
Tile Options: You can use ceramic, porcelain, natural stone, or mesh-mounted sheets for your herringbone tile backsplash. Mesh-mounted herringbone tiles speed up installation and help maintain pattern consistency.
Adhesive Choices: Thinset mortar is recommended for most installations, but mastic or specialized mats are options for dry areas.
Substrate Prep: Ensure your wall is flat, clean, and dry. Cement backer board is ideal for wet areas, while drywall works for dry zones.
Tools & Supplies Checklist
- Notched trowel (1/8″–3/16″ notch)
- Tile cutter or wet saw
- Tile spacers or leveling clips
- Chalk line or laser level
- Grout float, sponge, sealant applicator
- Safety gear: gloves, goggles, dust mask
Surface Preparation
Remove any existing backsplash and loose material. Repair and clean the substrate, ensuring it is flat and dry. If needed, install and tape cement backer board for stability and moisture resistance.
Layout Planning & Dry-Run
Mark the center of your backsplash area with intersecting horizontal and vertical chalk lines. Dry-lay the heringbone tile on a flat surface to preview cuts and pattern alignment. Use your measurements plus an extra 10% for breakage. This dry run helps you visualize the herringbone tile backsplash and plan edge cuts.
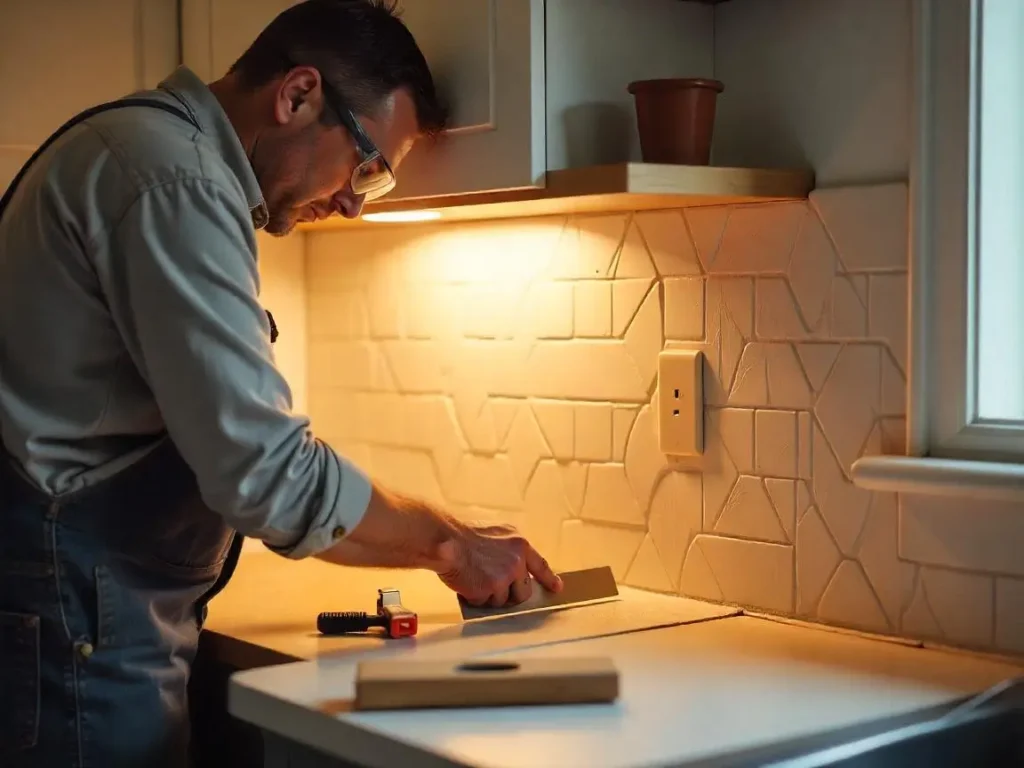
Step-by-Step Installation
Apply Adhesive
Spread thinset with a notched trowel at a 45° angle, working in small sections (2–3 ft²) to prevent premature drying.
Lay the First Tiles
Start at the intersection of your centerlines. Place the first tile corner-to-corner in the classic herringbone orientation. Use tile spacers or leveling clips to maintain uniform gaps.
Continue Pattern to Edges
Follow your dry-lay plan, maintaining consistent joint width. Check alignment frequently with a level to prevent pattern drift78.
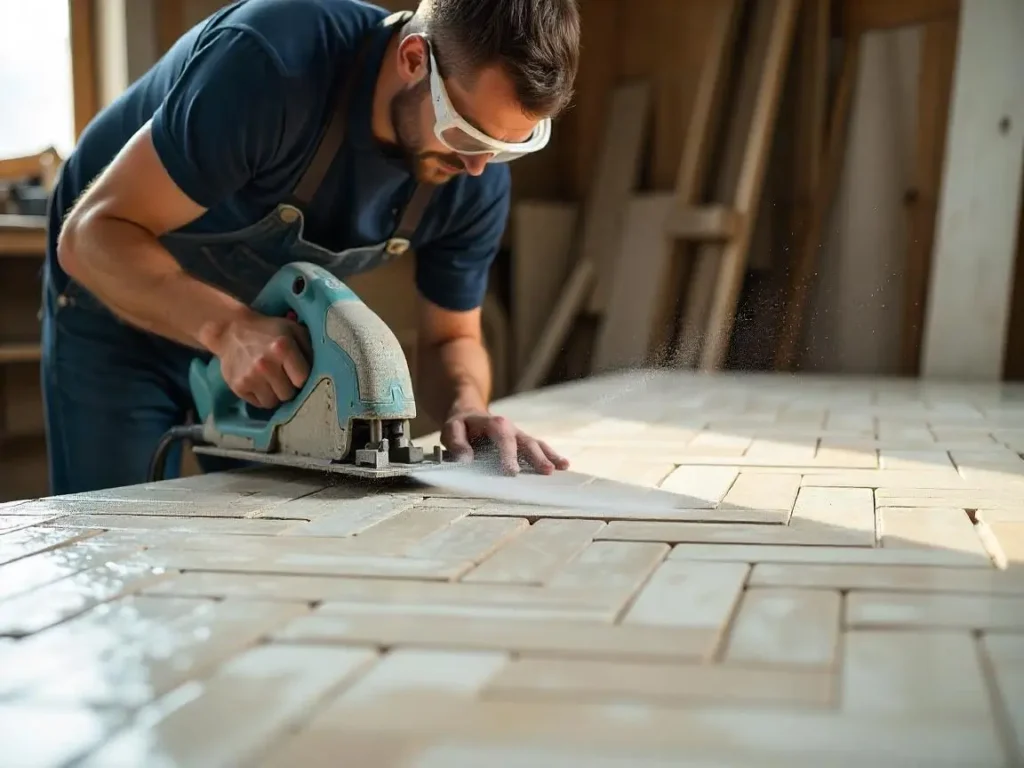
Cutting & Fitting Edge Tiles
Measure each edge tile, mark, and cut with a wet saw or snap cutter. Deburr sharp edges with a rubbing stone for a clean finish.
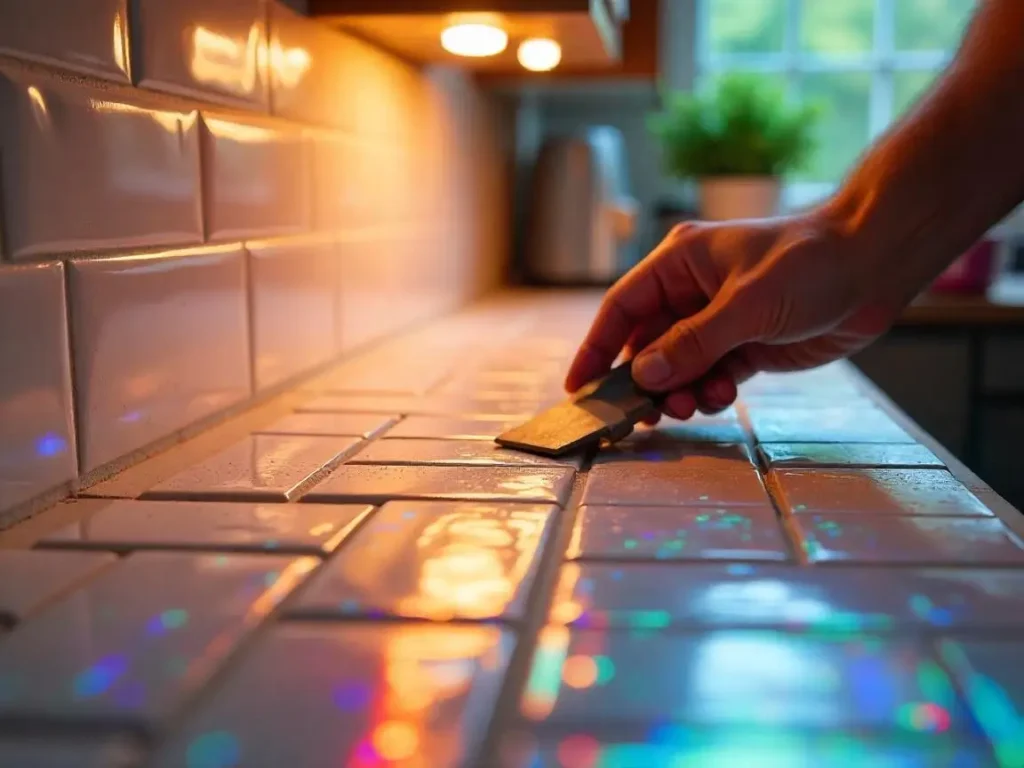
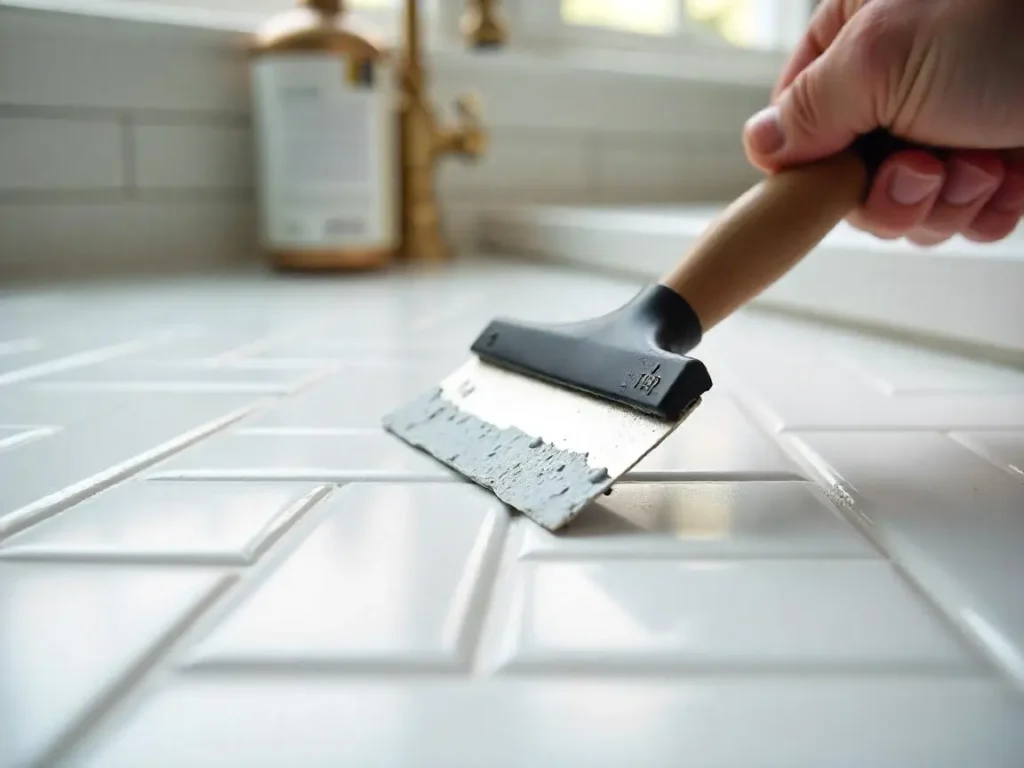
Grouting & Sealing
Allow the thinset to cure for 24 hours before grouting. Use a rubber float at a 45° angle to pack grout into the joints, then wipe away haze with a damp sponge. Once cured, apply a sealer to porous tiles and grout lines to protect from stains and moisture.
Finishing Touches
Remove all spacers and clean any remaining grout haze. Caulk the perimeter gap above the countertop (about 1/8″) for expansion. Buff the tile surface for a polished, professional look.
Post-Installation Maintenance
For daily care, wipe your tile backsplash with a mild cleaner and avoid abrasive pads. Re-seal grout and porous tiles annually or as recommended to keep your herringbone pattern backsplash looking fresh.
Safety Considerations
Ensure good ventilation when mixing materials. Always wear PPE-gloves, goggles, and a dust mask-when cutting tiles and handling adhesives.
Cost Estimation & Budgeting
Expect to pay $4–$8 per square foot for tile and $1–$2 per square foot for adhesive. DIY installation saves on labor, which typically runs $20–$50 per hour. Add a 15% contingency for upgrades and unforeseen issues.
Troubleshooting Common Issues
- Uneven Substrate: Use extra thinset to level, never force tiles.
- Lippage: Use leveling systems or adjust manually.
- Wide Joints: Opt for smaller spacers or adjust grout application.
Advanced Techniques
Mesh-mounted sheets can speed up installation by providing pre-assembled herringbone sections. For a custom look, consider combining herringbone with straight-lay borders or mixing tile colors and materials.
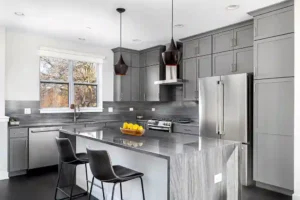
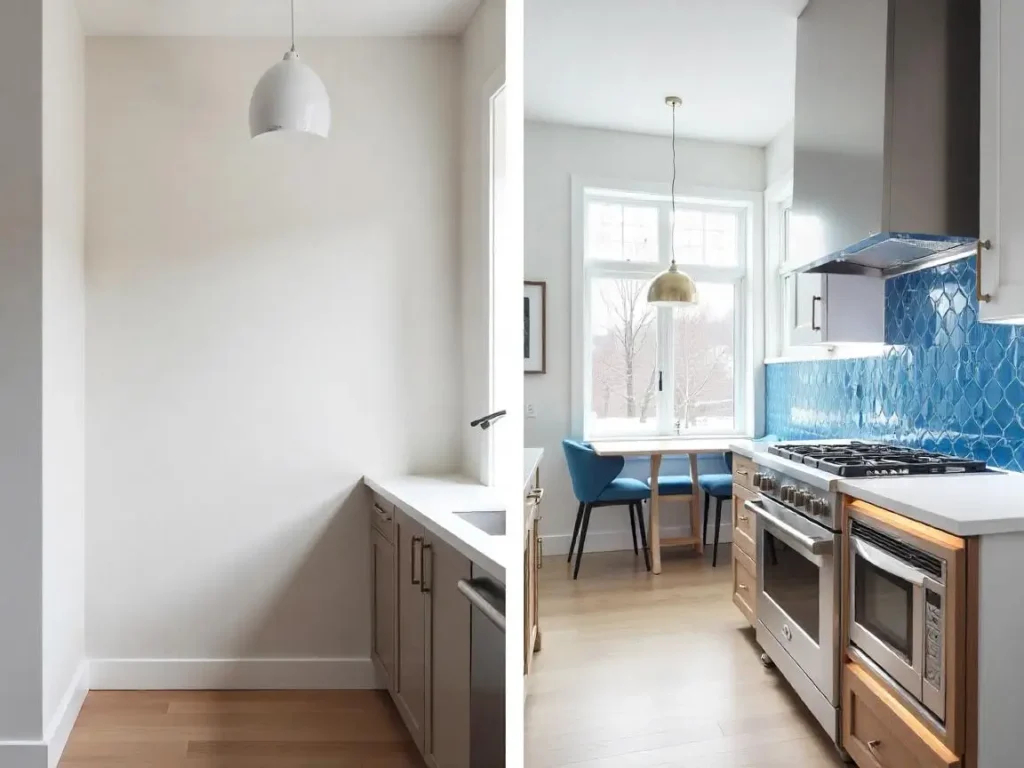
Elevate Your Kitchen with SF Marble & Granite in Lowell
At SF Marble & Granite, we know your home is more than just a space-it’s where memories are made. That’s why our backsplash installation in Lowell is tailored for you, whether you’re living in a charming Victorian or a sleek modern condo. As your local experts, we blend our 10+ years of experience with a deep understanding of Lowell’s unique architecture and style preferences. From classic marble to contemporary granite, our team delivers craftsmanship you can trust and results you’ll love. Let us help you transform your kitchen into a space that truly feels like home-contact us today for a personalized, professional touch
Final Thoughts
As a professional in the marble and granite industry, I can confirm that a herringbone tile backsplash-whether using ceramic, porcelain, or even a herringbone brick backsplash-offers unmatched style and durability. At SF Marble & Granite Inc., we recommend this pattern for homeowners and contractors looking to elevate any kitchen or bathroom. The process requires patience and precision, but the results are truly stunning and timeless.
If you’re in Lowell, MA, and want a flawless herringbone pattern backsplash or expert advice on material selection, SF Marble & Granite Inc. is here to help. Our experience ensures your herringbone backsplash tile installation is seamless, beautiful, and built to last. Contact us today!
FAQs
Can I install over existing tile?
Yes, as long as the old tile is firmly bonded and clean. Use a suitable primer before tiling.
What tile size works best for herringbone?
2″×6″ or 3″×6″ subway tiles are standard; larger tiles will create a bolder herringbone pattern backsplash.
How do I fix uneven tiles (lippage)?
Use leveling clips during installation or grind down high edges after curing.
How long does the project take?
Typically 3–4 days: prep (1 day), tile (1–2 days), grout/seal (1 day).
What’s the best way to clean grout haze?
Wipe with a damp, non-abrasive sponge within 10–15 minutes of grouting to prevent buildup.