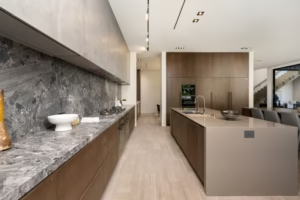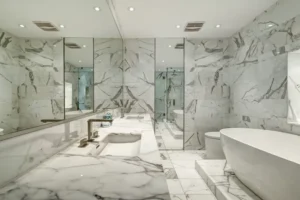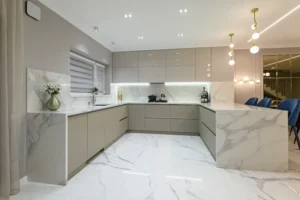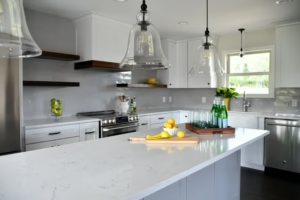

A dark flat wall in the kitchen doesn’t do your counters any favors and you notice that most at nite when the only light is coming from the fridge. You’ve certainly scrolled past images of sparkling onyx counters or backsplashes with a soft LED edge and wondered whether that appearance is reserved for designer kitchens. It doesn’t. The short answer is that installing backlit backsplash is a five-step process. Sketch out your design, prep the wall, run wiring for an LED strip behind a translucent panel, attach the backsplash material and then seal and test each connection. None of these processes need an electrical engineering degree, but a number of them do reward patience.
This guide will take you through a backlit backsplash project step-by-step, from choosing a translucent stone or glass panel to carefully wiring the LED strip beneath the panel. We look at choices of materials, the most common mistakes made by first time installers and how to keep the lights in good working order for years to come. By the end you’ll know what a backlit backsplash install really entails and if it’s a weekend effort, or one to hand off to a specialist.
Planning Your Backlit Backsplash Installation
Every good install starts on paper, not on the wall. Measure the backsplash area first: width, height, and any outlets or switches that break up the space. Those measurements decide how many LED strip runs you’ll need and where the seams in your panels will land.
Next, think about your power source. A backlit backsplash needs a low-voltage LED driver, and that driver needs to sit somewhere accessible, usually inside a cabinet near an outlet. If your kitchen doesn’t have a nearby outlet, you’ll need an electrician to add one before panel work starts.
Budget for both the material and the lighting kit as separate line items. A led backsplash setup with a driver, dimmer, and strip lighting usually adds a few hundred dollars on top of the backsplash material itself. Skipping this step is why so many DIY plans stall out halfway through.
Decide early whether you want a full backlit wall or just an accent strip along the counter edge. A full wall gives the strongest glow and works best behind stone or glass with even translucency. An accent strip costs less and still adds a nice touch of light without the wiring complexity of a full panel run. Sketch both options on paper before you commit, since switching mid-project means redoing your material order.
Materials You’ll Need Before You Start
It is essential to have all the materials needed for the project at hand to avoid the inconvenience that may arise from their unavailability
Lighting Components
It is paramount to purchase premium waterproof LED strips for indoor applications. Buy the required power supplies, controllers if any, the necessary connectors, aluminum channels, and diffusers to protect the LED strips from dust and water. Aside from providing the desired amount of brightness, the accessories mentioned will offer more significant lighting and protect the LED strip.
Surface Materials
It is essential to purchase surface materials that allow the passage of light since they will define the theme of the backsplash, apart from protecting the LEDs from the weather.
Preparing the Wall Surface
The wall should be prepared by removing the old backsplash and any adhesive material that may have been left on it. It is essential to fill any holes and cracks with putty and ensure the wall surface is free from oil. It is advisable to lay the new wire on the surface before installing the surface materials. Most homeowners hire a professional electrician to lay the wire to avoid electrical faults.
Installing the LED Lighting System
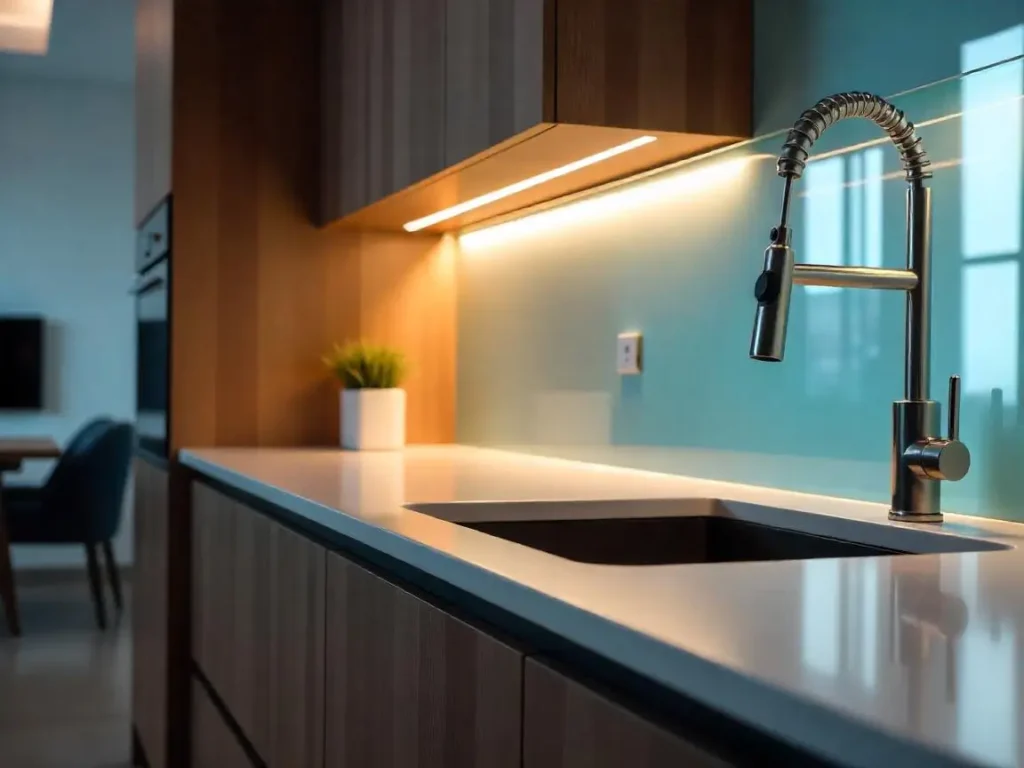
This is the step that separates a backlit backsplash from a regular one, so take your time here. Start by mapping where your LED strip channel will sit, usually along the top and bottom edges of the panel area, or in a full grid pattern behind translucent stone.
Mount the aluminum channel to the wall using the adhesive backing or small screws, then press the LED strip into the channel. Connect the strip to your driver using the supplied connectors, and test the lights before you cover anything with backsplash material. This single check saves hours of rework later.
Route the driver’s power cord to your nearest outlet, keeping it away from any water source. Kitchens near a sink or cooktop call for splash-rated components, so look for an IP65 rating on your LED strip and driver.
If you’re asking how to backlight a stone or glass panel specifically, the answer is light diffusion, not just placement. A diffuser layer between the LED and your translucent material spreads the glow evenly instead of leaving visible dots or hot spots.
Choosing LED Color and Controls
Warm white, around 2700K to 3000K, suits most kitchens since it matches typical cabinet and under-counter lighting. Cool white, closer to 4000K, works better with modern stone like quartzite or gray onyx. Color-changing RGB strips cost more but give the most flexibility for different moods or occasions.
A simple on/off switch works fine for a subtle accent strip, but most homeowners end up wanting a dimmer. Dimmable drivers cost a bit more upfront and let you turn the glow down for everyday cooking or up for entertaining. Smart controls that connect to a phone app are available too, though they add another layer of setup and aren’t necessary for the backsplash to work well.
Installing the Backsplash Panels
It is vital to use the proper trowel when applying adhesive. It will help ensure the bond is correct; hence, no gaps. The adhesive bond must be applied on the wall surface and materials being mounted. The mounting material is then placed in the desired place, leaving space between them. One has to take their time when applying the adhesive to get the best finish. It will enable the LEDs fitted earlier to provide the best illumination of the desired surface.
It becomes vital to allow the adhesive to cure before applying the grouting material. It will help prevent bonding of the two materials, hence making removal difficult if they stick together. One can then proceed to grout the surface, fill the gaps, and remove the excess to expose the wall surface. The professionally installed LED backsplash will then create the best effect even at night.
Choosing the Right Material for Your Space
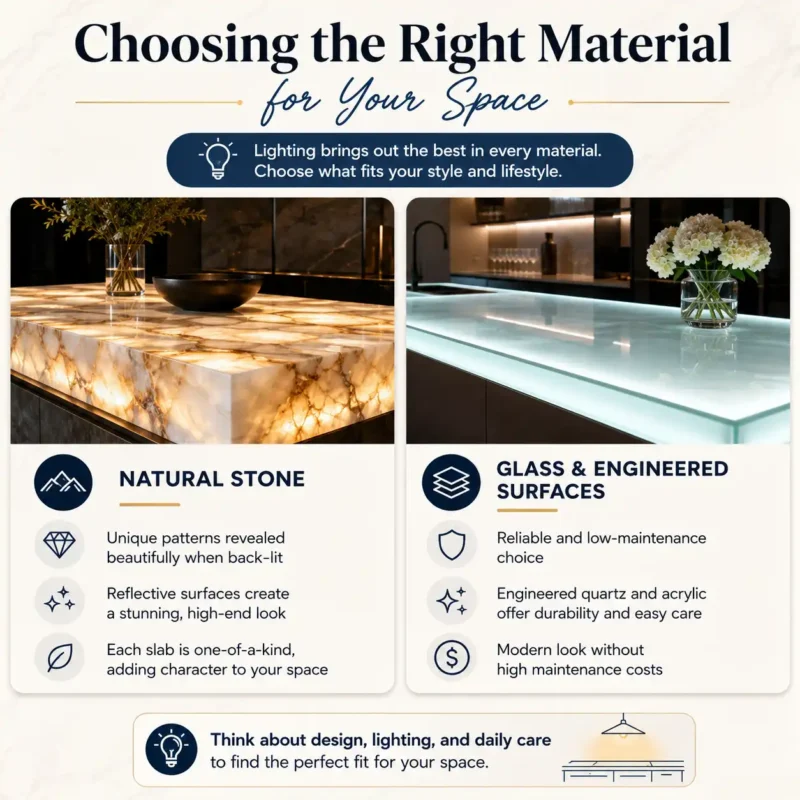
The lighting effect of each material is unique, so be sure to consider design and care factors when making your choice.
Natural Stone
Natural onyx and translucent marble are exceptionally well-suited for dramatic lighting treatments due to their reflective surfaces. A good base of lighted stone certainly is an investment, but the lighted patterns and colors of the stone are so beautiful. Each slab is unique and has its own pattern, which is revealed when back-lit, enhancing the beauty and diversity of the room, making it a highly sought-after item.
Glass and Engineered Surfaces
Frosted glass is a perfect choice due to its reliability. If you want to ensure that the lighting will not fail at a certain point, this option would be the best to choose, since there is no need to worry about its maintenance. Engineered quartz and acrylic are more maintenance-friendly, so that people who are going to work in the place would have an easy time managing them after the installation is completed. Moreover, the latter two materials have a very attractive appearance; therefore, they are worth considering since they will allow you to enjoy the modern image without spending too much money.
Avoid These Common Installation Mistakes
Regret #1: Not doing the light test before sealing panels. Once the adhesive sets, there’s no quick remedy for a dark spot or flashing connector without peeling the panel back off.
Another common problem is using the improper LED voltage. If you mix a 24V strip with a 12V driver, or vise versa, you’ll get low lighting or a burned out strip within weeks. Before you buy anything, match your components.
Ventilation and heat near cooktops also lead to early LED failure if overlooked. Keep strips a few inches away from direct heat sources, and consider driver location that enables some air flow.
Lastly, rushing the wall prep shows up later as shadows behind the panel. A little uneven wall may not matter for a basic backsplash but it will be visible through the material if light comes through.
Upkeep Tips for Extended Performance
Wipe panels down with a soft cloth and a mild, non-abrasive cleaner. Avoid ammonia-based products on stone or acrylic, since they can dull the finish over time.
Check your driver and connections once or twice a year. Loose connectors are the most common reason an LED backsplash starts flickering, and a quick reseat usually fixes it.
Replace LED strips every 5 to 8 years depending on use, even if they still work, since brightness fades gradually and unevenly across a run. Keeping a spare driver on hand isn’t a bad idea either, since they’re cheaper to swap than to troubleshoot mid-dinner-party.
How Much Does It Cost to Install a Backlit Backsplash?
A backlit backsplash generally runs $60 to $150 per square foot installed, based on material and wiring complexity. Translucent stone like onyx sits near the top of that range, while glass panels with LED strips cost less. Most kitchens land between $1,800 and $4,800 total.
Labor makes up a good chunk of that number, especially if an electrician needs to run new wiring. Dimmer switches, smart controls, and color-changing LEDs add cost too. If you’re comparing quotes, ask what’s included in the wiring and whether the driver and transformer are covered in the price.
Transform Your Kitchen Lighting with Lowell’s Trusted Experts
At SF Marble & Granite, we bring more than just skill we bring local insight. With years of experience in backsplash installation in Lowell, we understand the charm of classic New England homes and the clean lines of modern builds. Whether your kitchen leans traditional or contemporary, we’ll customize every detail to fit your style perfectly. Trust a team that knows your neighborhood as well as we know stone.
Conclusion
An illuminated backsplash can become the highlight of your home while providing all the benefits that the LED strip can offer, but it is vital to pay special attention to the materials and prepare the surface for the strip before proceeding to ensure the quality of the project. With the right preparation, you will be able to enjoy the spectacular effect of the new backsplash with beautiful lighting in no time. Contact SF Marble & Granite Inc. for a free consultation let’s bring light to your kitchen!
FAQs
How long does it take to install a backlit backsplash?
A typical backlit backsplash installation takes two to four days from wall prep to final sealing. DIY timelines run longer, often a full week, once curing time and troubleshooting are factored in. Professional crews usually finish faster since they handle wiring and cutting simultaneously.
Curing time for adhesive and sealant adds another day or two before the lights should run at full brightness.
Can I install LED backsplash lighting myself?
Yes, installing LED backsplash lighting yourself is possible if you’re comfortable with basic wiring and have access to a nearby outlet. The strip and driver installation itself is straightforward. Cutting and mounting stone or glass panels is the harder part, and that’s where many DIYers bring in help.
If your kitchen needs new electrical wiring rather than just a driver hookup, an electrician should handle that portion regardless of your DIY comfort level.
What’s the best backsplash material for LED backlighting?
Backlit onyx offers the most dramatic glow due to its natural translucency and veining, making it the top pick for a statement wall. Frosted glass panels are a close second, offering even diffusion at a lower price point. Acrylic works well for budget-conscious projects but shows more wear near heat.
Your choice ultimately depends on budget, since onyx costs roughly two to three times more than glass or acrylic per square foot.
Do backlit backsplashes use a lot of electricity?
No, LED backsplash lighting uses very little electricity, typically 5 to 15 watts per linear foot of strip. Running it for several hours a day adds only a few dollars to a monthly electric bill. LED strips are far more efficient than older halogen or fluorescent lighting options.
Choosing a dimmer control can cut that usage even further, since most kitchens don’t need full brightness for everyday tasks.