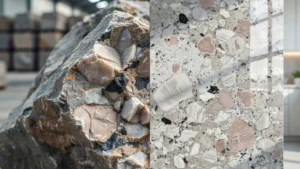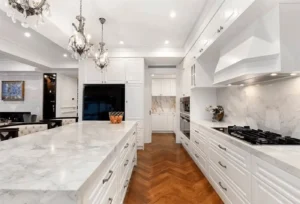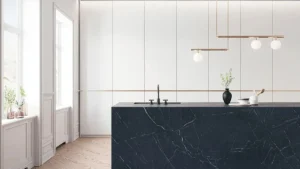
A shine on the floor tends to vanish over time, yet marble adds a soft grace to spaces. Formed far beneath the earth, every piece carries swirls no factory can mimic. Even so, regular walking slowly grinds away at its top layer. Liquid left sitting seeps through small openings, muting reflections that used to spark. Week after week, tough cleaners eat at the shine, leaving surfaces duller each time. Before long, once-bright floors fade – much like pictures left too long on a windowsill.
Turns out, getting that glow back on marble floors doesn’t take miracles. Step by step, dull spots begin to soften – patience does most of the work. When scratches appear deep, effort still wins through careful technique. Little changes grow clearer with each round of proper cleaning. Not sudden, never flashy, progress builds only when routine holds firm.
Table of Contents
ToggleUnderstanding Why Marble Floors Become Dull
Little bits of grime build up slowly, scraping the smooth layer whenever someone walks across. Spills from everyday things – like soda, brewed coffee, or even some cleaners – eat into the stone, creating flat spots where light won’t reflect. Washing too often with harsh liquids strips away the gleam just as easily.
Marble demands attention, so knowing what steals its shine matters most. A surface kept clean stays bright – simple habits make a difference here. Over time, how it’s treated decides whether gloss lasts or fades fast.
Signs Your Marble Floor Needs Polishing
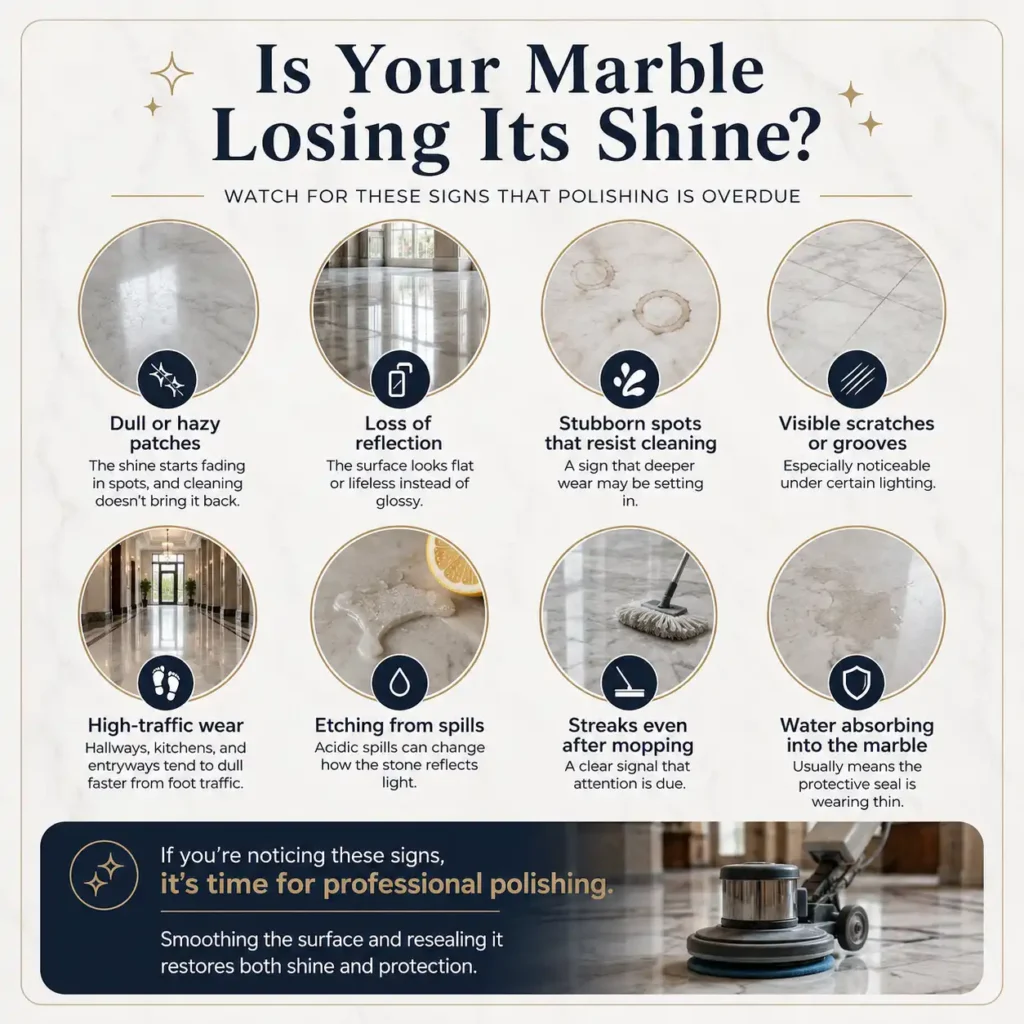
A marble floor keeps its glow unless something shifts beneath the surface. Watch for these signs that polishing is overdue:
- Dull or hazy patches – The shine starts fading in spots, and cleaning doesn’t bring it back
- Loss of reflection – The surface looks flat or lifeless instead of glossy
- Stubborn spots that resist cleaning – A sign that deeper wear may be setting in
- Visible scratches or grooves – Especially noticeable under certain lighting
- High-traffic wear – Hallways, kitchens, and entryways tend to dull faster from foot traffic
- Etching from spills – Acidic spills can change how the stone reflects light
- Streaks even after mopping – A clear signal that attention is due
- Water absorbing into the marble – Usually means the protective seal is wearing thin
If you’re noticing these signs, it’s time for professional polishing — smoothing the surface and resealing it restores both shine and protection.
Tools and Materials Required for Marble Floor Polishing
Before anything gleams, gather each item one at a time. Using only products made for marble cuts the danger while wiping down. Tools chosen with care guard stone faces ahead of buffing.
Essential supplies include:
- Soft microfiber mops and cloths
- pH-neutral marble cleaner
- Marble polishing powder or polishing cream
- Soft polishing pads
- Spray bottle with clean water
- Marble sealer
- Safety gloves and protective eyewear
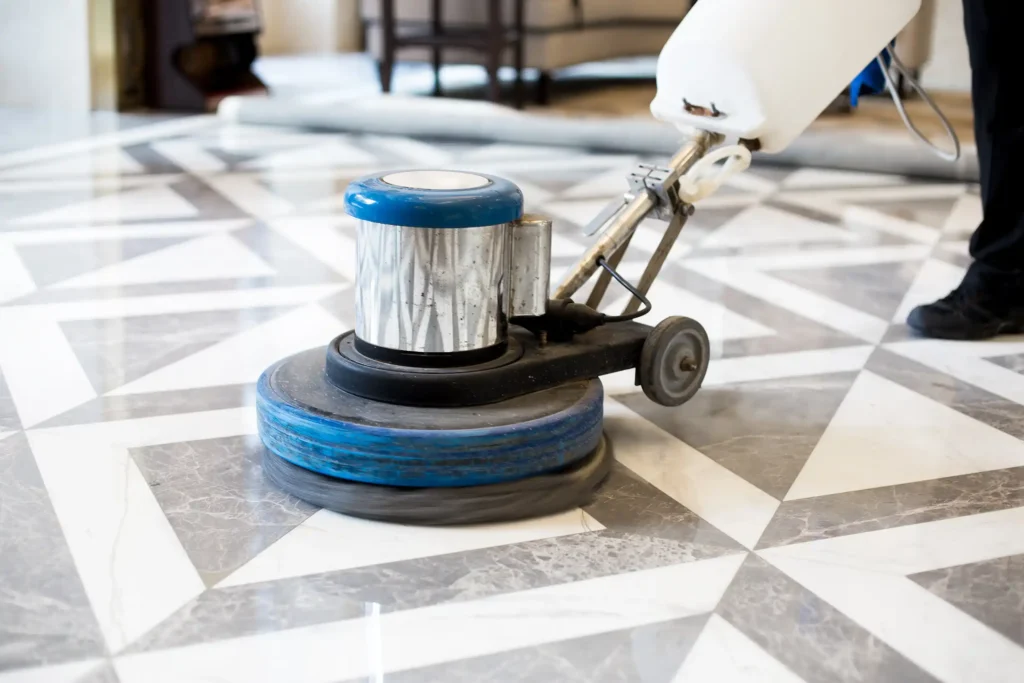
Bigger rooms might lead some to rent a machine that buffs floors. These strong tools often speed things up, particularly when the surface has seen heavy use.
Wrong tools can mar the surface. Yet proper gear ensures a smooth finish while keeping the stone safe from scrapes. How you handle it weighs just as heavily as the tool in your hands.
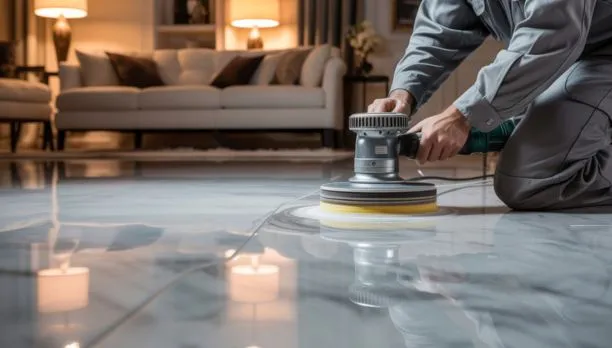
Marble Floor Polishing Steps
Start slow when shining marble – rushing risks scratches. A careful pace spots flaws early. Sequence matters more than speed for restoring shine safely.
Polish the marble with the compound
Pick a polish made just for marble – safe and meant for natural stone. A little goes on, following what the maker says.
Start by wiping the surface gently with a wet microfiber cloth, moving in loops. Over here, blend the polish slowly into the stone’s face. One spot gets full attention before shifting nearby. This way, each patch looks smooth when done. Round after round, keep the motion steady across the tile.
Start by tackling faint marks, small scrapes, or flat areas that steal shine. The process clears those blemishes, bringing back a smooth glow across the surface. Finish reveals a cleaner look, one where light moves freely again.
Buff the Floor
That little shine job often gets ignored, yet matters more than people think. For small areas, a light wipe using a cloth does the trick just well. Larger zones tend to require a spinning tool set at low speed for proper results.
Smooth circles matter more than speed when guiding your palm across the rock. Not pressing deep, but flowing just above, helps shine rise naturally. Rather than rush through motions, allow each pass to connect softly into the next. Hard pressure risks scratches, where softness keeps clarity alive. Over time, patience shapes results far better than strength ever could. Finish comes not from effort, but from quiet repetition.
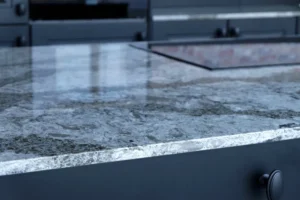
Beyond just cleaning, a careful polish brings tired marble back to life. Fresh sheen returns when surface grit gets lifted slowly. Hidden glow shows up after fine abrasives work their way across. With steady passes, dullness fades into smooth depth. Light catches differently once micro-scratches disappear. The stone looks alive again through patient refinement.
Rinse and Seal
Once done buffing, wipe away leftover dust using a fresh wet rag. The surface should then get a full wash followed by ample time to air dry.
Once dry, apply a solid marble sealer by brushing it on. Moisture can’t get through, so spills won’t leave marks. Over months, that means fewer problems show up. A glossy surface holds its shine much better with sealing done right.
Refinishing Marble Floors Beyond Polishing

Deep scratches can’t be polished away. Still, bringing back the original look of the stone could work.
Start by smoothing things out – grinding takes care of deep marks, rough patches, and flat spots. A light shave off the top lifts away damage, showing what’s beneath. A fresh look comes from stripping just enough to clear the old.
A fresh finish on marble might surprise you – its shine is close to brand new, even after years of wear. Worth considering when floors show their age.
Marble Care Cleaning Polishing
Some mornings, using a gentle mop stops small rough particles from scratching the surface. Fine-fiber material tends to grab dirt without harshness.
Start by cleaning spills at once – especially wine, lemon juice, or vinegar. This quick step prevents stains and harm to the finish right from the beginning.
Close to the entrance, place mats so dirt stays outside. Beneath heavy pieces, slip in padding – it blocks floor scratches when things shift.
Most folks skip small chores until problems show up. Yet touching things up keeps surfaces smooth year after year. Skipping steps today? That often brings extra work tomorrow.
Why Choose SF Marble & Granite Inc.
When it comes to expert care and knowing how to polish marble floors the right way, SF Marble & Granite Inc. stands out in Lowell, MA. We combine years of hands-on experience with deep knowledge of natural stone care, especially in marble floor installation and restoration.
Trusted Experience and Craftsmanship
- Over a decade of polishing and installing marble floors in homes and businesses.
- Skilled technicians who understand marble’s delicate nature.
Proven Results and Happy Clients
- A strong portfolio of polished, glowing marble floors.
- Local homeowners trust us for long-lasting results.
Free Consultation and Quality Guarantee
- We offer clear advice before every project.
- Your satisfaction is backed by our service guarantee.
No matter if it’s new installations or refurbishing existing floors, our expert staff are here to help you learn how to polish marble floors confidently and with care.
Final Thought
Now that you understand how to polish marble floors, it’s time to take the next step—whether that means trying a DIY approach for small touch-ups or calling in the pros for a full restoration. Regular polishing not only brings back the natural shine but also protects your investment in marble flooring. With the right tools, care, and technique, you can keep your marble looking elegant for years to come.
If you’d rather leave the work to experts, SF Marble & Granite Inc. is here to help. We specialize in marble floor installation and professional polishing services across Lowell, MA. Contact us today for a free consultation and let us restore the beauty and brilliance of your marble floors get started now with SF Marble & Granite Inc.!
FAQs
How often should I polish my marble floors?
It depends on foot traffic, but most marble floors benefit from polishing every 12 to 18 months. High-traffic areas like kitchens or entryways may need more frequent polishing to maintain shine.
Can I polish marble floors myself, or should I hire a professional?
If you’re dealing with light dullness or small areas, DIY polishing is possible with the right tools. For deeper scratches or larger spaces, it’s best to consult professionals like SF Marble & Granite Inc. for long-lasting results.
What’s the best way to keep marble floors clean after polishing?
Use a pH-neutral cleaner and avoid acidic products like vinegar or lemon. Regular dust mopping and gentle cleaning of marble tile will help maintain the polished finish and prevent wear.