How To Seal Marble Countertops: The Ultimate Guide
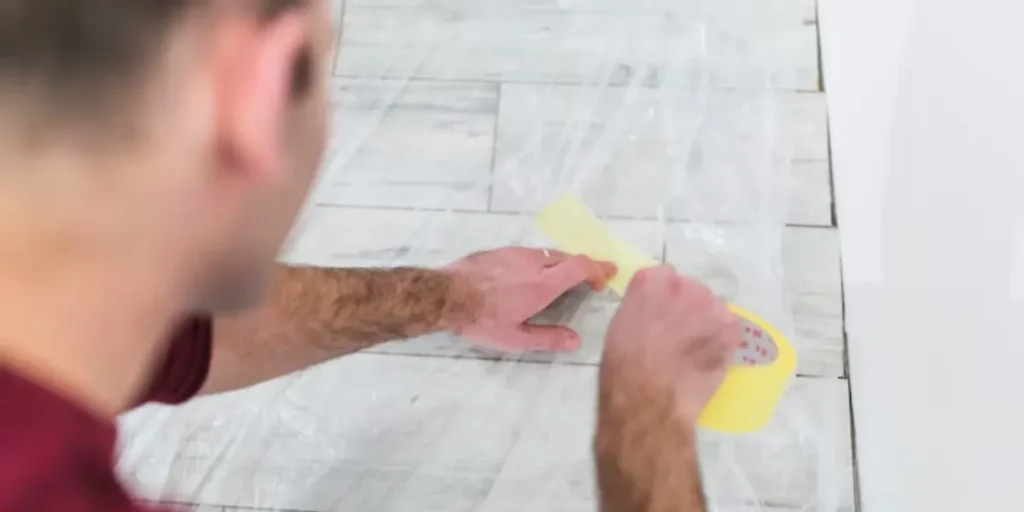
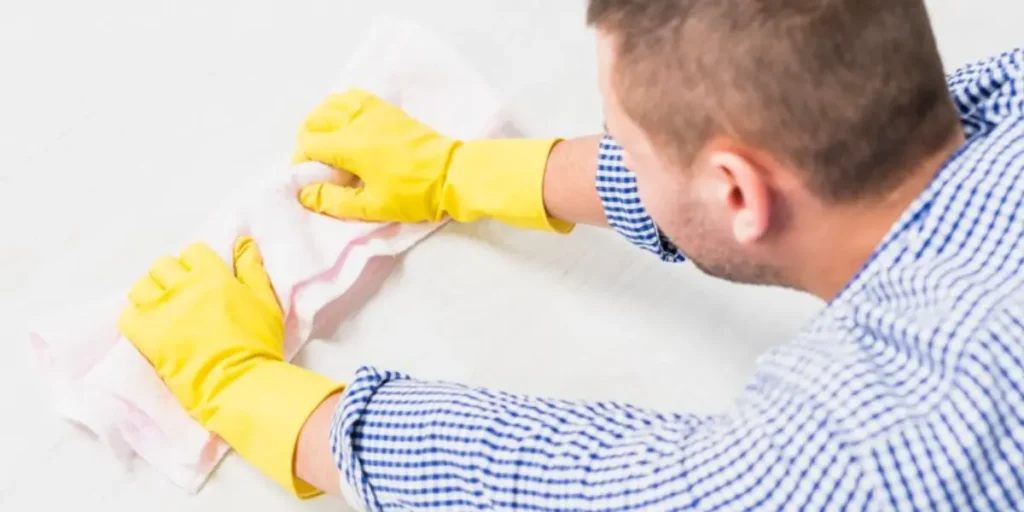
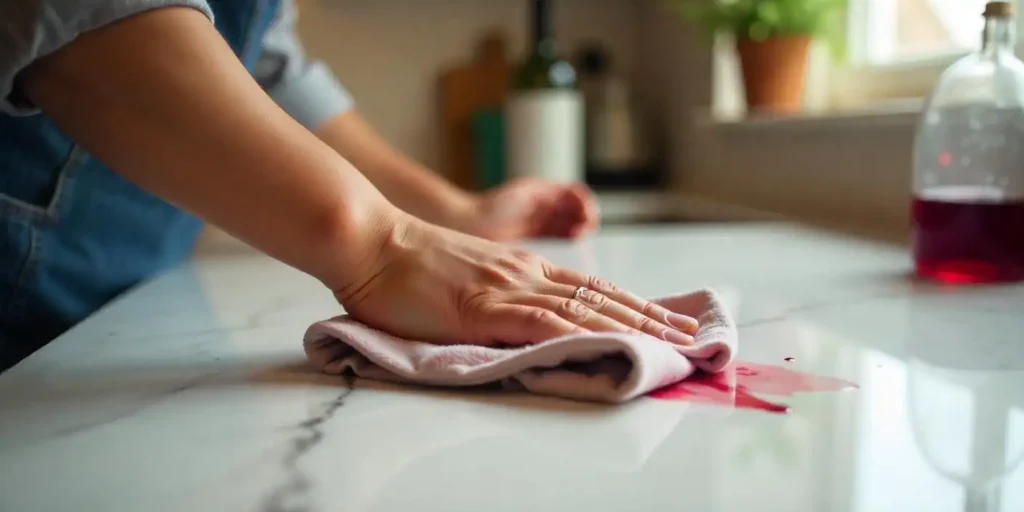
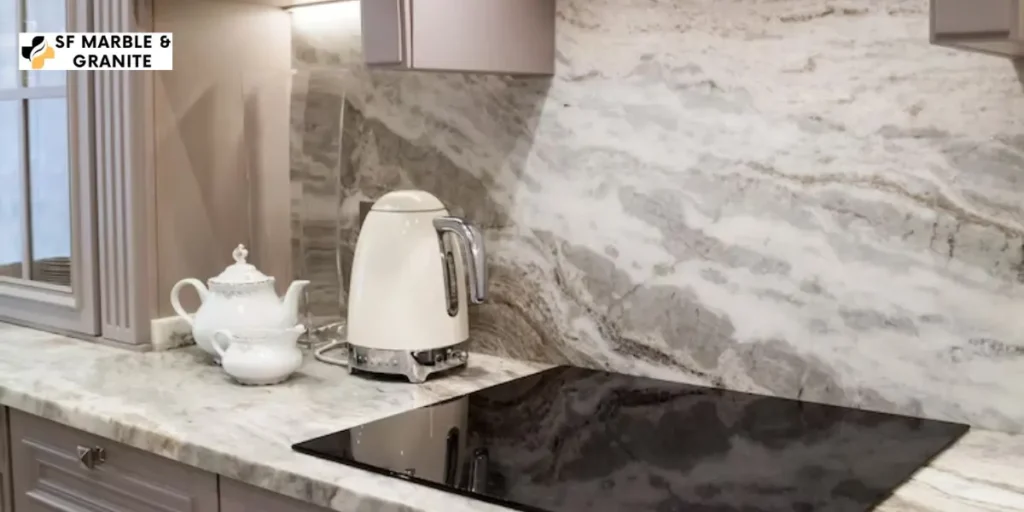
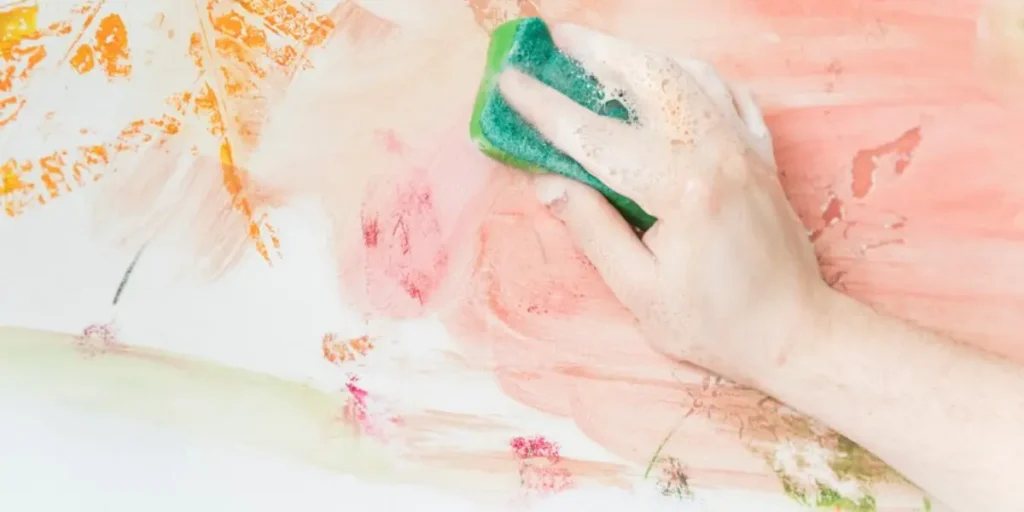
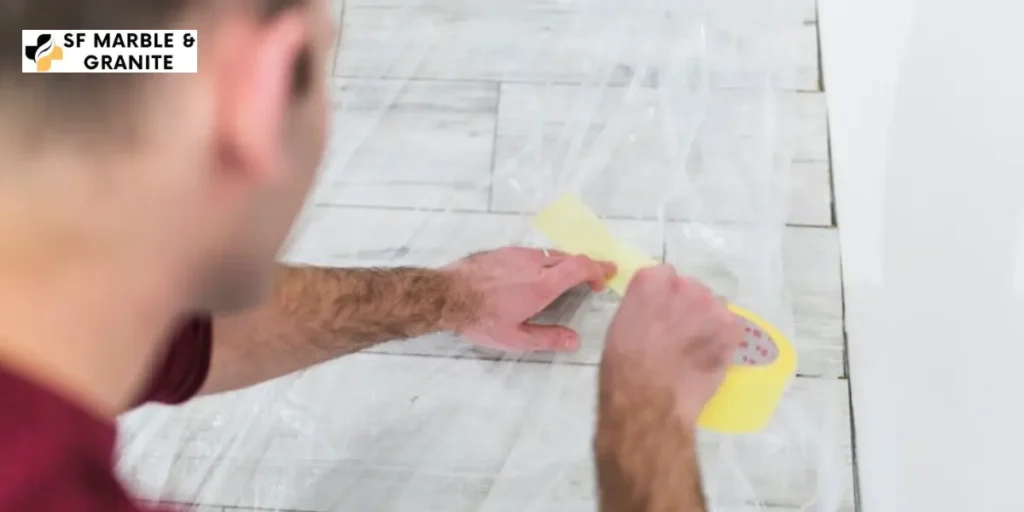
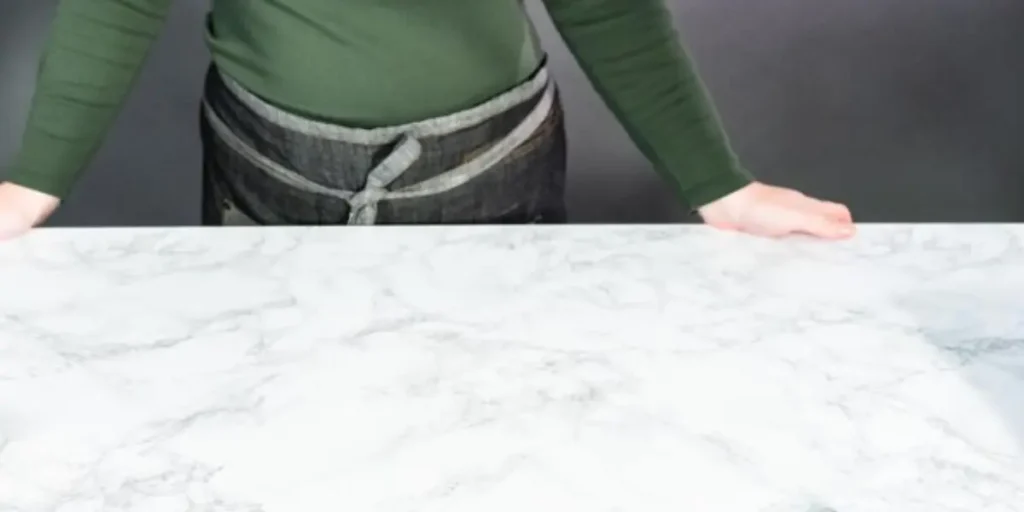
Marble is a beautiful and elegant stone for countertops, but it does require some maintenance to keep it looking its best. One of the most important steps is learning how to seal marble countertops. The sealing process helps protect the stone from stains and damage while also enhancing its natural beauty. In this comprehensive guide, we will cover everything you need to know about sealing marble countertops, including materials, application, and care. Why Do Marble Countertops Need Sealing? The main reason for sealing marble countertops is protection. Marble is a porous stone, which means that liquids and staining agents can seep deep into the pores if not sealed. Over time, this can cause permanent discoloration. Sealing creates a protective barrier that prevents stains from being absorbed. It also helps repel water spots and makes cleaning easier. Some other key benefits of sealing marble countertops include: So in short, sealing is crucial for keeping marble countertops looking pristine and preventing damage to the stone. It forms a shield that allows for easier maintenance while showcasing the beauty of the material. How Often Should You Seal Marble Countertops? The frequency for resealing marble countertops will depend on the traffic and usage of the areas. As a general guideline, plan to reseal counters anywhere from once every 12-18 months for high traffic areas to every 2-3 years for less-used spaces. Some signs that it’s time for a reseal include: Whenever in doubt about whether to reseal, it’s wise to conduct a spot test. Apply a drop of water – if it absorbs within seconds, then regular resealing should keep your marble protected and looking its best for many years – don’t wait until damage occurs before applying sealer! Best Sealers For Marble Countertops When learning how to seal marble countertops, selecting the right product is crucial. Here are some top sealers to consider: Butcher’s Block Formula Sealer – Best Overall Howard Products’ natural plant-based formula designed for food preparation surfaces is easy to apply and offers exceptional stain resistance, adding natural charm while enhancing the stone’s original character. Rust-Oleum Countertop Transformations Sealer – Great Value This two-part sealer kit revives faded or worn stone surfaces with a crystal clear layer of protection. An excellent, affordable option. TriNova Natural Stone Sealer – Best Natural Choice Made with natural waxes and resins, this environmentally-friendly pick from TriNova offers protection without changing the look of the marble. StoneTech BulletProof Sealer – Heavy Duty Protection For high-traffic commercial areas or extra challenging environments, the StoneTech sealer provides supreme barrier defense against stains, water, chemicals, and abrasion. Aqua Mix Sealers Choice Gold – Luxury Sheen This premium formula enhances the veining and polish in marble to a showroom shine. Great for a formal finished look. Always conduct a patch test with any sealer before applying it over an entire surface, to make sure there are no unwelcome reactions. Selecting top-rated products customized specifically to marble can make sealing much simpler and more effective. How to Seal Marble Countertops – The Process Now that you know why and when sealing is needed, let’s cover the step-by-step process for how to seal marble countertops: Clean the Surface Thoroughly Begin by washing the entire marble area with a mild dish soap and water or a specialized stone cleaner. This removes any existing sealers, dirt, grease or other residues. Rinse completely and allow to fully dry. Inspect for Damage Do a close visual inspection for any cracks, chips, or worn areas. These will need repair before sealing. Fill with an epoxy or stone putty/filler per the manufacturer’s instructions. Etch the Marble if Needed For a new stone without an existing polish, etch the surface with a mild muriatic acid solution to open the pores. Rinse thoroughly afterwards. This prep step enhances sealer penetration. Apply Sealer Evenly Stir or shake the sealer container well. Apply using a paint roller, brush, or dense foam applicator. Go with the grain in thin, even coats. Allow drying time in between according to product directions. Buff Entire Surface Once fully dry, buff the sealed area lightly with a soft dry cloth to remove any residue or excess sealer. This polishes the surface to a smoother finish. Wait Before Use Allow at least 12-24 hours of complete drying time before any water contact on the newly sealed marble countertops. Follow the manufacturer’s cure instructions as well. Proper preparation, application method, and adequate drying are key to success when learning how to seal marble countertops thoroughly. Be patient, follow directions exactly, and your counters will stay beautifully protected. Tips For Sealing Marble Countertops Here are some additional tips for getting top results when sealing marble: Proper sealing technique, along with following the manufacturer’s cure time and reapplication guidelines, will provide the best long-lasting protection for marble countertops. Conclusion In conclusion, sealing is an important part of marble countertop care and maintenance that helps protect this porous natural stone material. By understanding why sealing is needed, the best sealers to use, and following the step-by-step application process, homeowners can easily learn how to seal marble countertops themselves. With regular reapplication every 12-18 months, marble surfaces will stay pristine with only minimal cleaning required. Always start by cleaning thoroughly and allow full curing time for the best sealer adhesion. With proper sealing and care, marble countertops will remain a stunning centerpiece in any kitchen or bathroom for years to come. You can contact us at: Email: sfmarbleangranite@gmail.com Phone: 978-459-5822 SF Marble & Granite755 Dutton St. Lowell, MA 01854 FAQs What is the cost to seal marble countertops? On average, plan to spend between $50-$150 to seal an average sized kitchen or bathroom countertop depending on sealer selected and area size. Reseals every 1-3 years will be less. What do you need to seal marble countertops and honed stone? There is no difference in sealing method, but honed stone will absorb more sealer due to its matte texture. Apply a little extra for best results. How to seal marble naturally? Minor cracks
How To Seal Marble Countertops: The Ultimate Guide Read More »