How to Get Stains Out of Marble Floors | Complete Guide
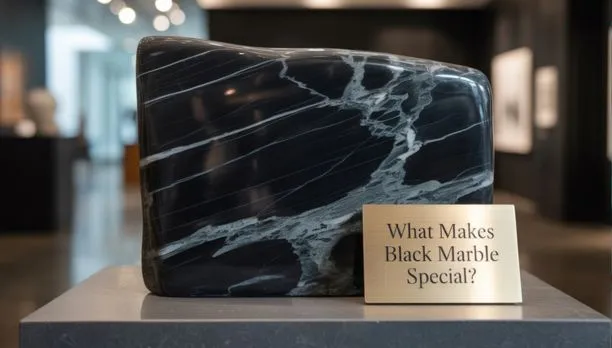
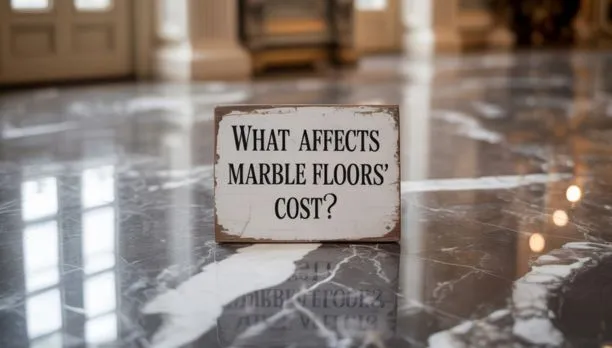
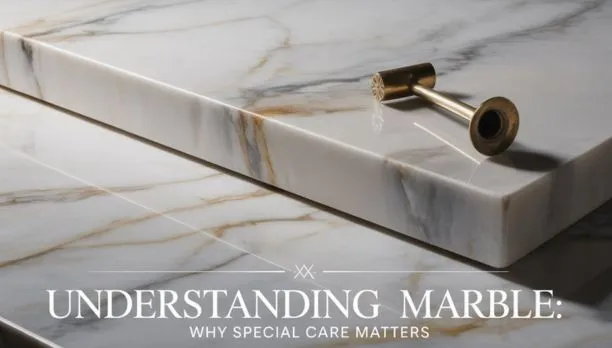
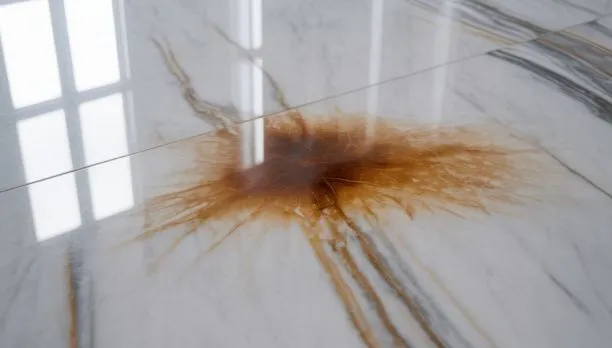
How to get stains out of marble floors is something many homeowners struggle with, especially after investing in the beauty of natural stone. At SF Marble and Granite Inc., we know that while marble adds timeless elegance to any space, it’s also more delicate than it appears. The porous surface of marble means it can easily absorb liquids, oils, and other substances, leading to unsightly stains that can ruin its luxurious appearance if not treated correctly. If you’re wondering how to get stains out of marble floors, this guide will help you tackle everything from surface-level spills to deep-set discoloration. Whether you’re dealing with red wine in the kitchen or rust near the entryway, we’ll cover practical DIY methods and expert-backed techniques. You’ll also learn how professional services like polishing and resealing from SF Marble and Granite Inc. can help keep your marble floors clean, bright, and beautiful for years to come. Why Marble Floors Stain So Easily Marble may look strong, but it’s a soft, porous stone that easily absorbs liquids. That’s why so many homeowners ask how to get stains out of marble floors after a spill. At SF marble and granite, we often see stains caused by everyday items like juice, coffee, or even water. Here’s why stains happen so easily: Acidic spills (like wine or vinegar) etch the surface Oils and grease darken the stone Rust forms from metal left on wet marble Worn sealant lets stains sink deep Using the best marble stain remover helps, but sealing your floors regularly is the real key. If your marble is already stained, sf marble and granite offers expert cleaning and resealing to restore the shine. Step-by-Step: Cleaning Stained Marble Floors If you’re unsure how to get stains out of marble floors, it starts with knowing what type of stain you’re dealing with. Whether it’s a splash of red wine on your grey marble floors or an oil stain on a black marble floor, each one needs a different approach. 1. Identify the Stain Type Organic stains (like coffee or juice) Rust stains (from metal objects) Oil-based stains (grease, lotion) Water spots or mildew 2. Gather Your Materials Soft microfiber cloths pH-neutral marble cleaner Poultice powder or baking soda Hydrogen peroxide or ammonia (depending on the stain) 3. Apply the Right Method Baking soda + water paste works great for oily stains Hydrogen peroxide removes organic stains like wine or tea Ammonia and water mix help with mildew or mold Apply gently and let it sit before wiping clean 4. Rinse & Dry Always rinse the area with clean water and dry it fully to avoid water spots—especially important for polished surfaces like marble slabs near me. 5. Test Before You Treat Try your method on a small corner first. Every slab is different, and testing helps protect your stone from damage. After cleaning stained marble, don’t forget the importance of sealing marble floors to prevent future marks. Whether it’s grey or black marble, regular sealing keeps it looking flawless. Best Marble Stain Remover Picks (When DIY Isn’t Enough) If you’re still unsure how to get stains out of marble floors, and your home remedies aren’t working, it might be time to try a trusted marble cleaner and polish. Stains that are deep, old, or caused by oil and rust often need a stronger solution. When to Use Store-Bought Removers DIY didn’t work Stain is deep or spreading The marble has lost its shine or shows etching Top Picks to Try StoneTech Oil Stain Remover – Great for greasy marks MB Stone Care Poultice – Works on wine and coffee stains Granite Gold Marble Cleaner and Polish – For regular shine and care Be cautious—always test a small area first and avoid acidic products. This is especially important if your space includes custom details like medallion borders or vertical shiplap designs. If the stain is still visible or the floor looks dull, it’s best to call professionals who know how to get stains out of marble floors safely. Deep Maintenance: Polishing & Resealing Once you’ve figured out how to get stains out of marble floors, the next step is protecting that clean surface. Polishing and resealing are key parts of deep maintenance that bring your marble back to life. Why Polishing Matters Polishing removes surface dullness, fine scratches, and light etching that make marble look worn out. A good marble cleaner and polish restores the natural shine and smooth texture your floor once had, especially after stain removal. Why Resealing Is Important Marble is porous. Once unsealed, it absorbs liquids quickly. After cleaning, resealing helps lock out moisture, oil, and dirt. It prevents future stains and keeps your floors looking new. How Often Should You Seal? At sf marble and granite, we recommend: Every 6–12 months for high-traffic areas Annually, for low-use rooms or decorative spaces like entryways or backsplashes installation Benefits of Polishing & Sealing Brighter shine and better light reflection Strong stain resistance Longer-lasting beauty with less upkeep If you’re still unsure how to get stains out of marble floors the right way, proper polishing and resealing might be the final solution you need. Why Choose SF Marble and Granite When it comes to knowing how to get stains out of marble floors, experience matters—and that’s exactly what you get with SF Marble and Granite. Based in Lowell, MA, we bring years of hands-on knowledge to every project, from stain removal to full marble floor installation. We don’t just clean and polish, we focus on long-term protection. Our team uses professional sealing techniques to help prevent future stains, keeping your floors looking spotless and elegant for years. Whether you’re restoring an old marble surface or installing a new one, our expert finish ensures durability and shine. Homeowners across Lowell trust us not just for floors, but for beautiful additions like backsplash installation in Lowell, MA that complete the look of your kitchen or bath. Final Thought Knowing how to get stains out of marble floors
How to Get Stains Out of Marble Floors | Complete Guide Read More »