A cracked granite countertop can be stressful, especially when you’re worried about the repair cost or the damage getting worse. The good news is that some small, stable cracks can be repaired at home with the right epoxy, careful preparation, and a little patience. However, not every crack is suitable for a DIY fix.
If you’re searching for How to Repair Cracked Granite Countertop, this guide explains what causes granite to crack, which materials you need, and how to repair minor damage step by step. You’ll also learn when a professional should handle the work, how much repairs may cost, and what you can do to protect your countertop in the future.
Why Granite Countertops Crack
Granite is hard, but it isn’t flexible. It rates 6 to 7 on the Mohs hardness scale, so it resists scratches well. That same rigidity means it snaps instead of bending when stress builds up.
Most cracks come from a few common causes:
- Narrow stone at cutouts. The strip of granite between a sink or cooktop cutout and the front edge carries the least support. It’s the number one spot I see cracks.
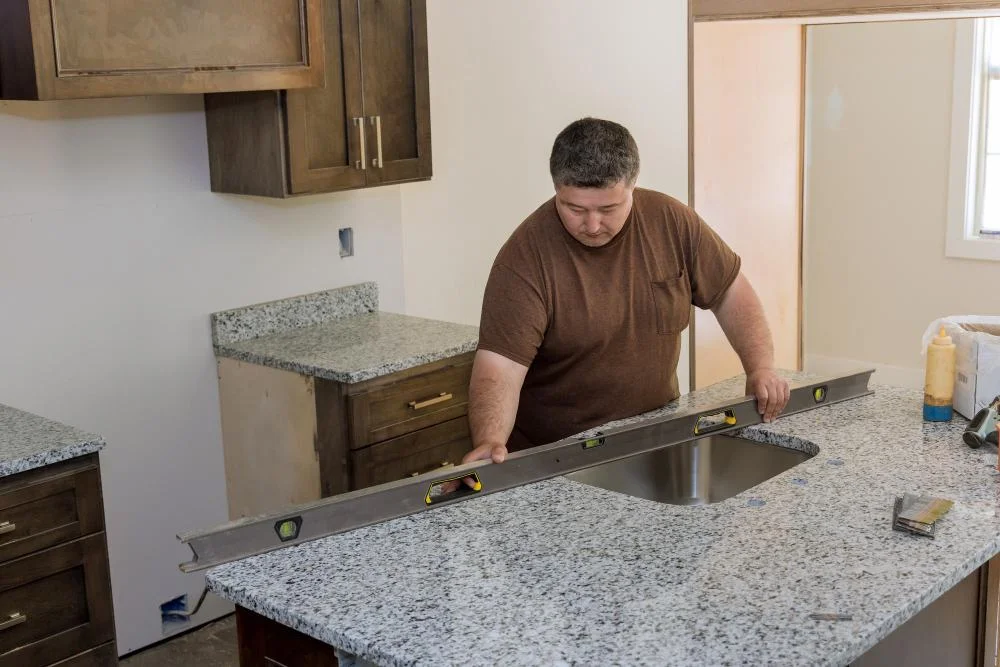
- Poor support underneath. Cabinets that aren’t level, or spans with no support, let the slab flex under weight.
- Heat shock. Setting a scorching pan on cold stone makes one area expand faster than the rest.
- Heavy impact or load. A dropped cast-iron pot, or someone sitting on an overhang, can split the slab.
- House settling. Foundations move, and rigid stone shows it first.
One more thing before you grab the epoxy. Natural fissures are not cracks. They’re thin, irregular lines formed with the stone, and they’re usually smooth to the touch. Run a fingernail across the line. If it catches, you have a real crack.
Why You Should Fix It Quickly
An open gap in natural stone acts like a sponge for liquid spills, oils, and bacteria. Over time, moisture penetration weakens the surrounding stone matrix and degrades the underlying sub-flooring or cabinetry framing.
Address stone fractures promptly to keep minor surface issues from spreading across the entire slab. Delaying maintenance turns a simple afternoon project into an expensive surface replacement. Sealing open gaps keeps kitchen prep areas safe, clean, and structurally sound for your family.
Tools and Materials You Will Need
Before starting, gather all your supplies in one spot to ensure a smooth, uninterrupted process.
| Category | Recommended Items | Primary Function |
| Adhesives & Fillers | Clear acrylic repair gel or 2-part epoxy resin | Fills voids and bonds stone fibers |
| Coloring Agents | Stone color-matching pigment paste | Blends adhesive into natural stone tones |
| Cleaning Prep | 91% Isopropyl alcohol & microfiber cloths | Removes grease, dust, and old sealers |
| Surfacing Tools | Razor blades (single-edge) & masking tape | Protects adjacent areas and clears excess resin |
| Polishing Gear | Diamond polishing pads (400 to 3000 grit) | Buffs cured resin level with surrounding stone |
| Final Protection | Penetrating stone sealer | Blocks moisture and prevents future staining |
Step-by-Step: How to Repair Cracked Granite Countertop
Follow these sequential steps to bond, level, and polish your kitchen surfaces safely.
-
Clean and Prep the Area Thoroughly scrub inside and around the fracture using 91% isopropyl alcohol and a lint-free cloth. Remove all grease, food residue, and loose stone dust. Allow the area to dry completely for at least 30 minutes; trapped moisture prevents proper epoxy bonding.
-
Tape Off the Surrounding Stone Apply painter’s masking tape along both sides of the break, leaving only a tiny 1/16-inch margin exposed. This protects the surrounding polished surface from stray epoxy and cuts down on clean-up time.
-
Mix and Color-Match the Resin Combine your two-part epoxy or acrylic resin according to package instructions. Add small dabs of stone pigment until the color matches the primary shade of your countertop. For veined stone, mix a slightly darker base and dab thin lines of lighter pigment during application to mimic natural patterning.
-
Fill the Gap Work the mixed adhesive deep into the fracture using a plastic putty knife. Overfill the line slightly, leaving a small mound above the surface to account for shrinkage as the resin cures.
-
Scrape Excess and Allow to Cure While the adhesive is still tacky, hold a single-edge razor blade at a 45-degree angle and carefully scrape away excess resin flush with the tape line. Allow the material to cure fully according to manufacturer instructions (typically 2 to 4 hours).
-
Buff and Polish Level Remove the masking tape. Using wet diamond polishing pads starting at 400 grit and working sequentially up to 3000 grit, gently buff the repaired seam in smooth circular motions until it matches the high-gloss shine of the surrounding slab.
-
Apply Stone Sealer Wipe down the entire area, let it dry, and apply a liberal coat of penetrating stone sealer to safeguard the fresh repair against water and oil intrusion.
You can read about: How Much Do Granite Countertops Cost
Types of Granite Cracks and Repair Tips
Not every crack is the same. Knowing the type helps you choose the right approach.
Hairline Fractures
These narrow surface splits don’t pass all the way through the stone slab. Clean the area with alcohol, apply a water-thin clear acrylic gel that wicks deep into the fissure via capillary action, scrape flush, and polish once hard.
Edge Chips and Corner Breaks
Edges around sinks and dishwashers frequently take impacts from heavy pots. Rebuild missing chunks using a thick paste-consistency epoxy filler. Build the shape up slightly larger than the missing piece, let it harden completely, and sand it back down to match the original edge profile.
Deep Structural Fractures
When a crack extends completely through the stone, the underlying support framing has likely shifted. Before filling the top, secure low-profile steel brackets under the cabinet layout to prevent further movement. Once stabilized, fill the top seam with structural stone epoxy.
When to Call a Professional
While DIY kits handle minor cosmetic issues, certain situations require commercial tools and stone restoration machinery. Contact a certified stone restoration expert if:
-
The stone on one side of the break sits visibly higher than the other (lippage).
-
The crack runs through a main structural support, sink cutout, or cooktop edge.
-
The slab feels loose, unstable, or flexes when mild pressure is applied.
-
The stone is an exotic, highly veined variety where DIY color matching proves too difficult.
Cost to Repair Cracked Granite Countertop
Handling small surface touch-ups on your own saves significant home maintenance funds compared to professional restoration or total surface replacement.
| Repair Option | Estimated Cost Range | What Is Included | Ideal Use Case |
| DIY Repair Kit | $35 – $75 | Acrylic resin, tint set, razor blades, polishing paper | Minor hairline surface fractures & small edge chips |
| Pro Stone Repair | $250 – $600 | On-site evaluation, structural leveling, machine buffing | Deep structural splits, severe lippage, sink blowouts |
| Slab Replacement | $2,000 – $4,500+ | Demolition, new stone slab, custom cutting, full installation | Catastrophic structural failures across large sections |
How to Prevent Future Cracks
A few habits go a long way. They cost almost nothing.
- Use trivets under hot pans and cookware straight from the oven.
- Use a cutting board. It protects your knives and the stone.
- Don’t sit or stand on overhangs or edges.
- Seal the granite as often as the manufacturer suggests, since sealing keeps moisture out of small cracks.
- Check that cabinets are level, especially after a house settles.
- Ask your installer to add support near large cutouts.
Think of granite like a strong shelf with a weak joint. The slab handles a lot, but the thin spots take the hit.
Is Granite Countertop Repair Worth It?
For most homeowners, yes.
Granite adds significant value to a kitchen or bathroom. A repaired crack that is not visible from normal standing height does not reduce that value. A cracked countertop left unrepaired does.
Granite countertop crack repair is worth doing when the crack is surface-level and the slab is otherwise in good condition, the countertop is relatively new and the stone is a premium variety, the crack is in a location where it will be seen daily, and the rest of the kitchen or bathroom is updated and the countertop is a focal point.
Replacement makes more sense when the slab has multiple structural cracks, the stone is badly stained or damaged beyond the crack itself, or you are planning a broader renovation where a new slab fits the new design.
Conclusion
A crack in your granite countertop is not the end of the stone. Most cracks are fixable with the right materials, a bit of patience, and attention to the steps. How to repair cracked granite countertop at home works well for hairline and surface damage. Deeper structural cracks need a professional to ensure the repair holds long-term.
The most important thing is acting quickly. Small cracks stay small when repaired promptly. Left alone, they grow and become significantly more expensive to fix.
If you are in the Lowell, MA area and want a professional assessment or a flawless repair, SF Marble & Granite provides expert Granite Countertops Repair in Lowell, MA and surrounding communities. Our team uses professional-grade materials and precise color-matching techniques to restore your countertop to a finish that is nearly indistinguishable from the original.
FAQs
How to repair cracked granite countertop without replacing it?
Use a two-part stone epoxy matched to your granite color. Clean the crack with acetone, fill it completely with epoxy, let it cure for 24 hours, scrape away excess, and seal the area. This method works well for hairline and surface cracks and holds for years when done correctly.
How to fix cracked granite that has a large structural break?
Large structural cracks require professional repair. A stone fabricator uses industrial epoxy combined with structural reinforcement bonded to the underside of the slab. DIY epoxy alone will not hold a full-thickness crack under daily use.
What is the best epoxy for granite countertop crack repair?
Use a two-part polyester or epoxy resin formulated specifically for natural stone. Clear versions work for most granite patterns. Tinted kits allow color matching for more visible repairs. Avoid standard household epoxy, which does not bond adequately to polished stone.
How to repair a crack in granite near the sink?
Sink cutout areas are high-stress zones. Clean the crack thoroughly with acetone, fill with color-matched stone epoxy, and allow full 24-hour cure time before exposing to water. If the stone feels loose or unstable near the cutout, call a professional before attempting a DIY repair.
How much does professional granite countertop crack repair cost?
Most professional surface crack repairs cost $150 to $500 depending on crack length, location, and color-matching complexity. Structural crack repairs with reinforcement can run $300 to $800 or more. Both options cost significantly less than full slab replacement.