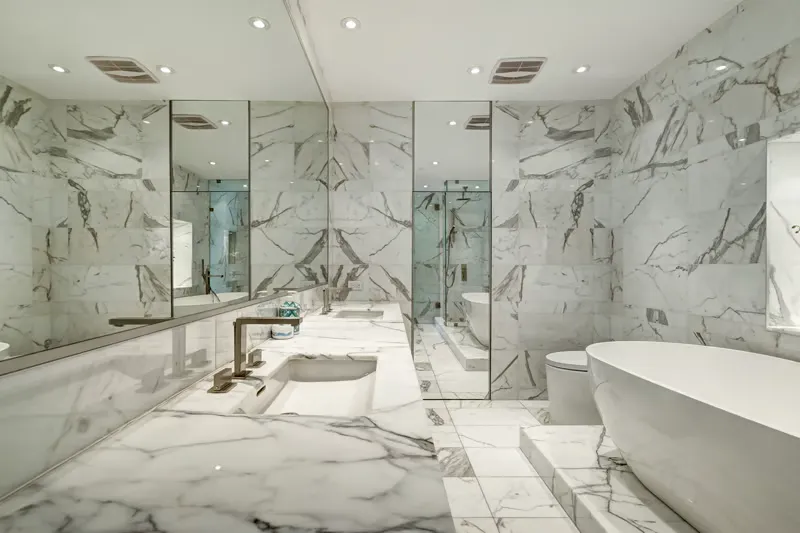
Marble walls can turn an ordinary bathroom, kitchen, or living space into an elegant feature. However, natural stone needs careful handling, the right adhesive, and a properly prepared surface to achieve a strong, lasting finish.
How to install marble tile on walls? Start by checking the wall, planning the tile layout, choosing a suitable mortar, and setting each piece with care. This guide explains the process step by step, including cutting, grouting, sealing, and common mistakes. S F Marble & Granite helps homeowners understand their natural stone options and make informed choices for their projects.
1. Is Marble Tile a Good Choice for Walls?
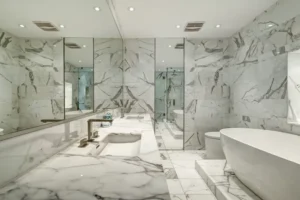
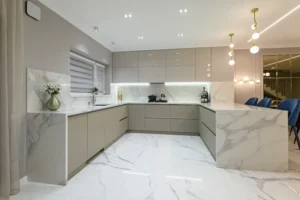
Marble is a natural stone known for its unique veining, soft colors, and distinctive patterns. It works well in bathrooms, kitchens, entryways, and decorative feature walls. Each piece has its own appearance, which gives your finished surface a natural look.
Marble can also be used in wet areas, including showers, when the entire installation is designed for that purpose. The wall assembly must have suitable waterproofing, compatible setting materials, and proper drainage where required.
Before choosing marble, consider these points:
- Appearance: Select a color and vein pattern that complements your room.
- Weight: Large or thick pieces may need additional support and professional handling.
- Maintenance: Marble can stain, scratch, and react with acidic cleaners.
- Moisture: Shower installations need a correctly designed waterproofing system.
- Budget: Material, cutting, installation, and sealing all affect the total cost.
Smaller tiles may be easier to handle, while large pieces can create a cleaner, more continuous appearance. Choose a format that suits your wall and installation experience.
2. What Tools and Materials Do You Need?
Gather your tools and supplies before starting. Having everything ready helps prevent delays while mortar is being applied.
| Tool or material | Purpose |
|---|---|
| Tape measure and pencil | Measure the wall and mark cut lines |
| Level and straightedge | Check alignment and flatness |
| Notched trowel | Spread the setting mortar |
| Tile spacers | Maintain consistent joints |
| Wet tile saw with a suitable blade | Cut marble accurately |
| Stone-safe mortar | Bond the tiles to the wall |
| Grout suitable for marble | Fill the joints |
| Natural stone sealer | Protect the stone when recommended |
| Safety glasses, gloves, and hearing protection | Reduce installation risks |
You may also need a mixing bucket, a drill with a mixing paddle, a clean sponge, and a rubber grout float suitable for delicate stone.
Choose products approved for your marble and wall assembly. Avoid ordinary construction adhesive unless the manufacturer specifically approves it for the application. Always follow the product instructions for mixing, working time, and curing.
3. How Should You Prepare the Wall?
A strong installation begins with a sound, clean, and flat surface. Even beautiful stone can crack, shift, or lose its bond when installed over a weak or uneven wall.
Follow these preparation steps:
- Remove loose paint, wallpaper, dust, grease, and other materials that could interfere with bonding.
- Check the wall for cracks, movement, moisture damage, and soft areas.
- Repair uneven spots using a suitable wall preparation product.
- Confirm that the wall can support the weight of the stone and installation materials.
- Install an approved tile backer or substrate where necessary.
- In showers and other wet areas, complete the required waterproofing system according to its manufacturer’s instructions.
Do not install marble over a damp, unstable, or poorly bonded surface. If you find active leaks, structural movement, or significant wall damage, correct the problem before tiling.
For a shower, waterproofing is essential. Tile and grout alone do not create a waterproof wall. Follow the chosen system’s instructions for seams, corners, penetrations, and connections to the shower base.
4. How Do You Plan the Tile Layout?
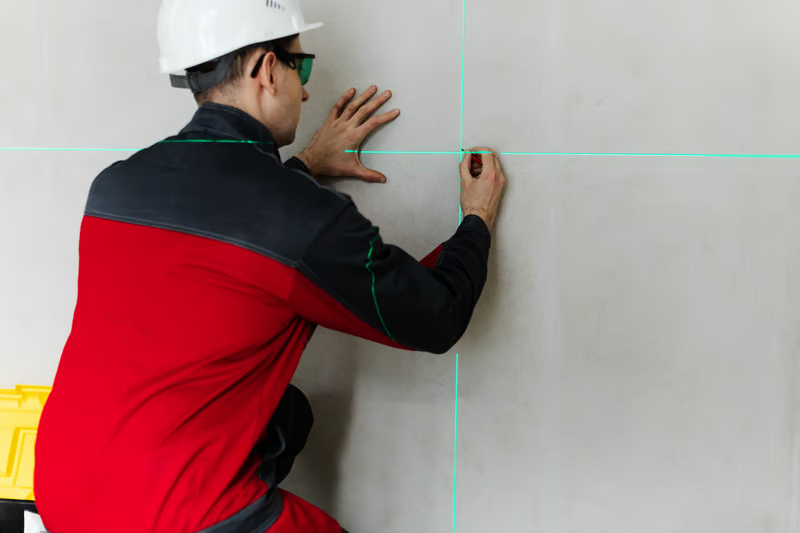
Good layout planning helps you avoid narrow cuts, uneven borders, and distracting changes in the marble pattern. Dry-layout the tiles on a clean surface before applying mortar.
Measure the wall’s height and width, then mark a level reference line. Check the center of the wall and arrange the tiles to see where the edges will fall. Adjust the starting point to create balanced cuts at both ends where possible.
For marble with noticeable veining, arrange the pieces in the order you intend to install them. This is especially important for book-matched slabs or tiles with strong patterns.
Remember these tips:
- Use a level to establish straight reference lines.
- Include the planned grout-joint width in your measurements.
- Avoid very thin cuts along exposed edges when possible.
- Check how the layout meets corners, outlets, niches, and fixtures.
- Mark each tile’s position if the pattern needs to remain consistent.
A thoughtful layout makes the finished wall look balanced and reduces unnecessary cutting and waste.
5. Which Mortar Should You Use for Marble?
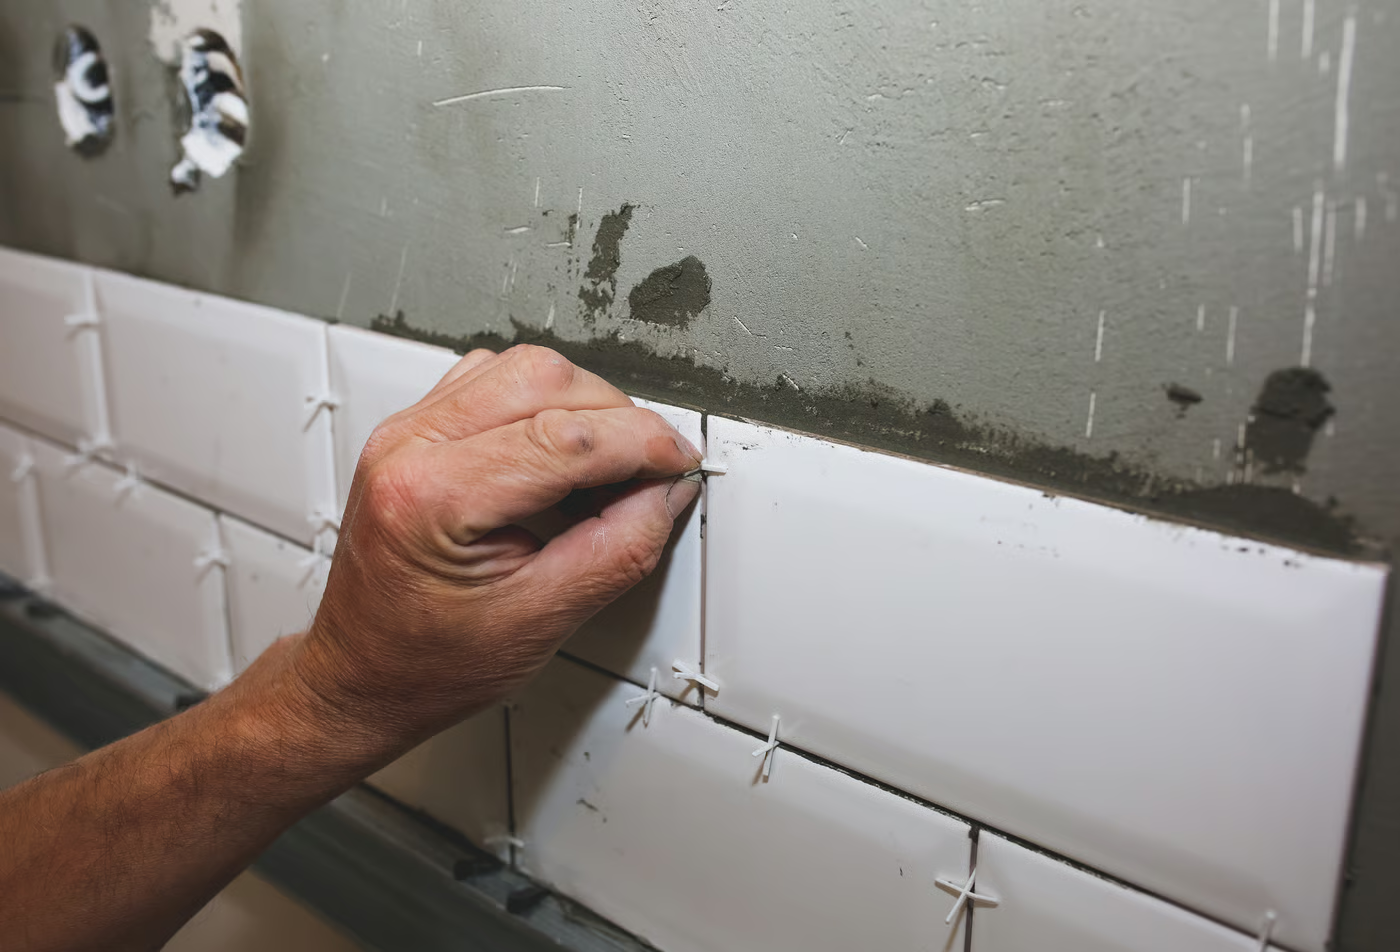
The correct mortar depends on the stone, tile size, substrate, and installation location. Use a setting material specifically approved for natural stone and the intended wall application.
White mortar is often preferred for light-colored or translucent marble because gray mortar may affect its appearance. Some marble can also be sensitive to moisture or prone to warping. In these cases, the stone or mortar manufacturer may require a suitable rapid-setting or non-staining product.
For wet areas, confirm that the mortar is approved for the waterproofing membrane and backer system. Do not assume that every product works with every substrate.
Before installation, read the technical instructions and check:
- Whether the mortar supports the tile’s size and weight.
- Whether it is suitable for natural stone.
- Whether it is approved for vertical applications.
- How much time you have to place each tile.
- How long the installation must cure before grouting.
Never substitute an unapproved adhesive simply because it is easier to apply.
6. How to install marble tile on walls? A Step-by-Step Guide
Once the wall is ready and the layout is marked, you can begin setting the tiles. Work in manageable sections so the mortar does not dry before you place the stone.
Step 1: Mix the mortar
Prepare the mortar according to the manufacturer’s directions. Add the required amount of water, mix thoroughly, and allow it to rest if the instructions require it. Mix only what you can use within its working time.
Step 2: Spread the mortar
Use the flat side of the trowel to press mortar into the wall. Then comb it with the notched side, keeping the ridges consistent. Apply only enough mortar for a small working area.
Step 3: Back-butter when needed
For larger tiles or where the mortar manufacturer requires it, spread a thin layer of mortar across the back of the tile. This helps improve contact between the stone and the setting bed.
Step 4: Set each tile
Place the marble against the wall and move it gently across the mortar ridges to establish contact. Use spacers to maintain consistent joints. Check the tile’s level and alignment before moving on.
Step 5: Check the bond
Periodically remove a freshly placed tile to inspect the mortar coverage. Adjust your technique if you see significant gaps or poor contact. Large-format stone and wet-area installations need particular care.
Step 6: Clean as you work
Remove mortar from the tile faces and joints before it hardens. Use a soft, clean sponge without flooding the surface. Keep the joints clear enough for grout.
Allow the mortar to cure for the period stated by the manufacturer before grouting or applying other products.
7. How Do You Cut Marble and Finish the Edges?
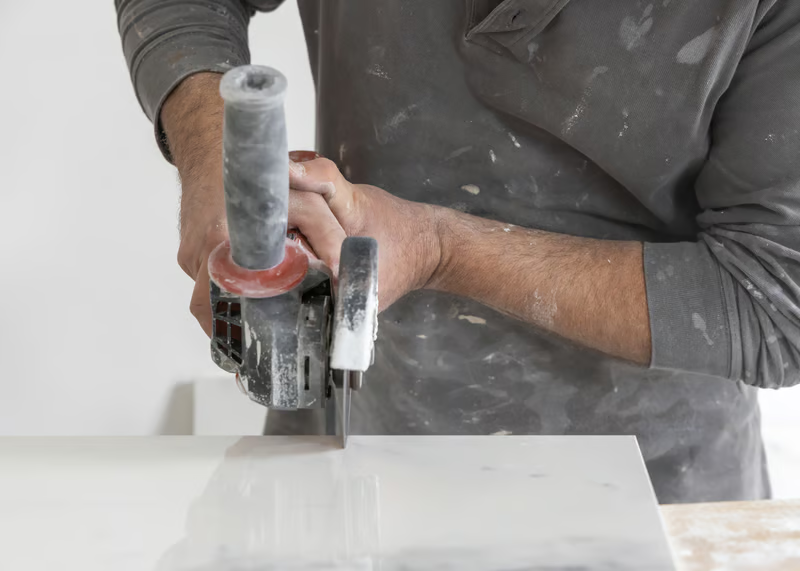
Accurate cuts help marble fit neatly around corners, outlets, niches, and plumbing fixtures. Measure each opening carefully and mark the cut on the stone before using a suitable wet saw.
Use a blade designed for natural stone and follow the tool’s safety instructions. Support the marble fully during cutting to reduce the risk of breakage. Smooth exposed edges with suitable stone-working tools when the finish requires it.
Wear eye and hearing protection. Control stone dust with appropriate wet-cutting or dust-control methods, and avoid dry cutting that creates airborne silica dust. Use professional fabrication services for complex cuts, large pieces, or fragile stone.
For exposed corners, consider an appropriate finished edge, a matching trim piece, or a carefully planned corner joint. Check all measurements before cutting because natural stone can be costly to replace.
8. How Should You Grout Marble Wall Tiles?
Wait until the mortar has cured according to its instructions. Then choose a grout compatible with the marble, joint width, and location.
Fine marble can scratch easily, so confirm that the grout and application tools are suitable for the stone. Follow the grout manufacturer’s directions rather than choosing a product based only on color.
To grout the wall:
- Remove spacers and clean loose material from the joints.
- Mix the grout as directed.
- Press it into the joints with a suitable float.
- Remove excess grout without dragging abrasive material across the stone.
- Clean the surface at the recommended stage with a soft sponge.
- Allow the grout to cure as directed.
Do not leave grout residue on the marble. Test cleaning methods on an inconspicuous area when necessary. Use a compatible flexible sealant at movement joints and changes of plane, such as wall corners, rather than filling those joints with rigid grout.
9. How Do You Seal and Maintain Marble?
Some marble installations benefit from a penetrating natural stone sealer, but sealing does not make marble stain-proof or waterproof. Check the stone and sealer instructions to determine whether sealing is appropriate and when it should be done.
For everyday care, use a pH-neutral cleaner made for natural stone. Avoid vinegar, lemon juice, acidic bathroom cleaners, and abrasive pads because they can dull or damage marble.
Keep these maintenance habits in mind:
- Wipe away spills and soap residue promptly.
- Use a soft cloth or non-abrasive sponge.
- Dry surfaces where mineral deposits may build up.
- Inspect grout and flexible sealant for gaps or damage.
- Follow the recommended cleaning and resealing schedule.
In showers, regular cleaning and proper ventilation help reduce soap buildup and moisture problems. If tiles loosen, cracks appear, or water enters behind the installation, have the cause inspected instead of simply covering the affected area.
10. What Common Marble Wall Installation Mistakes Should You Avoid?
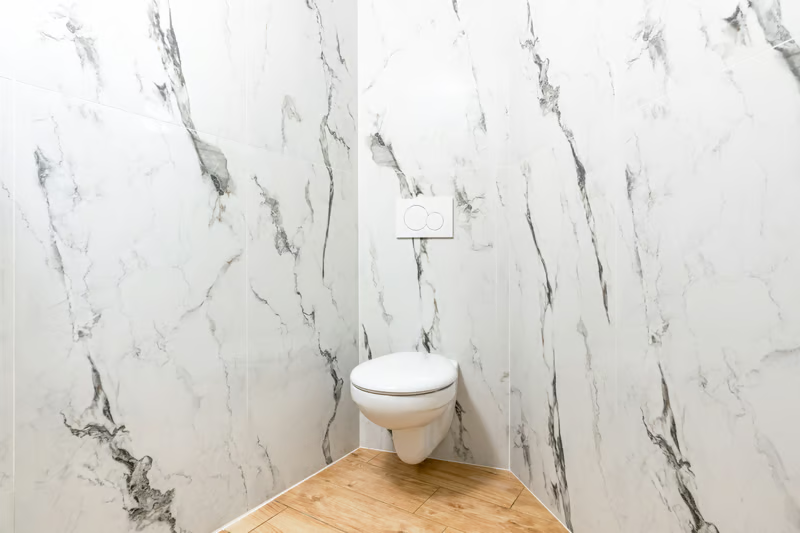
Small installation errors can affect both appearance and durability. Plan carefully and follow the instructions for every product used.
Common mistakes include:
- Skipping wall preparation: Uneven or weak surfaces can lead to poor bonding.
- Using the wrong mortar: An incompatible product may stain marble or fail to hold it securely.
- Ignoring waterproofing: Grout and tile cannot replace a proper shower waterproofing system.
- Rushing the layout: Poor planning can leave awkward cuts and uneven borders.
- Leaving mortar in joints: Hardened residue makes grouting more difficult.
- Using acidic cleaners: These can etch the stone and leave dull marks.
- Handling large pieces alone: Heavy stone can break or cause serious injuries.
Take extra care with large-format marble, shower walls, and complicated patterns. If the wall requires structural repairs, specialized waterproofing, or heavy stone handling, use a qualified professional.
A project note for S F Marble & Granite
For homeowners planning a bathroom renovation or kitchen upgrade, marble selection is only one part of a successful project. The stone’s thickness, finish, pattern, wall condition, and installation method all affect the final result. If your project also includes a kitchen backsplash, read our guide on How to Install Backsplash to understand the preparation and fitting process for that surface. Plan material selection and installation together so your stone features suit your space and practical needs.
Final Thoughts
Marble wall tiles can create a beautiful finish when the surface is properly prepared and every installation step is completed with care. Choose compatible mortar, plan the layout, handle cuts safely, grout with suitable products, and maintain the stone with gentle cleaners.
S F Marble & Granite can help you explore marble and granite options for your home improvement project. Contact us today to discuss your stone project and find an option that suits your space, style, and installation needs.
Frequently Asked Questions
1. Can you install marble tile directly on drywall?
Only when the wall and tile system are approved for that use. Wet areas such as showers require a suitable backer and waterproofing system.
2. What mortar is best for marble wall tiles?
Use a natural-stone-compatible mortar approved for your marble, tile size, substrate, and installation location.
3. Does marble tile need to be sealed?
Some marble benefits from a penetrating sealer. Follow the stone and sealer manufacturers’ guidance, and remember that sealer does not prevent all stains or etching.
4. Can marble tiles be used on shower walls?
Yes, if the installation includes suitable waterproofing, compatible setting materials, and correct detailing around joints and fixtures.
5. How long should marble tiles cure before grouting?
Follow the mortar manufacturer’s specified curing time. The required time varies by product, conditions, and installation system.