A kitchen backsplash does two important jobs. It protects your walls from water, grease, and food splatter. And it completely changes how your kitchen looks often for a fraction of what a full renovation costs. It is one of the best weekend upgrades a homeowner can make.
Learning how to install backsplash is more straightforward than most people expect. With the right tools, the right materials, and a clear step-by-step process, most homeowners can complete a standard kitchen backsplash in a single weekend. This guide covers everything you need to do it right the first time.
Why Installing a Backsplash Matters
Before getting into the how, it helps to understand why this upgrade is worth your time and money.
Protection is the primary function. Kitchen walls behind the sink and stove take a daily beating from water splashes, cooking grease, and cleaning products. Without a backsplash, drywall absorbs moisture and eventually develops mold, soft spots, and paint failure. Tile creates a hard, waterproof barrier that wipes clean in seconds.
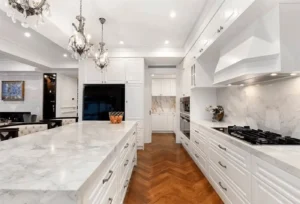
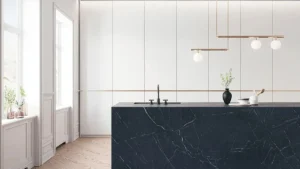
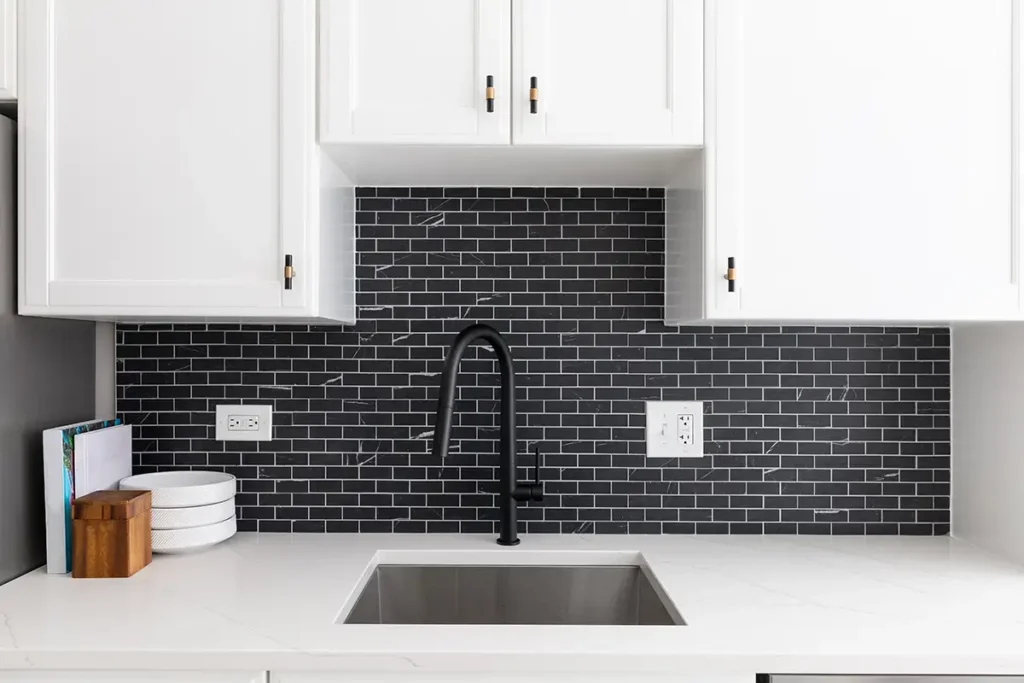
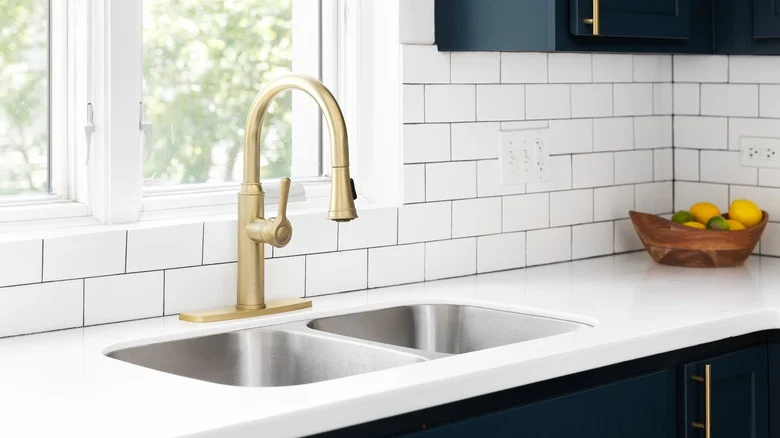
Visual impact is significant. A well-chosen backsplash ties together your countertops, cabinets, and flooring. It adds texture, color, and personality to a space that often lacks it. Neutral subway tile, bold mosaic patterns, natural stone each choice tells a different design story.
Return on investment is real. Kitchen upgrades consistently rank among the highest ROI home improvements. A backsplash project that costs $300 to $800 in materials adds visible value that buyers notice during home showings.
Tools and Materials You Need
Getting everything ready before you start saves multiple trips to the hardware store mid-project.
Tools
- Notched trowel (3/16 inch V-notch for most wall tile)
- Tile cutter or wet saw (for straight cuts)
- Tile nippers (for curved cuts around outlets)
- Grout float
- Rubber mallet
- Level (at least 24 inches long)
- Measuring tape and pencil
- Bucket and sponges
- Painter’s tape
- Utility knife
- Safety glasses
Materials
- Tile of your choice (buy 10 to 15 percent more than measured square footage)
- Tile mastic or thin-set mortar (mastic works well for most wall tile; thin-set for heavy or large-format tile)
- Tile spacers (1/16 inch for tight grout lines, 1/8 inch for wider lines)
- Unsanded grout (for grout lines under 1/8 inch) or sanded grout (for wider lines)
- Grout sealer
- Caulk (color-matched to your grout for corners and transitions)
- Backer board or cement board (if installing over drywall in wet areas)
Step-by-Step: How to Install Backsplash
Step 1 — Measure and Plan Your Layout (30 to 60 Minutes)
Measure the total square footage of the area you are tiling. Multiply length by height for each section, add them together, then add 15 percent for cuts and waste.
Plan your tile layout on paper before touching a single tile. For subway tile or any rectangular tile, decide whether you want a running bond (staggered joints) or a stacked pattern. Find the center of your focal wall usually the wall behind the stove and work outward from there. This ensures your most visible area has full tiles on both sides rather than small cut pieces at the edges.
Mark your center point lightly with a pencil. Draw a level horizontal line at countertop height across the full length of the installation area. This is your baseline reference for the entire project.
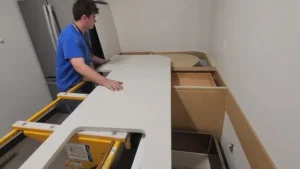
Step 2 — Prepare the Wall Surface (1 to 2 Hours)
This step makes or breaks the final result. Tile only sticks permanently to a clean, flat, dry surface.
Remove outlet covers and switch plates. Tape over the electrical boxes with painter’s tape. You will cut tiles to fit around them later.
Clean the wall thoroughly. Wipe down the entire installation area with a degreaser or TSP substitute. Kitchen walls near the stove accumulate cooking grease that prevents adhesive from bonding. Let the wall dry completely before proceeding.
Sand or scuff glossy paint. If the wall has a high-gloss or semi-gloss finish, lightly sand it with 80-grit sandpaper to give the adhesive something to grip.
Check for flat surfaces. Use your level to check for high and low spots. Tile bridges gaps but does not float over significant bumps or dips. Fill any holes or dips with joint compound, let dry, and sand smooth.
Install cement board in wet areas. If the backsplash area behind the sink gets direct water splash regularly, consider installing cement backer board over the drywall first. Standard drywall handles occasional splashes fine. Continuous direct water exposure eventually compromises it.
Step 3 — Apply the Tile Adhesive (Ongoing Through Installation)
Work in small sections 2 to 3 square feet at a time. Adhesive skins over quickly, especially in warm or dry conditions. If you spread too much at once, the surface dries before the tile contacts it and the bond fails.
Scoop a manageable amount of mastic or thin-set onto your notched trowel. Spread it on the wall at a 45-degree angle, creating uniform ridges across the surface. The ridges collapse when the tile presses into them, creating full contact between tile and adhesive.
Do not apply adhesive over outlet boxes or light switch locations.
Step 4 — Set the Tile (The Main Work — 3 to 6 Hours)
Start at your center mark and work outward in both directions. Press each tile firmly into the adhesive with a slight twisting motion to ensure full contact. Use your rubber mallet and a beating block (a scrap piece of tile or wood) to gently tap tiles level and even.
Place tile spacers at every corner as you go. Spacers maintain consistent grout line width across the entire installation. Remove them before the adhesive cures typically after a few hours.
Check level frequently. Use your 24-inch level across every 4 to 5 tiles horizontally and vertically. Small misalignments that seem minor early on become very obvious after grouting.
Cutting tiles for edges and outlets:
Use your tile cutter for straight edge cuts. Score the tile along the cut line with the blade, then snap it cleanly. For cuts around outlet boxes, use tile nippers or a wet saw to nibble away small pieces until the tile fits around the box opening.
Leave a small gap at the countertop line and at inside corners. Do not grout these joints they get caulk instead. Caulk is flexible and accommodates the slight movement that occurs at these transition points. Grout is rigid and will crack at these locations over time.
Let the adhesive cure for the manufacturer’s recommended time before grouting typically 24 hours for mastic, sometimes less for thin-set. Do not rush this step. Moving to grout before the adhesive cures pulls tiles out of position.
Step 5 — Apply the Grout (1 to 2 Hours)
Mix your grout to a smooth, lump-free consistency. It should hold its shape when scooped but spread easily with the float.
Apply grout by pressing the grout float diagonally across the tile surface at a 45-degree angle. This pushes grout fully into the joints without pulling it back out. Work in 3 to 4 square foot sections.
After filling the joints, use the edge of the float held at a steep angle to scrape excess grout off the tile surface. Get as much as possible off before it starts to dry.
Wait 15 to 20 minutes. Then dampen a large sponge and wipe diagonally across the tile in circular motions. Rinse the sponge constantly dirty grout water smeared back onto the tile leaves a haze that is harder to remove later.
The grout haze: Even with careful wiping, a thin film of dried grout typically remains on the tile surface after cleanup. Once the grout has cured for 24 hours, buff this haze away with a dry microfiber cloth. For stubborn haze, a diluted solution of white vinegar and water works on ceramic and porcelain tile but do not use it on natural stone tile.
Step 6 — Caulk the Transitions (30 Minutes)
Apply caulk at the countertop-to-tile joint, at inside corners where two tiled walls meet, and anywhere tile meets a different surface material. Use a caulk color matched to your grout color so the transitions are nearly invisible.
Smooth the caulk bead with a wet finger or caulk tool. Clean up excess immediately with a damp cloth. Let the caulk cure for 24 hours before exposing the joint to water.
Step 7 — Seal the Grout (30 Minutes)
Grout is porous. Unsealed grout absorbs cooking grease, food stains, and cleaning product residue. It turns dark and blotchy within months of installation.
Apply a quality penetrating grout sealer once the grout has fully cured typically 48 to 72 hours after grouting. Apply the sealer in thin, even coats with a small brush or the applicator tip. Wipe off any excess sealer from the tile face before it dries.
Reseal grout annually in kitchen backsplash applications where cooking grease is a regular concern.
You can read about: How to Install Vertical Shiplap Backsplash
Important Tips for Better Results
These details separate a good installation from a great one.
Dry-fit your layout before applying any adhesive. Lay out tiles on a flat surface in the planned pattern first. Identify problem cuts, verify the layout looks the way you imagined, and adjust the starting point if needed. This prevents expensive surprises once adhesive is involved.
Use matching grout in countertop transition caulk. Most tile retailers sell caulk specifically formulated to match their grout colors. Using it makes the countertop joint look intentional rather than like an afterthought.
Cut tiles for outlets slightly smaller than the opening. The outlet cover plate overlaps the tile by about 1/4 inch on each side. Cuts do not need to be perfect the cover hides the edge. This takes a lot of stress out of the most fiddly part of the installation.
Keep a bucket of clean water and fresh sponges close at all times. The difference between a clean grout job and a hazy mess comes down to how frequently you rinse your sponge. Rinse after every two or three wipes. Do not let grout water sit on the tile.
Install full tiles at the most visible height. When your layout requires cuts, put cut tiles at the bottom near the countertop rather than at eye level. Cuts at the countertop line are hidden by kitchen appliances and the countertop overhang. Full tiles at eye level look intentional and professional.
Common Mistakes to Avoid
These are the most common errors first-time installers make when learning how to do backsplash work.
Skipping wall prep. Greasy or glossy walls are the number one cause of tile that falls off months after installation. The adhesive bond is only as strong as the surface it sticks to.
Using too much adhesive. More is not better with tile adhesive. Excess adhesive squeezes up into the grout joints and has to be cleaned out before grouting a tedious process. Apply enough to get full contact, not so much that it overflows every joint.
Grouting too soon. Checking the adhesive manufacturer’s cure time and actually waiting for it is not optional. Early grouting disturbs the adhesive bond and causes tiles to shift or eventually pop off.
Using grout in corner joints. Rigid grout at inside corners and at the countertop-to-tile junction cracks within months. Caulk is the correct material for all transition joints.
Not sealing the grout. Unsealed kitchen grout looks good for about 30 days. After that, cooking grease and daily staining turn it grey, brown, or blotchy depending on the original grout color. Sealing is a 30-minute task that adds years to the fresh appearance of your installation.
Measuring tile quantity too tightly. Always buy at least 10 percent extra. Tile lots vary slightly in color between production runs. If you run short and need to buy more from a different lot, the color match will be close but not perfect.
How to Add a Backsplash Without Tearing Out the Old One
If you already have tile but want a new look, you have two options.
Tile over tile possible if the existing tile is flat, firmly bonded, and the added height will not create problems at outlets or under upper cabinets. Use a polymer-modified thin-set for better adhesion to the existing tile surface.
Peel-and-stick tile panels a faster approach for renters or homeowners who want a temporary change. Quality peel-and-stick options have improved significantly. They work best over perfectly smooth, clean surfaces and are not as durable as traditional tile in high-heat or high-moisture zones.
Final Thoughts
Knowing how to install backsplash correctly gives you the skills to transform one of the most visible surfaces in your kitchen at a fraction of the cost of professional installation. The process is logical, the materials are affordable, and the results when the prep work is done properly last for decades.
The most important investments in any backsplash project are wall preparation, patient tile setting, proper grout cure time, and sealing. Get those four things right and the rest follows naturally.
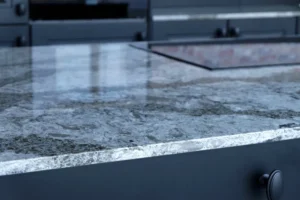
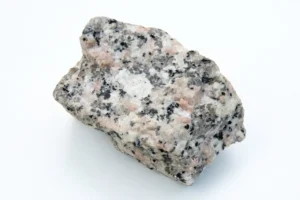
If your project involves natural stone tile, large-format tile, or a complex layout with multiple cuts and transitions, professional installation is worth considering. Stone tile requires different adhesive, different grout, and more precise handling than ceramic or porcelain.
SF Marble & Granite provides professional Backsplash Installation in Lowell, MA for all tile types ceramic, porcelain, glass, and natural stone. Our installation team handles everything from layout planning through final sealing, with results that are built to last. Contact us today for a free estimate on your backsplash project.
Frequently Asked Questions (FAQs)
How to install backsplash over existing painted drywall?
Yes with proper prep. Sand or scuff the painted surface to remove gloss, clean it thoroughly with degreaser, and let it dry completely before applying mastic adhesive. Standard painted drywall is a suitable substrate for kitchen backsplash tile as long as the paint is firmly adhered and the surface is flat. Use cement board over drywall only in areas with direct water exposure.
How long does it take to apply backsplash to a kitchen?
A standard kitchen backsplash roughly 20 to 30 square feet takes most first-time DIYers a full weekend. Day one covers wall prep and tile setting. Day two handles grouting, caulking, and sealing after the adhesive cures. Experienced installers work faster, but rushing cure times causes problems regardless of skill level.
How to put backsplash around outlets and switches?
Turn off the circuit breaker for those outlets before starting. Use tile nippers or a wet saw to cut tiles to fit around the electrical box opening. The cuts do not need to be precise the outlet cover plate overlaps the tile edge by about 1/4 inch on each side and hides imperfect cuts. Replace outlet covers with slightly larger cover plates if needed for a cleaner finish.
How to do backsplash in a corner where two walls meet?
Set tiles on both walls meeting at the inside corner. On one wall, run the tile to the corner edge. On the adjacent wall, run the tile up to and butting against the first wall’s tile edge. Do not grout this inside corner joint apply color-matched caulk instead. Caulk accommodates the slight movement that occurs at corner transitions without cracking.
How to add a backsplash without damaging countertops?
Apply painter’s tape along the countertop edge before starting. This protects the countertop from adhesive, grout, and tools during installation. When the project is complete and the grout has cured, remove the tape carefully and apply your caulk bead at the countertop-to-tile transition for a clean, protected joint.