How to Remove Tile Flooring: Ultimate Guide 2025
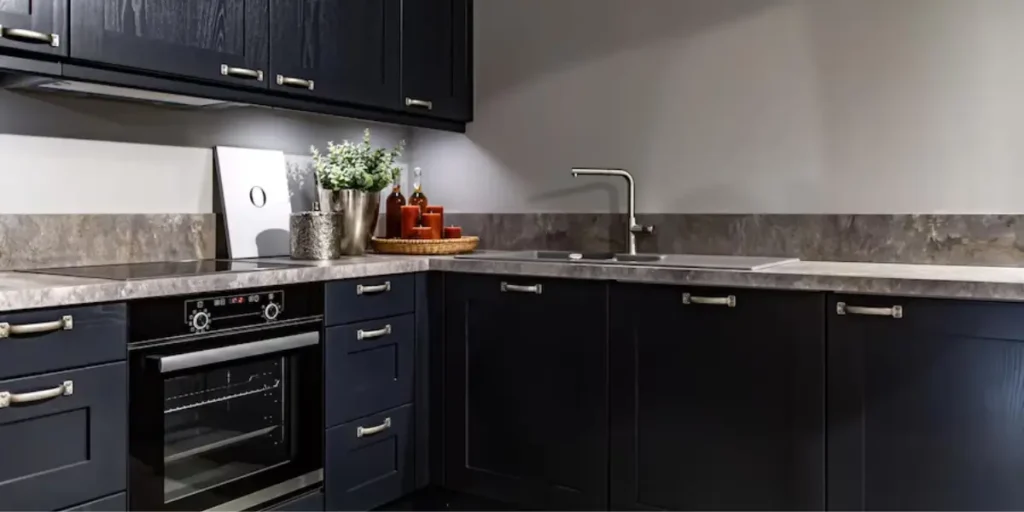
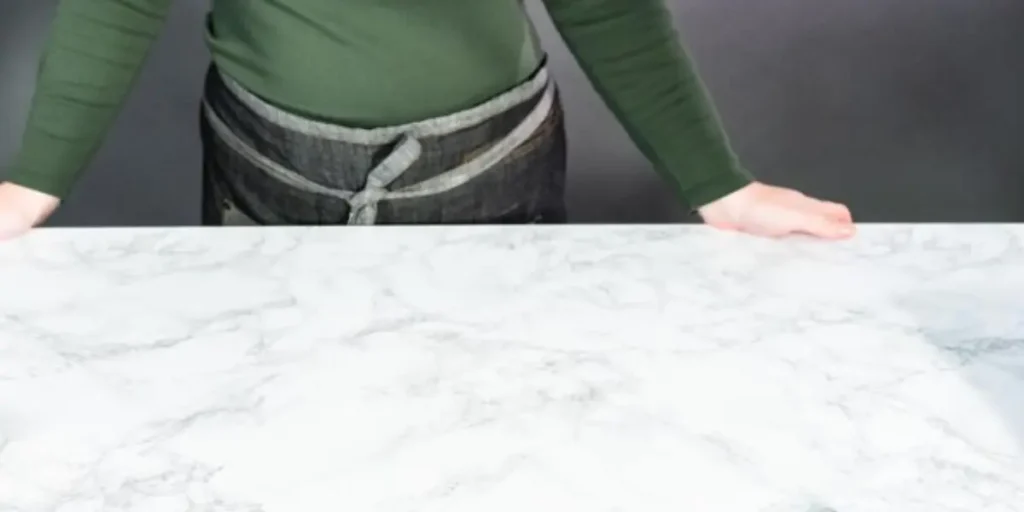
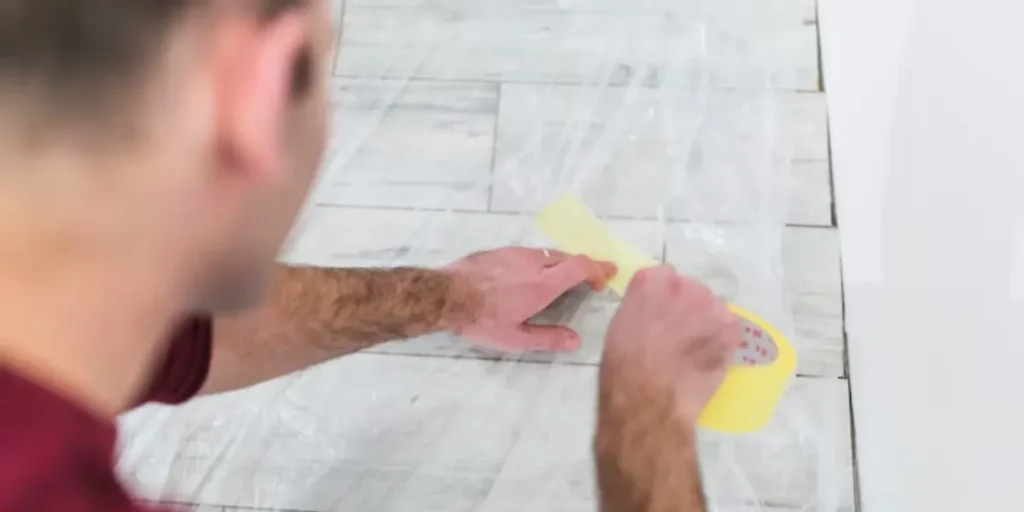
Home Are you tired of staring at that outdated tile flooring in your home? You’re not alone. Many homeowners find themselves in the same predicament, unsure of where to start when it comes to removing those stubborn tiles. Luckily, you’ve stumbled upon the ultimate guide that will take you through the step-by-step process of tile removal with ease. From preparing your workspace to choosing the right tools, we’ve got you covered. At SF Marble And Granite Inc, we understand the importance of quality craftsmanship and attention to detail. With years of experience in the industry, our team is dedicated to providing top-notch services that exceed your expectations. Whether you’re looking to revamp your home or tackle a renovation project, you can trust us to deliver exceptional results. Let’s dive into the world of tile removal together and transform your space into something truly remarkable. Preparing for Tile Removal Before you embark on the journey of tile removal, it’s crucial to prepare your workspace adequately. Safety should be your top priority, so be sure to gather the necessary safety gear including gloves, goggles, and a dust mask. Clear the area of any obstacles and protect surrounding surfaces to prevent damage during the removal process. Additionally, ensure proper ventilation to minimize exposure to dust and debris. Taking these precautionary measures will not only keep you safe but also make the tile removal process smoother and more efficient. Tools and Materials Needed To successfully remove tile flooring, you’ll need the right tools and materials at your disposal. Here’s a checklist to ensure you’re well-equipped for the task: Tools Materials Having these tools and materials on hand will make the tile removal process more manageable and ensure a successful outcome. Step-by-Step Guide for Tile Removal Removing Grout Start by removing the grout surrounding the tiles. Use a grout removal tool or a utility knife to carefully scrape out the grout. Work in small sections, applying gentle pressure to avoid damaging the tiles. Take your time with this step to ensure thorough grout removal. Breaking and Removing Tiles Once the grout has been removed, it’s time to start breaking and removing the tiles. Begin at a corner or edge of the tile and use a hammer and chisel or a pry bar to gently break the tile away from the surface. Work your way across the floor, breaking and removing tiles one at a time. Use a floor scraper or putty knife to remove any remaining adhesive or mortar from the subfloor. Cleaning the Subfloor After all the tiles have been removed, clean the subfloor to remove any debris, adhesive, or mortar residue. Use a bucket of water and a sponge to wipe down the surface, ensuring it is clean and smooth. Allow the subfloor to dry completely before proceeding with any further flooring installation. Following these steps will help you remove tile flooring effectively and prepare the subfloor for your next renovation project. Tips and Tricks for Easier Tile Removal Pre-Soak Tiles Consider pre-soaking the tiles with a solution of warm water and vinegar or a commercial adhesive remover. This can help loosen the adhesive and make the tiles easier to remove. Use Heat Apply heat to stubborn tiles using a heat gun or hair dryer. Heat can soften the adhesive, making it easier to pry the tiles away from the surface. Work in Sections Divide the floor into manageable sections and focus on one area at a time. This approach will make the task less overwhelming and allow you to maintain a steady pace. Protect Yourself Wear safety gloves, goggles, and a dust mask to protect yourself from dust, debris, and sharp edges during the tile removal process. Utilize Power Tools Consider using power tools such as a power drill with a tile-cutting bit or an angle grinder with a diamond blade to cut through stubborn tiles or thick mortar more efficiently. Pry Carefully When prying tiles away from the surface, work slowly and carefully to avoid damaging the subfloor or surrounding tiles. Use a pry bar or putty knife to gently lift the tiles away. Stay Organized Keep track of removed tiles by labeling them or placing them in designated containers. This will make it easier to reinstall or dispose of the tiles later. Take Breaks Tile removal can be physically demanding, so be sure to take regular breaks to rest and rehydrate. Listen to your body and avoid overexertion. By implementing these tips and tricks, you can make the tile removal process smoother and more manageable, achieving professional results with less stress and frustration. Pros and Cons of removing tile from concrete floor Pros of Removing Tile from Concrete Floor Renovation Flexibility: Removing tile from a concrete floor opens up opportunities for redesign and renovation. You can choose new flooring options to better suit your style and preferences. Surface Preparation: Removing old tile allows for proper surface preparation, ensuring better adhesion for new flooring materials. This can result in a smoother and more durable finish. Improved Aesthetics: Old, worn-out tiles can detract from the overall appearance of a space. Removing them can instantly refresh the look of the room and increase its visual appeal. Repair Damaged Concrete: Removing tile provides an opportunity to assess the condition of the concrete substrate. Any damage or imperfections can be addressed and repaired before installing new flooring. Enhanced Property Value: Upgrading flooring can increase the value of your property. By removing outdated tile and installing modern flooring options, you can potentially attract more buyers and command a higher sale price. Cons of Removing Tile from Concrete Floor Labor Intensive: Tile removal from concrete floors can be a labor-intensive process, requiring time, effort, and physical exertion. It may also involve the use of heavy tools and equipment. Potential Damage: During tile removal, there is a risk of damaging the concrete substrate, especially if not done carefully. Cracks or gouges in the concrete can necessitate additional repairs, adding to the overall cost and time of the
How to Remove Tile Flooring: Ultimate Guide 2025 Read More »