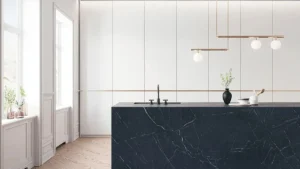
Beautiful and tough, granite counters last ages. Still, bumps happen. A clumsy moment might send a pot crashing down. That kind of hit can snap off a tiny piece. Heavy gadgets falling just right cause similar trouble. Even something pointy may nick the surface. Little breaks like these stand out more than you’d think.
Most small nicks in stone don’t need full replacement. Fixing a chip in granite by yourself might just bring back its look before cracks spread. Using the right stuff matters – matched color epoxy, careful application. Some DIY repairs blend so well you’d think nothing ever happened. Success depends on how steady your hand is and picking supplies made for stone.
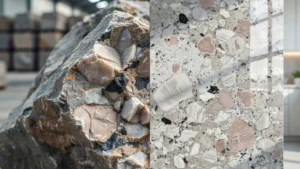
Why Granite Chips Happen
Still, granite stands as one of the hardest materials for kitchen tops, though heavy pressure can leave marks. Heat hardly bothers it, nor does scratching from knives, but a sharp blow could snap small pieces away. Day after day, normal activity rarely pushes it that far.
When something hits a countertop, the edges take the brunt first. Corners crack more easily since pressure focuses there. Bad-fitting work leaves gaps that weaken support. Overhangs without backing sag over time. Tiny flaws inside the material spread under stress. Weak spots hidden at birth show up later.
Figuring out the reason behind the harm lets you avoid repeating problems later on – shielding your purchase well into the future.
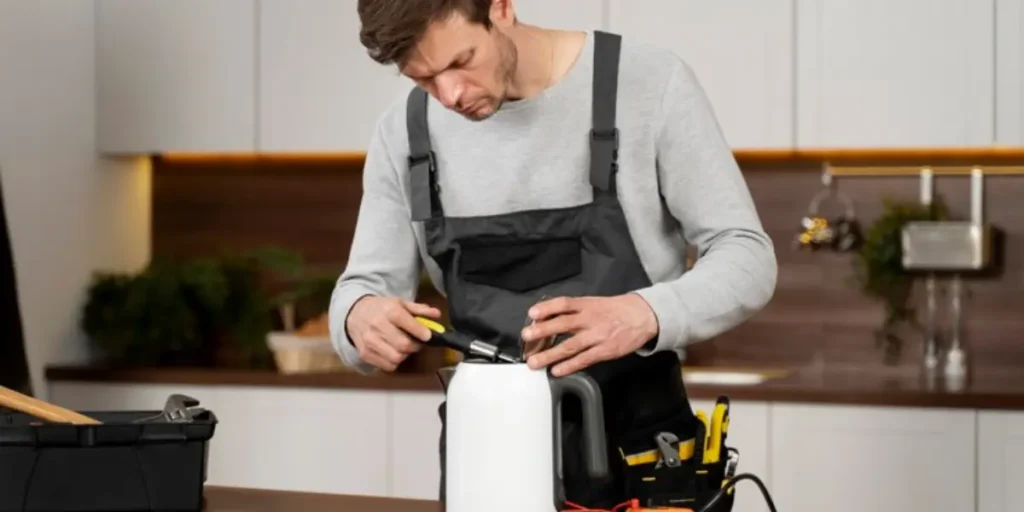
Tools and Materials You’ll Need
Start by collecting every tool you’ll need before diving into fixes. When each piece sits nearby, the work flows easier plus mistakes drop away. A full setup means fewer trips across the room – less chaos, more progress.
Essential Repair Materials
Most times, fixing a granite countertop works best with a dual-component epoxy made just for stone. Acetone or rubbing alcohol comes into play for prep work. Painter’s tape holds edges clean during application.
Most everyday glues aren’t built for stone – they can yellow or crack when used near heat or water. A proper stone repair kit sticks better, lasts longer, and finishes smoother.
Optional Items for Better Results
Most countertops carry a mix of tones and flecks. When fixing chips, matching that look matters. Pigments adjust the epoxy’s shade so it blends right in. Because natural stone rarely looks uniform, customizing the filler helps hide the fix. A touch of color goes far toward making repairs disappear.
A rough patch could need light sanding after the glue dries, just enough to blend it into nearby areas. The surface takes on a softer feel when worked gently by hand
Step-by-Step Guide: How to Fix a Chip on Granite Countertop

Right steps lead to strong outcomes over time. What counts above all? Precision keeps repairs invisible. Jumping ahead invites problems later on. Care shapes how long the result will hold.
Inspect and Clean the Damaged Area
Look closely at the damaged spot first thing. Its position matters just as much as how deep it goes. Size plays a role too – tiny nicks tend to fix faster compared to wide gaps where stone is gone.
Piece by piece, cover the edges near the chip with tape so drips stay where they belong.
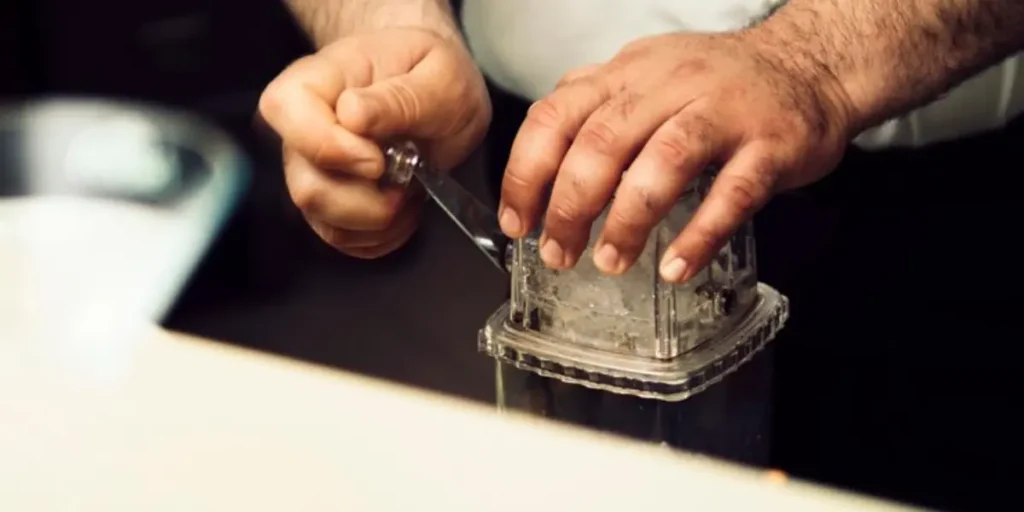
Prepare and Apply the Epoxy
Start by blending the dual-component epoxy as directed on the package. When needed, toss in some pigment so it lines up better with your countertop’s shade.
Start by pressing the epoxy into the chipped spot with a narrow putty blade. That little tool helps pack the goop deep so no bubbles stay behind. Firm pressure makes it stick right where needed. The fix holds best when the gap is fully packed without gaps.
Start high when filling the cavity since shrinkage happens during hardening. That extra bit? Sand it smooth once set.
Allow Proper Curing Time
Waiting matters now. Many stone-fixing resins need a few hours before they set, yet sometimes demand nearly a full day to finish curing.
Wait before going near the fix. If touched too soon, the glue might not set properly. A bump while drying could leave a mark. Let time do its job without interference.
Curing works better when you stick to the maker’s advice. What matters most is doing it their way. Their guidance shapes how well things turn out. Follow each step they give. The outcome improves if their rules are used. Doing what they suggest makes a difference. Success comes easier that way.
Sand and Polish the Surface
After the epoxy hardens, start smoothing the spot with fine sandpaper. Take your time – pause now and then to see how it looks. This helps keep the nearby surface safe from scratches.
Start by applying a stone polish after smoothing things out. That last touch brings back the glossy look across the whole area. A well-blended fix hides the damage right where it was cracked.
Smoothness matters most when fixing a chip in the countertop. The patch ought to blend into the nearby stone without standing out. Running your hand across it shouldn’t catch on any rough edges. Matching color is key – off-tones draw attention where none should go. A good fix disappears at a glance, feels even under fingertips. Little details make the difference between obvious and invisible.
You can read about: How To Fix Tiles With Tile Adhesive
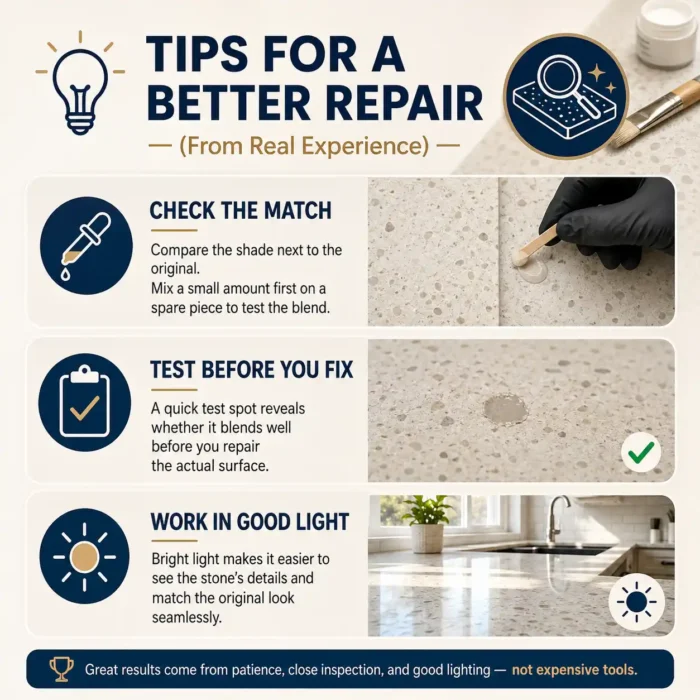
Tips for a Better Repair (From Real Experience)
A well-done fix usually comes down to careful observation, not costly gear. What matters most is noticing small things, instead of what’s in the toolbox. Finishing strong tends to follow from patience, rarely from price tags. The outcome improves when focus leads, while fancy gadgets trail behind. Success hides in close inspection, seldom in high-end equipment.
Start by checking how close the shade looks next to the original. Try mixing a bit first on something you won’t keep to see if it blends right. A quick test spot shows whether it matches well ahead of fixing the counter.
When light fills your workspace, spotting differences in the stone’s surface becomes simple. A bright space helps match repairs to the original look without harsh contrasts showing through.
When to Call a Professional Instead
DIY granite repair works well for small chips up to about 1/2 inch in diameter. Beyond that size and complexity, professional stone repair produces significantly better results.
Call a professional for:
- Large chips or chunks — removing a section of material larger than 1/2 inch leaves a void that is difficult to fill invisibly with DIY methods
- Chips in highly visible locations — the center of a countertop run, the main sink edge, or any surface viewed at close range regularly warrants professional attention
- Cracks rather than chips — structural cracks in granite require different repair techniques than surface chips and should always be assessed by a professional
- Failed DIY repairs — removing and re-doing a poorly executed epoxy repair is harder than doing it correctly the first time
- Quartzite repair — quartzite is harder and more complex to repair than granite and benefits from professional handling more often than standard granite countertop repair work
- Stone countertop repair on premium or expensive material — Calacatta, Paonazzo, or other luxury stone deserves professional repair to preserve its full value
Tips to Prevent Future Chips
Once you know how to fix a chip on a granite countertop, you also want to avoid needing that knowledge again.
Protect the edges — they are the most vulnerable part of your countertop. Never drag heavy pots across countertop edges. Always lift and set items down rather than sliding them off the edge.
Use cutting boards and trivets. While granite resists scratches and heat, impact from heavy cookware dropped directly onto the surface concentrates force at a single point. Cutting boards and trivets eliminate that impact risk entirely.
Inspect for stress cracks periodically. Run your fingertip along countertop edges every few months. Small surface stress lines that catch your fingernail are early signs of a developing weak point. Filling them with a thin epoxy application before they become chips is far easier than repairing a full chip later.
Avoid putting heavy objects on unsupported overhangs. Overhangs more than 10 to 12 inches beyond the cabinet edge are partially unsupported. Heavy items placed repeatedly at the end of an overhang concentrate stress at the support point and can cause cracking over time.
Reseal your granite annually. Properly sealed granite has better surface integrity than unsealed stone. The sealer does not prevent chips but it does prevent the micro-porosity that can weaken the surface structure of the stone over time.
Contact SF Marble and Granite for Expert Assistance
Some chip repairs are genuinely straightforward DIY projects. Others whether because of size, location, stone type, or complexity benefit significantly from professional expertise.
SF Marble & Granite provides expert Granite Countertop Repair in Lowell, MA for chips, cracks, surface damage, and full stone restoration. Our repair technicians work with all granite varieties, quartzite, marble, and engineered stone using professional-grade materials and techniques that produce results significantly better than consumer repair kits on complex or large damage.
We also assess repairs honestly. If a chip is small and genuinely DIY-appropriate, we will tell you that. If it requires professional work to look right, we will explain why and give you a clear, fair estimate before any work begins.
Conclusion
A small crack in stone could look bad at first glance, but handling repairs alone saves money without hurting how the kitchen appears. Because epoxy handles minor flaws effectively, wiping the area before adding the solution matters – spread it evenly so edges fade into place. After drying slowly, the results merge close to the original surfaces.
Most folks overlook tiny cracks until they spread. Yet a quick patch changes how clean the surface feels. With careful touches, flaws sink back into the slab like old memories. One shaky move risks more damage. Smooth results come not from speed but from pauses between steps. What counts isn’t duration, it’s how much thought goes into each step. Outcomes improve if energy lines up with focus.
Contact us for professional granite repair that restores your countertop to its original condition.
Frequently Asked Questions (FAQs)
How to fix a chip on a granite countertop without a professional repair kit?
For very small surface nicks less than 1/4 inch clear super glue applied with a toothpick and allowed to cure can provide a temporary fill. Sand flush with fine sandpaper and buff. This is a temporary solution only. For anything larger or more visible, a proper two-part stone epoxy kit produces a significantly more durable and visually acceptable result.
How long does granite countertop repair epoxy last?
A properly executed granite chip repair using quality two-part epoxy lasts many years often the lifetime of the countertop. The repair is typically harder than the surrounding stone once fully cured. Failure occurs when the area was not cleaned properly before application, the epoxy was not mixed correctly, or the repair was stressed before full cure.
Can you repair granite countertop chips yourself if the stone is dark colored?
Yes but color matching is harder on dark granite like Absolute Black or Blue Pearl because the contrast between the epoxy fill and the stone is more visible. Use the darkest tinting pigment available in your repair kit and test the color match on cardboard in natural light before applying to the countertop. Many homeowners with very dark granite prefer professional repair specifically because of the color matching challenge.
Is stone countertop repair different for quartzite versus granite?
Quartzite is harder and more crystalline than granite, which makes it more resistant to chipping but also slightly more difficult to repair when chips do occur. The repair process is similar clean, fill with epoxy, cure, sand, and polish but quartzite’s hardness requires more patience during the sanding and polishing stages to achieve a smooth, flush finish.
How do I know if my granite chip needs professional repair or can be done DIY?
DIY is appropriate for chips under 1/2 inch in diameter with no structural cracking extending from the chip. Professional repair is the better choice for chips larger than 1/2 inch, chips with radiating cracks, chips in highly visible central locations, or any repair on premium stone where a perfect match is important. When in doubt, a professional assessment is free at most stone shops and takes the guesswork out of the decision.