
Picking between granite and quartz is one of the biggest...
Read More

How often do you reseal granite countertops? | Guide
Granite looks tough, but it is actually porous. Water, oil,...
Read More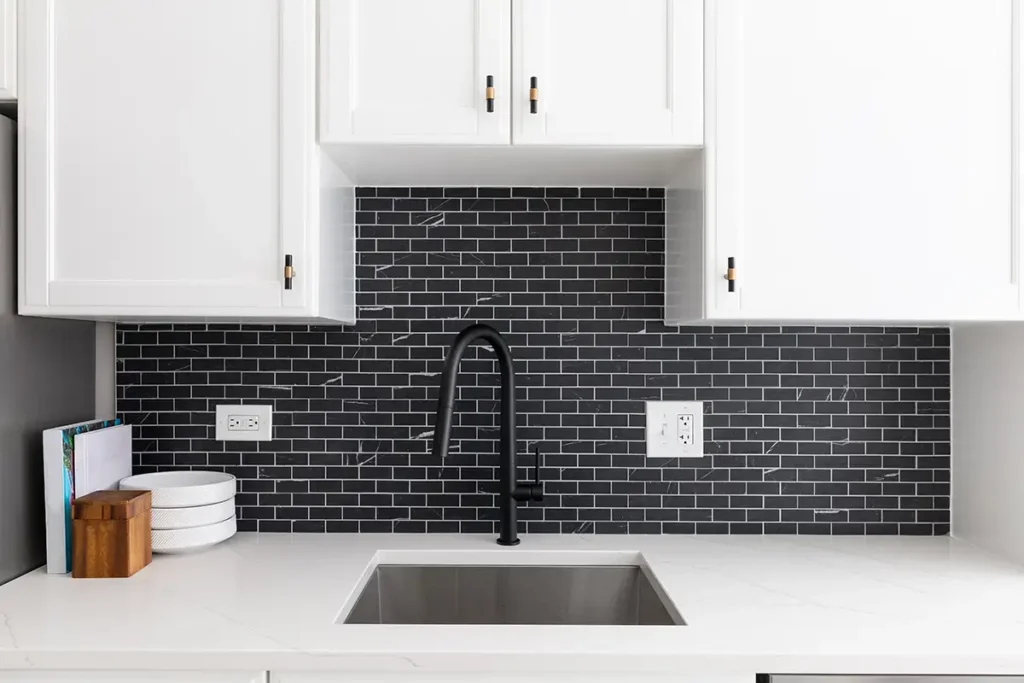
How to Install Backsplash: Step-by-Step Guide
A kitchen backsplash does two important jobs. It protects your...
Read More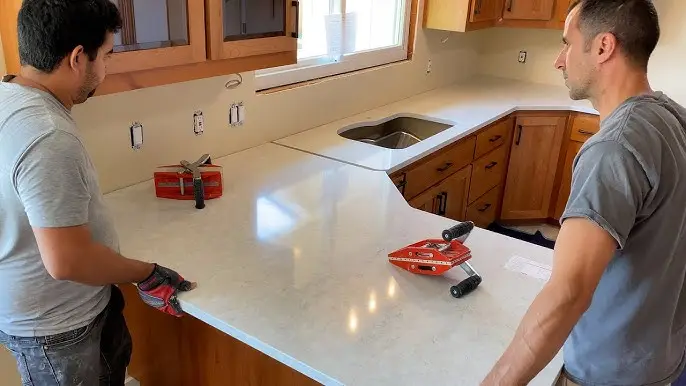
How Long Does It Take to Install Countertops | Guide
Getting new countertops is one of the best upgrades you...
Read More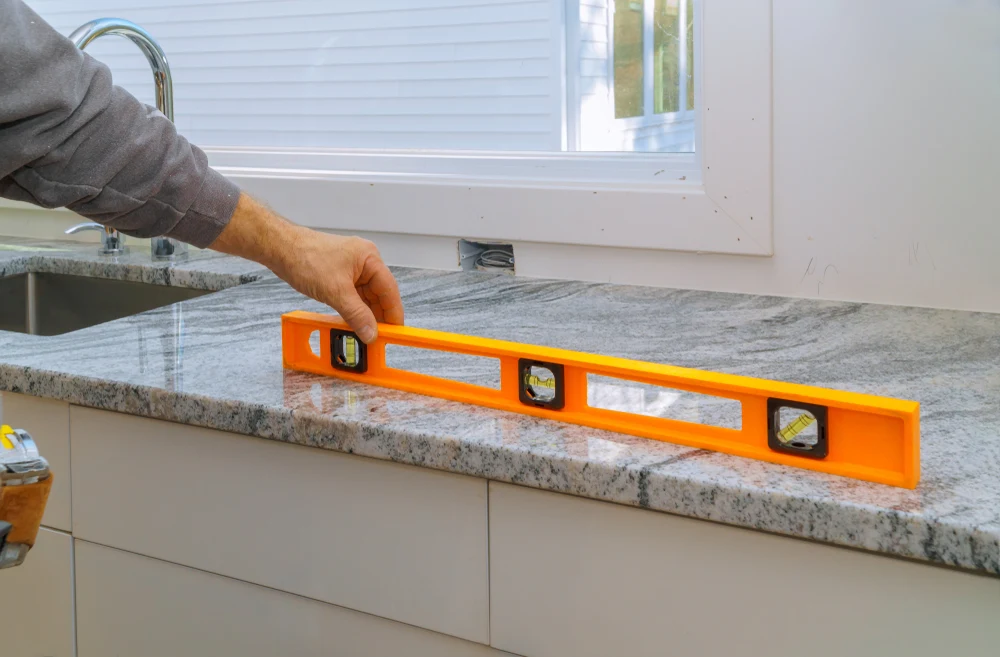
How to Repair Cracked Granite Countertop: Step-by-Step Guide
Granite is tough, but it is not unbreakable. A heavy...
Read More
How to Get Scratches Out of Marble: A Complete Repair Guide
Marble looks stunning until the first scratch appears. It can...
Read More