Learning how to install tile backsplash on drywall not only protects your walls but also boosts your kitchen’s aesthetic appeal. A professionally finished tile backsplash creates a cohesive look, unifying cabinetry, countertops, and décor while adding functional durability. In this guide, you’ll learn step-by-step instructions on how to install tile backsplash, ensuring even gaps, proper adhesion, and a flawless finish. Designed for DIY enthusiasts and budget-conscious homeowners, our guide provides clear, practical tips to help you save on installation costs while achieving a stunning, durable backsplash that enhances your kitchen design.
How to Install Tile Backsplash on Drywall?
To install a tile backsplash on drywall, start by cleaning and priming the surface. Next, create a precise marking grid and apply adhesive evenly. Set your tiles with spacers to ensure uniform gaps, then cut tiles to fit edges and corners before grouting the joints. Finally, seal the grout for lasting protection. This method also works effectively for tiling kitchen backsplashes.
Table of Contents
ToggleUnderstanding the Basics
Definition & Purpose
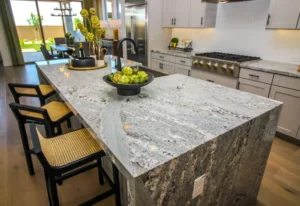
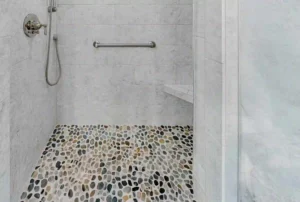
A tile backsplash is a decorative and protective wall covering installed behind countertops. It shields your walls from water, grease, and splashes while adding a visual accent to your kitchen or bathroom. Tiles available in ceramic, porcelain, glass, or natural stone come in myriad designs, letting you express personal style while enhancing the room’s functionality.
Why Drywall?
Drywall is a popular, affordable substrate for installing a backsplash. Its smooth, even surface can yield a clean installation if properly prepared. However, compared to cement board, drywall may be more vulnerable to moisture and requires careful cleaning, repair, and priming. Knowing these benefits and challenges helps you choose the right technique to install backsplash on drywall effectively.
Industry Insights & Design Trends
Current Design Trends
Modern tile backsplash designs emphasize bold geometric patterns, mosaic arrangements, and even hand-painted accents. Neutral tones paired with vibrant splashes are popular, while minimalist designs with subtle textures are gaining traction. These trends offer homeowners multiple ways to personalize their spaces.
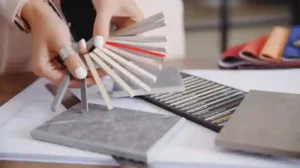
Material & Tile Options
- Ceramic Tiles: Affordable, versatile, and available in numerous styles.
- Porcelain Tiles: Denser and highly water-resistant, making them ideal for kitchens and bathrooms.
- Glass Tiles: Provide a reflective, modern look and help brighten spaces.
- Natural Stone Tiles: Offer unique, organic textures but require more maintenance.
Sustainability & Eco-Friendly Considerations
Eco-friendly solutions are increasingly important. Opt for adhesives with low VOCs and consider recycled or sustainably sourced tiles. These choices not only protect your home’s environment but also improve indoor air quality.
Case Studies & Success Stories
DIY enthusiasts have transformed dated kitchens with a beautifully installed tile backsplash. For instance, one homeowner combined modern ceramic tiles with reclaimed wood accents, creating a unique, budget-friendly update that impressed both family and friends. Real-life examples like this illustrate the power of a well-executed project.
Pre-Installation Planning and Preparation
Measuring & Layout Design
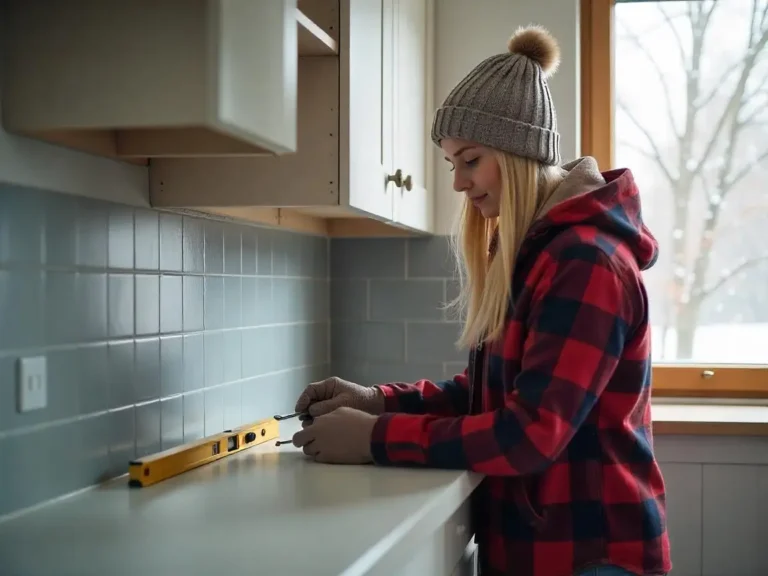
Accurate measurements are critical. Start by measuring the backsplash area and sketching a layout. Create a detailed plan showing tile placement, ensuring you account for necessary cuts and alignment. Use painter’s tape to mark a grid on your drywall, guiding a precise installation.
Tools and Materials Checklist
Gather all essential items:
- Tools: Tile cutter, notched trowel, level, spacers, measuring tape, pencil, and safety gear (gloves, safety glasses).
- Materials: Tiles, adhesive (specifically for tile backsplash on drywall), grout, sealant, and primer if needed.
Preparing the Drywall Surface
Proper preparation ensures durability. Clean the wall thoroughly, repair any cracks or holes, and sand the surface smooth. Apply a primer to improve adhesive bonding—this step is crucial for a long-lasting installation.
Budget Breakdown & Cost Analysis
Estimate your total project cost by researching prices for tiles, tools, and materials. Budgeting tips include comparing local hardware store prices and online deals. Factor in potential ROI, as a new backsplash can increase your home’s appeal and value.
Project Scheduling & Time Management
Develop a realistic timeline that segments your project into phases: preparation, installation, and finishing. Allocate extra time for drying periods and unexpected adjustments to ensure a stress-free process.
Environmental Impact Considerations
Choose sustainable products wherever possible. Eco-friendly adhesives, recycled tiles, and efficient waste management can minimize your project’s environmental footprint while delivering a high-quality finish.
Step-by-Step Installation Process
Creating the Marking Grid
Using a level and pencil, draw a grid on your prepared drywall. This grid serves as a blueprint, ensuring that every tile is aligned correctly. Mark the center and work outwards to maintain balance and symmetry.
Adhesive Application Best Practices
Select an adhesive suited for tile backsplash on drywall. Using a notched trowel, apply a consistent layer of adhesive on a small section of the wall at a time. Working in manageable sections prevents the adhesive from drying before you set your tiles.
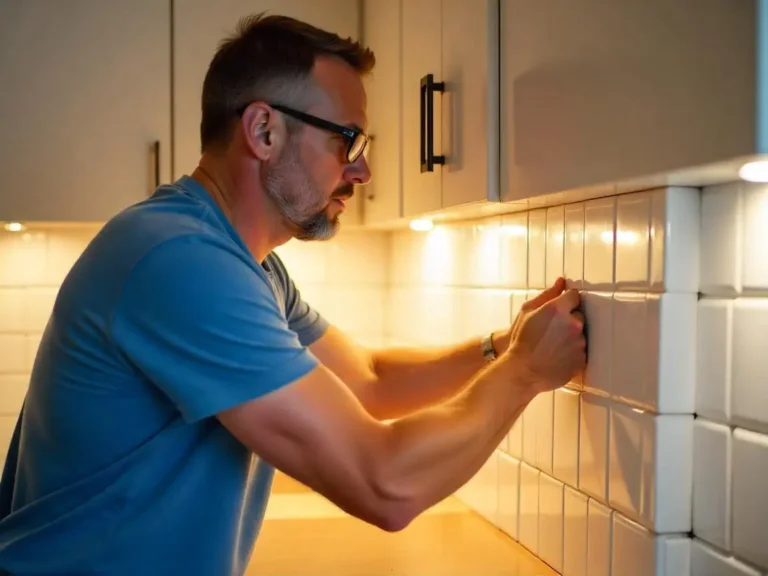
Tile Laying Process
Place tiles along the grid lines, using spacers to maintain uniform gaps. Start from a central point or a key focal area, gradually moving outward. Keep checking with a level to ensure tiles are straight and even.
Cutting and Fitting Tiles
For edges and corners, measure carefully and cut tiles with a tile cutter or wet saw. Aim for precise, clean cuts to ensure a seamless finish, and always test fit a tile before final placement.
Advanced Installation Techniques
For uneven surfaces or custom layouts, advanced techniques may be required. If tiling backsplash over drywall presents challenges due to imperfections, consider reinforcing areas with backer boards or shims. Experiment with custom patterns to add a personal touch to your design.
Finishing the Installation
Grout Selection and Application
Choose a grout that complements your tiles and meets your durability needs. Once the adhesive has set, remove spacers and apply the grout using a rubber float. Work it thoroughly into the gaps, then smooth and clean the surface with a damp sponge for a professional look.
Sealing and Protecting Your Work
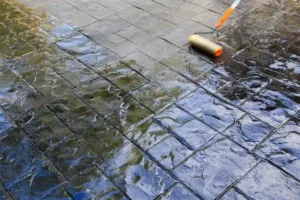
Sealing is key to longevity. Once the grout is dry, apply a high-quality sealant to protect against moisture, staining, and everyday wear this step is especially crucial in kitchens and bathrooms.
Enhancing the Aesthetic Finish
Improve your backsplash’s appearance by adding caulking along the edges or installing trim pieces. These final touches cover minor imperfections and provide a polished, cohesive look.
Safety Considerations and Best Practices
Prioritize safety by wearing protective gear such as gloves and safety glasses. Work in a well-ventilated area, follow all manufacturer guidelines, and keep your workspace organized to prevent accidents.
Post-Installation Maintenance & Future Upgrades

Routine Maintenance Tips
Regular upkeep is essential. Clean your tile backsplash with non-abrasive cleaners and re-seal the grout periodically to maintain its protective qualities. Promptly address any signs of wear to avoid long-term damage.
Preventative Maintenance Strategies
Adopt advanced strategies like scheduling annual inspections and preemptively repairing minor issues. This proactive approach can extend the lifespan of your backsplash and keep it looking fresh for years.
Customization and Future Upgrades
Over time, consider personalizing your backsplash further. Options include replacing individual tiles, adding decorative accents, or even integrating smart lighting to enhance ambiance. This flexibility ensures your space evolves with your style and needs.
Elevate Your Kitchen with SF Marble & Granite in Lowell
At SF Marble & Granite, we’re more than just experts in backsplash installation we’re your neighbors. We understand the unique architectural styles and design preferences that make Lowell special. Whether you’re restoring a charming Victorian home or updating a modern condo, our tailored services ensure your kitchen reflects your style while maintaining the highest quality. Trust us to transform your space into a stunning blend of functionality and beauty, perfectly suited to the Lowell lifestyle.
Conclusion
This guide has taken you step-by-step from meticulous planning and precise measurements, through preparing and laying your tile backsplash on drywall, to the finishing touches and essential maintenance that ensure long-lasting beauty and durability. I encourage you to experiment with different designs, personalize your installation to match your unique style, and share your successes with our community. If you found these tips helpful, subscribe for more DIY guides, comment below with your project experiences, or contact us for professional advice to make your next project even more successful.
FAQs
What Is The First Step In Installing A Tile Backsplash On Drywall?
Begin by preparing the drywall surface clean, repair, and prime it for optimal adhesion.
What Tools And Materials Are Necessary For This Project?
Essential tools include a tile cutter, notched trowel, level, spacers, and safety gear; materials include tiles, adhesive, grout, and sealant.
How Do I Ensure The Tiles Are Level And Evenly Spaced?
Use a marking grid and spacers to guide the layout and maintain consistent gaps.
What Common Mistakes Should I Avoid During Installation?
Avoid insufficient surface preparation, improper adhesive application, and uneven grouting.
How Do I Maintain My Tile Backsplash Once It’s Installed?
Regular cleaning, re-sealing grout periodically, and addressing any wear or damage promptly are key.
Are There Eco-Friendly Options For Tile Installation?
Yes, consider using eco-friendly adhesives and recycled tiles to minimize environmental impact.
Can These Techniques Be Applied To Tiling Kitchen Backsplashes Specifically?
Absolutely. The methods for tiling kitchen backsplash are integrated into this guide with tips tailored to kitchen-specific challenges.