A kitchen backsplash is more than just a pretty face – it’s a functional powerhouse that protects your walls from splashes, stains, and everyday wear and tear. Installing backsplash tile sheets is a fantastic DIY project that can transform your kitchen’s look while adding value to your home. Whether you’re a seasoned DIY enthusiast or a first-time renovator, this guide will walk you through the process of creating a stunning focal point in your kitchen using tile sheets. From choosing the right materials to the final touches, we’ll cover everything you need to know to make your kitchen remodel a success.
How to Install Backsplash Tile Sheets?
Installing backsplash tile sheets involves several key steps: preparing the area, planning your design, applying adhesive, setting the tiles, grouting, and sealing. First, clear the workspace and protect surfaces. Then, clean and prep the wall. Next, apply adhesive and carefully place your tile sheets. Once set, apply grout and clean excess. Finally, seal the grout and tiles for long-lasting protection. Each step is crucial for a professional-looking finish that will make your kitchen ideas & projects come to life.
Exploring Backsplash Tile Sheet Options
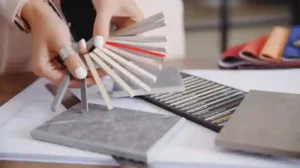
When it comes to backsplash materials, the options are endless. Tile sheets come in various materials, including ceramic, glass, metal, and stone. Each offers unique benefits:
- Ceramic tiles are durable and easy to clean
- Glass tiles add a modern, reflective touch
- Metal tiles create an industrial chic look
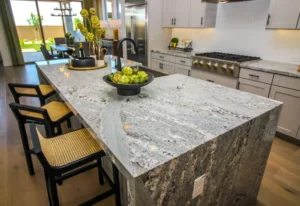
- Stone tiles bring natural beauty to your kitchen
Emerging trends include fluted tiles for added dimension and peel-and-stick options for easy installation. Consider your kitchen’s style and your personal preferences when choosing. Remember, your backsplash is a chance to express your creativity and enhance your home decor ideas.
Design Considerations
Your backsplash should complement your existing cabinetry and countertop. Consider these design tips:
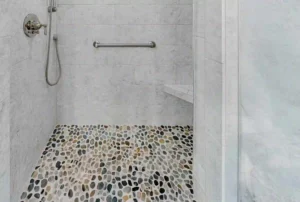
- Choose colors that harmonize with your kitchen palette
- Experiment with patterns like herringbone or subway tile layouts
- Mix and match textures for visual interest
- Use contrasting grout colors to make tiles pop
Balance aesthetics with functionality – a busy pattern might look great but could be overwhelming in a small space. Take your time with the design phase; it’s the foundation of your project.
Budgeting and Cost Estimation
Before diving in, it’s essential to budget for your backsplash project. Costs can vary widely depending on materials and scope. Here’s a breakdown:
- Tiles: $5-$50 per square foot
- Adhesive and grout: $30-$50
- Tools: $50-$200 (if you don’t already have them)
To save money without compromising quality:
- Shop sales and clearance sections
- Consider using a mix of high-end and budget-friendly tiles
- Rent tools instead of buying
- DIY the installation to save on labor costs
Remember to factor in a 10% overage for cuts and mistakes.
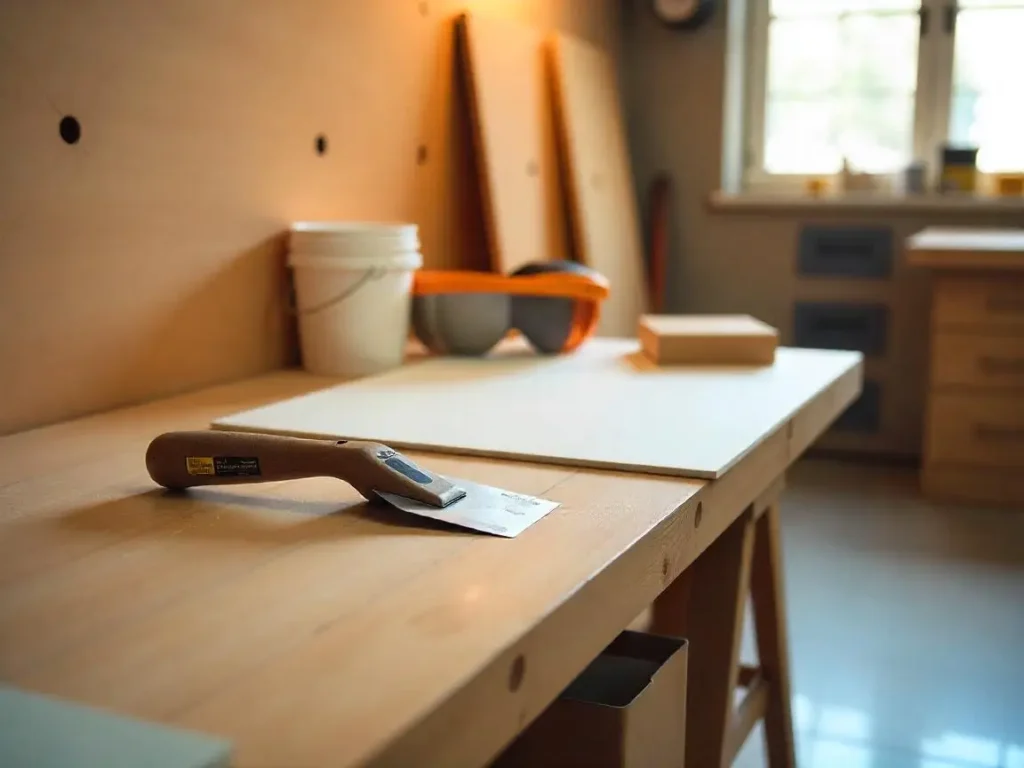
Preparing the Workspace
A clean, organized workspace is crucial for a successful installation. Follow these steps:
- Clear countertops and remove appliances
- Cover surfaces with drop cloths or plastic sheeting
- Remove switch plates and outlet covers
- Disconnect stove and other appliances if necessary
- Ensure proper lighting and ventilation
Safety first: Power off any electrical outlets you’ll be working around.
Surface Preparation
Proper wall preparation is key to a long-lasting backsplash. Here’s what you need to do:
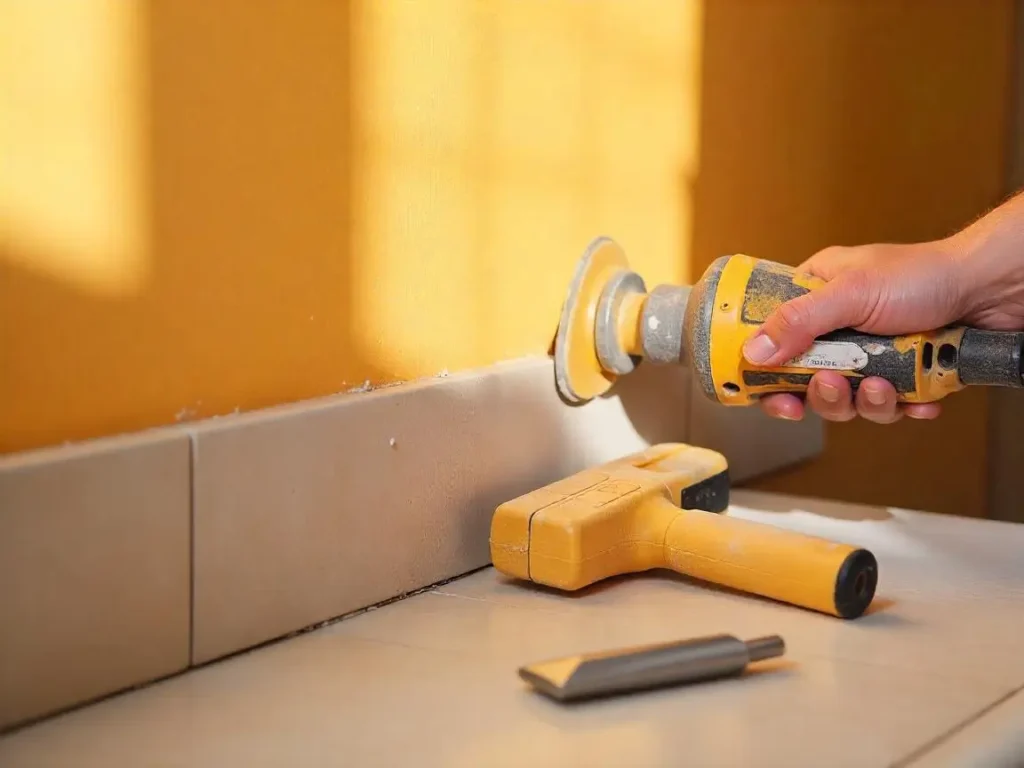
- Clean the wall thoroughly, removing any grease or dust
- Sand the surface to create a better grip for the adhesive
- Patch holes with spackle or joint compound
- For uneven surfaces, consider installing backer board
- If removing old tile, use a masonry hammer and chisel, wearing safety glasses
Take your time with this step – a smooth, clean surface will make tile installation much easier.
Install a Ledger Board
A ledger board is crucial for ensuring your tiles are level and properly supported. Here’s how to install one:
- Mark a level line where your tiles will start
- Cut a straight piece of wood to fit the width of your installation area
- Attach the board to the wall using finishing nails
- Use a level to ensure it’s perfectly straight
- This board will support your first row of tiles and keep everything even
Remember, the ledger board is temporary and will be removed after the adhesive sets.
Plan the Design
Planning your layout is crucial for a professional-looking finish. Follow these steps:
- Measure your backsplash area and sketch out your design
- Consider the placement of outlets and switches
- Decide on a pattern – stacked, staggered, or herringbone
- Dry-fit your tiles to test the layout
- Mark the center point of your wall and work outwards for symmetry
- Plan for cut tiles around obstacles
Take your time with this step – a well-planned layout will make installation much smoother.
Cut the Tiles
Cutting tiles accurately is essential for a polished look. Here’s how to do it:
- Measure and mark your cuts carefully
- Use a tile cutter for straight cuts
- For complex cuts, use a wet saw or angle grinder
- Always wear safety equipment including eye protection and a respirator
- Make a small cut first, then deepen it gradually
- Clean cut edges with sandpaper for a smooth finish
Remember, measure twice, cut once to avoid wasting tiles.
Mix and Apply Adhesive
Proper adhesive application is crucial for a secure installation. Follow these steps:
- Choose the right adhesive for your tile type
- Mix thin-set mortar according to manufacturer’s instructions
- Use a notched trowel to apply adhesive at a 45-degree angle
- Work in small sections to prevent the adhesive from drying out
- Ensure even coverage for proper tile adhesion
Remember, you have limited working time once the adhesive is mixed, so work efficiently.
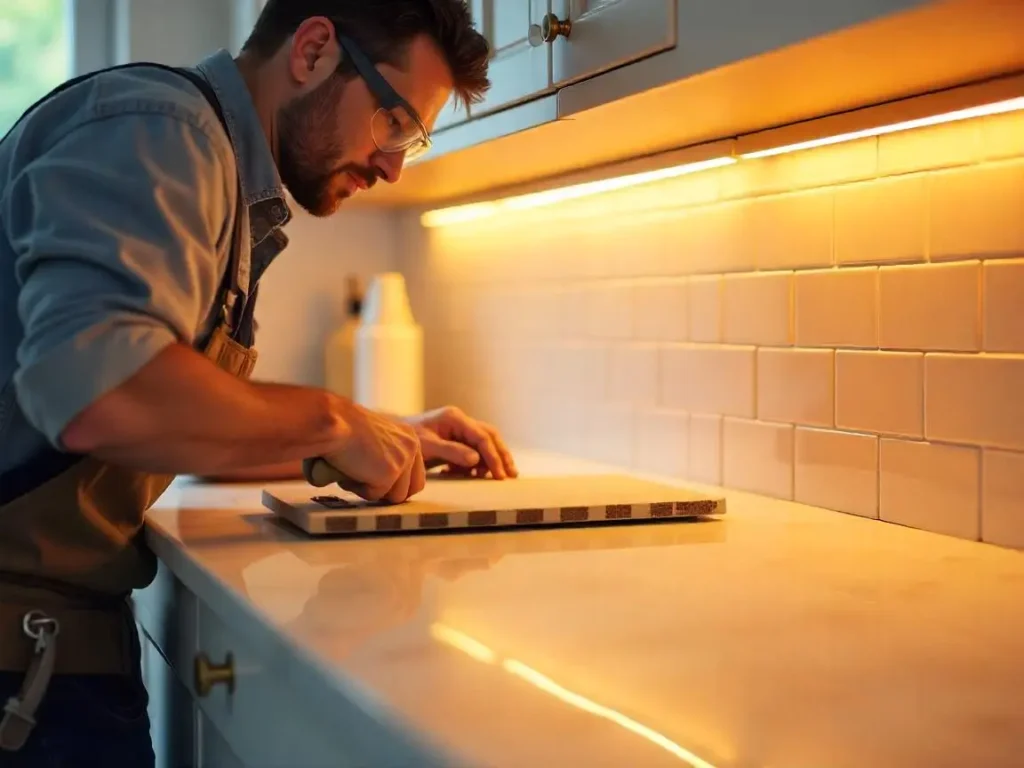
Install the Tile
Now for the exciting part – setting your tiles! Here’s how:
- Start at your marked center point and work outwards
- Press tiles firmly into the adhesive with a slight twisting motion
- Use tile spacers to maintain even gaps
- Check for level frequently using a straightedge
- Wipe excess adhesive from tile faces immediately
- Allow adhesive to set according to manufacturer’s instructions
Take your time and work carefully – this is where your backsplash comes to life!
Mix and Apply the Grout
Grouting gives your backsplash a finished look. Here’s how to do it right:
- Remove spacers once adhesive is fully set
- Mix grout according to package instructions
- Use a rubber grout float to apply grout at a 45-degree angle
- Work in small sections, ensuring all gaps are filled
- Wipe excess grout with a damp sponge
- Allow grout to set for the recommended time
Be thorough but gentle to avoid scratching your tiles.
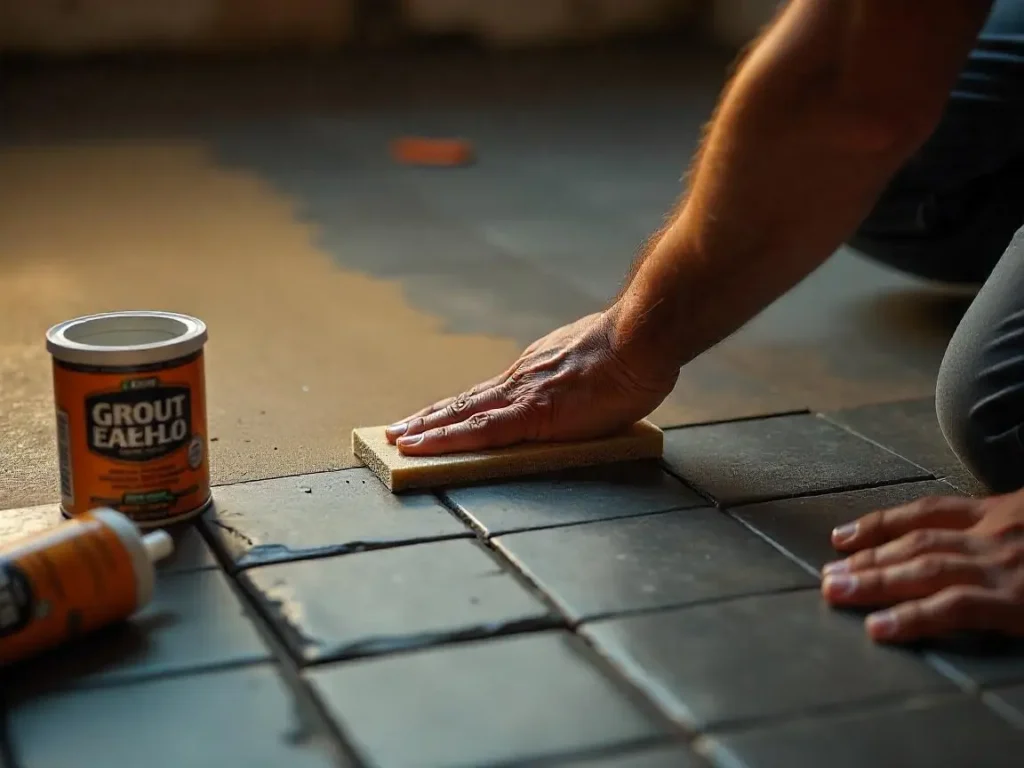
Clean and Seal Grout and Fill the Expansion Gap
The final touches make all the difference. Here’s what to do:
- Clean tile faces with a dry cloth once grout is set
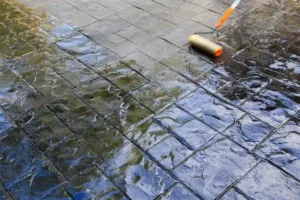
- Apply grout sealer according to product instructions
- Fill the expansion gap at countertop edges with latex caulk
- Clean any remaining haze from tile surfaces
- Allow everything to dry completely before use
These steps protect your backsplash and give it a professional finish.
Clean and Reassemble the Area
Time to put your kitchen back together:
- Remove the ledger board carefully
- Replace outlet covers and switch plates
- Reconnect and replace appliances
- Clean up any remaining dust or debris
- Enjoy your beautiful new backsplash!
Take care not to damage your new tiles during this process.
Tools You’ll Need
Here’s a checklist of tools for your backsplash project:
- Screwdriver
- Buckets (3)
- Grout float
- Pry bar
- Safety goggles
- Caulk gun
- Hammer
- Dry cloth
- Mixing bar
- Notched trowel
- Tile cutter
- Margin trowel
- Finishing nails
- Sponge
Having the right tools on hand will make your project go smoothly.
Maintenance and Care
To keep your backsplash looking great:
- Wipe spills immediately to prevent staining
- Clean regularly with a mild, non-abrasive cleaner
- Avoid harsh chemicals that can damage grout or sealant
- Re-seal grout annually for best protection
- Address any loose tiles or damaged grout promptly
With proper care, your backsplash will stay beautiful for years to come.
Common Mistakes to Avoid
Steer clear of these common pitfalls:
- Skipping surface preparation, leading to poor adhesion
- Forgetting to use spacers, resulting in uneven grout lines
- Mixing too much adhesive or grout at once
- Neglecting to seal grout, making it prone to stains
- Rushing the process and compromising quality
Take your time and follow each step carefully for the best results.
Expert Backsplash Installation Company in Lowell, MA
If you’re looking to elevate your kitchen or bathroom with a stylish and functional backsplash, SF Marble & Granite Inc. is the premier choice for Backsplash installation in Lowell, MA. With over a decade of experience, we specialize in creating custom designs that blend seamlessly with your home’s aesthetic while offering unmatched durability and protection. Whether you prefer classic subway tiles, intricate mosaics, or modern glass tiles, our team ensures precision and quality in every project.
Conclusion
Installing a backsplash is a rewarding DIY project that can dramatically enhance your kitchen’s appearance and functionality. With careful planning, the right tools, and attention to detail, you can create a beautiful backsplash that will be the envy of your friends and family. Remember to take your time, follow each step carefully, and don’t be afraid to ask for help if you need it. Your new backsplash will not only protect your walls but also serve as a stunning focal point in your kitchen for years to come. Happy tiling!
Contact Us Today
Transform your space with a stunning backsplash installed by SF Marble & Granite Inc., the trusted name in Lowell. Contact us for a free quote and consultation to start your project!
FAQs
How Do I Cut Backsplash Tiles Without A Wet Saw?
You can use a manual tile cutter for straight cuts or an oscillating tool with a diamond blade for more complex cuts. Always wear safety gear and work slowly for the best results.
Can I Install Backsplash Tile Sheets Over Existing Tiles?
It’s possible, but not always recommended. Ensure the existing tiles are firmly attached and the surface is clean and flat. Use a special bonding primer before applying new adhesive.
How Long Does The Installation Process Take?
A typical backsplash installation can take 2-3 days, including drying times for adhesive and grout. Plan for about 6-10 hours of active work, depending on the complexity of your design.
Is It Necessary To Seal All Types Of Backsplash Tiles?
Not all tiles need sealing, but most grout does. Porous materials like natural stone should be sealed. Consult your tile manufacturer’s recommendations for specific guidance.
What Is The Best Way To Clean And Maintain My Backsplash?
For daily cleaning, use a soft cloth with warm water and mild soap. Avoid abrasive cleaners or scrubbers that can damage grout or tile surfaces. For tougher stains, use a pH-neutral cleaner designed for your tile type.