It depends on your kitchen’s layout, functionality needs, and design goals. While side wall backsplashes can protect adjacent walls and create a cohesive aesthetic, they may disrupt minimalist designs or add unnecessary visual clutter. Let’s explore the factors that determine whether a backsplash on side walls is right for your space.
Pros and Cons of Side Wall Backsplashes
Following are the Pros and Cons of Side Wall Backsplashes:
Pros: Enhanced Protection and Aesthetic Cohesion
A side wall backsplash extends tile or stone from the primary backsplash area to adjacent walls, typically where countertops meet corners or open walls. This design choice offers practical benefits:
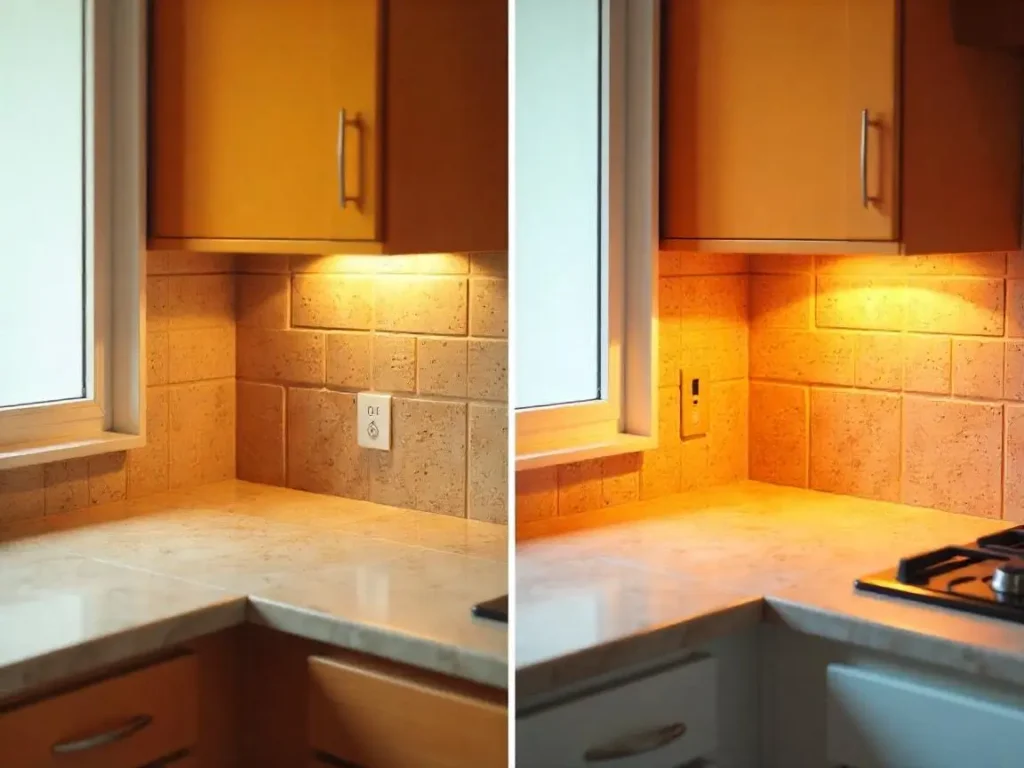
- Splash Protection: Side backsplashes shield walls from grease, water, and food splatters near sinks, stoves, or cooking zones. For example, in a galley kitchen with a corner sink, a side splash prevents moisture damage to vulnerable drywall.
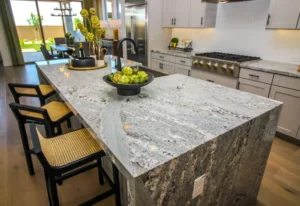
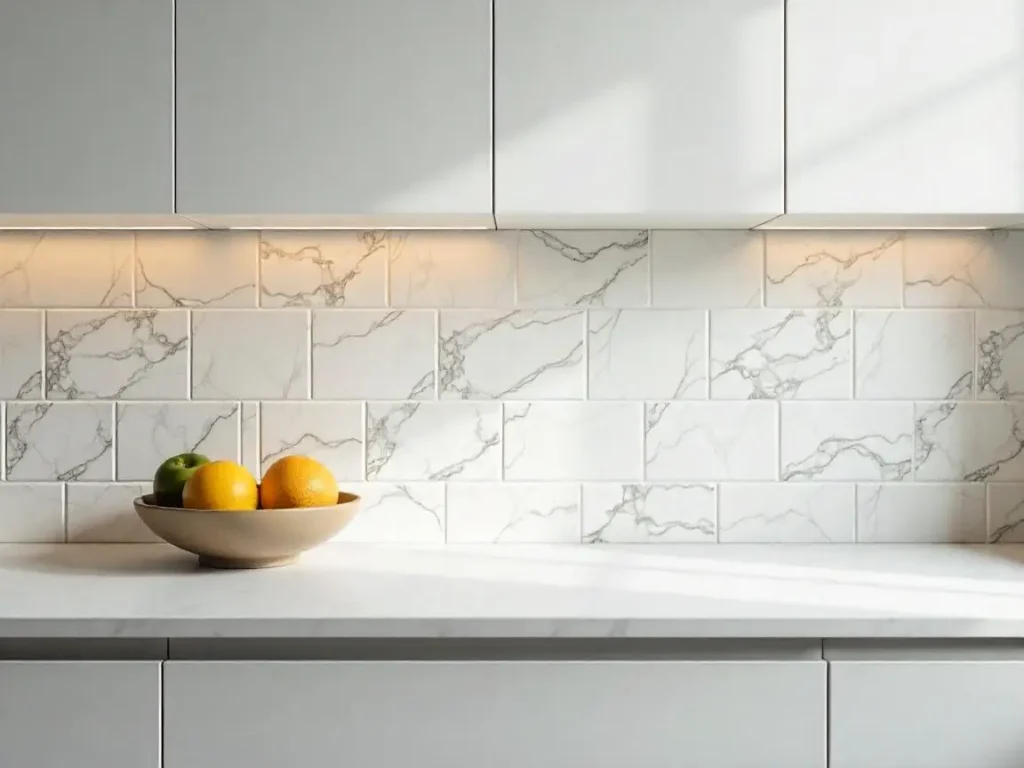
- Built-In Look: When materials like granite or quartz continue seamlessly from the countertop to the side wall, the space feels intentional and polished. This is especially effective with slab backsplashes that match countertops.
- Design Continuity: Wrapping tile to side walls can unify open-concept kitchens or balance asymmetrical layouts. For instance, herringbone-patterned tile that transitions to a side wall adds rhythm without overwhelming the eye.
Cons: Visual Bulk and Installation Challenges
However, side wall backsplashes aren’t always ideal:
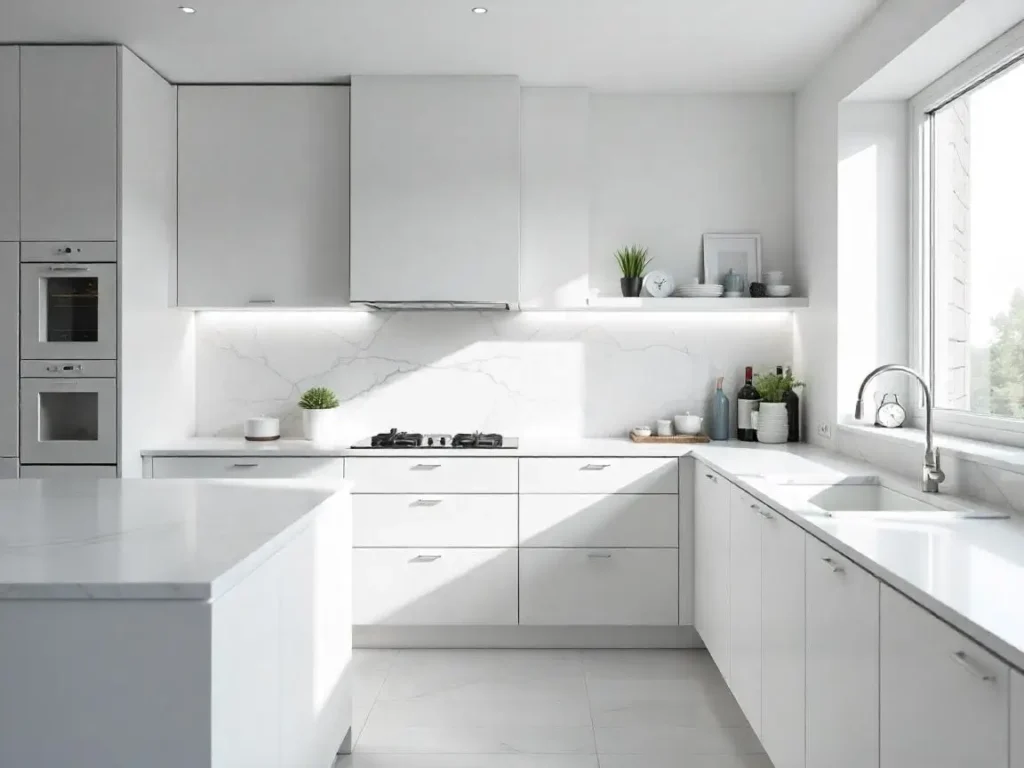
- Disrupted Minimalism: In sleek, modern kitchens, side splashes may conflict with clean lines. As designer Artem Kropovinsky notes, “Adding a side backsplash reduces the minimalist approach in open-concept spaces”.
- Awkward Transitions: Poorly planned side splashes can create abrupt stops, particularly if tiles end mid-wall without cabinetry or trim to frame them. For example, a 4-inch slab side splash might look truncated next to tall, bare walls.
- Cost and Labor: Extending tile to side walls increases material costs and installation time, especially if complex cuts or waterproofing are required.
Design Considerations for Side Wall Backsplashes
Given are the design considerations for side wall backsplashes:
Layout and Functionality
Assess High-Risk Zones:
- Install side splashes where spills are frequent, like beside a stove or sink. In low-splash areas (e.g., a baking station), painted walls may suffice.
- For L-shaped kitchens, wrapping tile to both side walls creates symmetry, while a single side splash can anchor a focal point.
Align with Cabinetry:
- End side splashes at the edge of upper cabinets or soffits for a clean transition. Designer Carla Aston emphasizes, “Backsplashes should line up with upper cabinets to avoid disjointed edges”.
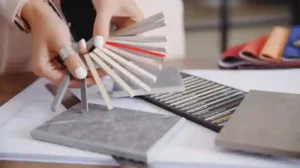
Material Selection
- Slab Backsplashes: Granite or quartz side splashes (2″–4″ tall) blend with countertops, offering subtle protection.
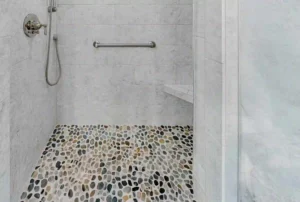
- Tile: Subway tiles in a brick layout are versatile, while mosaic sheets add texture. Use bullnose or pencil trim for finished edges.
- Acrylic Panels: Affordable and DIY-friendly, these mimic stone or metal and are ideal for rental properties.
Style Integration
- Color Matching: Choose tiles that complement wall paint. A navy zellige tile side splash paired with light gray walls adds depth without clashing.
- Pattern Play: Transition from vertical stack-bond tile on the main wall to horizontal on the side wall for subtle contrast.
- Minimalist Workarounds: Use a 2-inch slab side splash or recessed tile that aligns with upper cabinets to maintain simplicity.
Installation Tips for Side Wall Backsplashes
Here are the Installation Tips for Side Wall Backsplashes:
Step 1: Plan the Layout
- Dry-Fit Tiles: Lay tiles without adhesive to test patterns. For herringbone designs, mark guidelines to ensure angles align on side walls.
- Natural Stopping Points: End side splashes at windows, door jambs, or under cabinets. If no natural edge exists, install Schluter trim for a polished look.
Step 2: Cut and Set Tiles
- Precisio Cuts: Use a wet saw for intricate edges. For example, notch tiles around outlets or light switches on side walls.
- Thinset Application: Comb adhesive vertically on walls and back-butter tiles for maximum adhesion, especially on uneven surfaces.
Step 3: Grout and Finish
- Grout Color: Match grout to tiles for a seamless flow or contrast for definition. Epoxy grout resists stains in high-moisture zones.
- Caulk Transitions: Seal gaps between side splashes and countertops with color-matched silicone to prevent water seepage.
Expert Backsplash Installation on Side Walls for a Flawless Finish
At SF Marble & Granite Inc.., we understand that the details make all the difference in your kitchen’s look and durability. Whether you want a full backsplash wrap or just a subtle side wall backsplash, our skilled team delivers precise, beautiful results tailored to your space. With over 10 years of experience serving Lowell homeowners, we ensure every tile and stone piece fits perfectly and protects your walls from daily wear.
If you’re considering a backsplash on side walls or need professional backsplash installation in Lowell, trust us to bring your vision to life with quality craftsmanship and care.
Conclusion
Whether a backsplash on side walls suits your kitchen hinges on your lifestyle and design vision. For busy cooks, the added protection justifies the investment. In minimalist spaces, skipping side splashes preserves clean lines.
At SF Marble & Granite Inc., we specialize in crafting tailored solutions for Lowell homeowners. From 4-inch granite side splashes to full-height marble installations, our 10+ years of expertise ensure flawless functionality and style. Contact us to explore countertop and backsplash options that elevate your space.
FAQs
How do I end a backsplash on an open side wall?
Use bullnose trim, align with upper cabinets, or transition to a contrasting paint color. For slab backsplashes, taper the edge into the wall.
Can I install a side backsplash myself?
Yes, with acrylic panels or peel-and-stick tiles. For heavy materials like stone, hire professionals to ensure secure mounting.
Do side splashes increase home value?
They can, particularly in kitchens with high-end finishes. A survey by The Tile Shop found 68% of buyers prefer homes with full-height backsplashes.
What’s the cost difference between partial and full side splashes?
Extending tile to both side walls adds 20%–30% to material costs, plus labor for cutting and fitting.