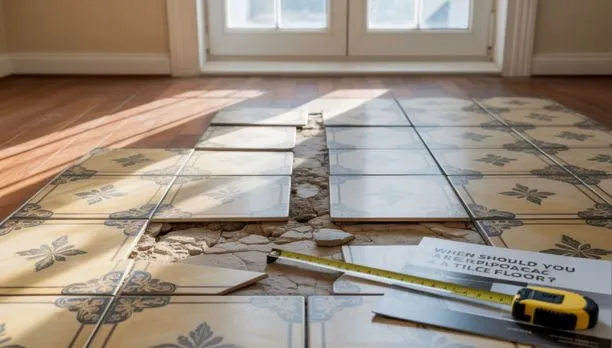
Tile Floor Replacement Guide: Steps, Costs & Tips
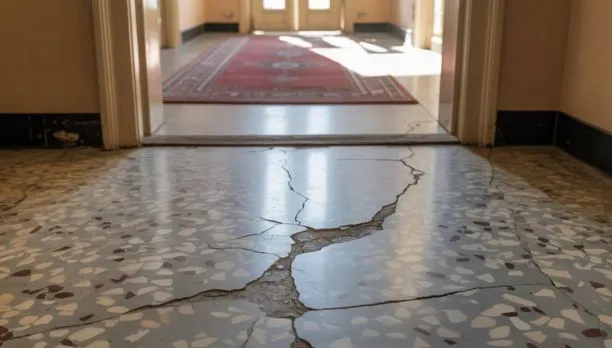
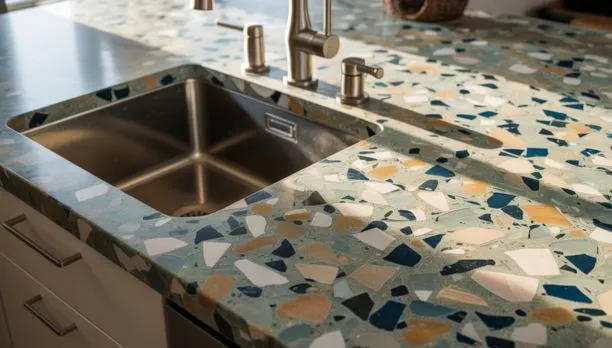
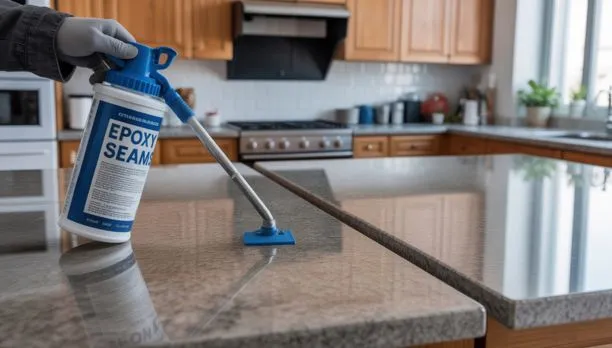
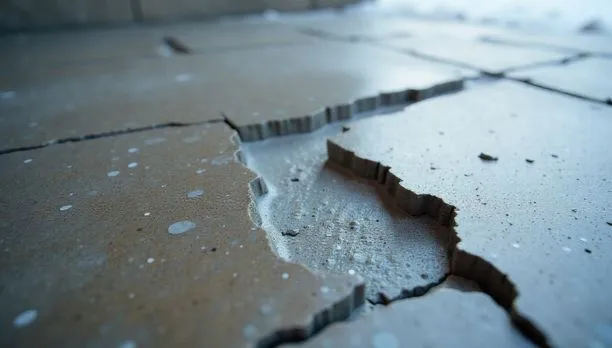
Floors play a big role in how your home looks and feels. Over time, tiles can crack, loosen, or lose their shine, making a tile floor replacement the best option. Replacing floor tiles not only restores durability but also refreshes the style of your space. Knowing when to replace tile floor helps you plan better and keep your home both functional and attractive. When Should You Replace a Tile Floor? Every homeowner wonders when it’s time to move from small fixes to a full tile floor replacement guide. Some signs are easy to spot and show when replacing floor tiles is the smarter choice. Common Signs You Need Replacement: Cracks or chips – Small cracks spread quickly and weaken the floor. Loose tiles – Wobbly tiles mean the adhesive or subfloor is failing. Outdated look – Old styles can make the space look dull, even if the tiles are intact. Stains or water damage – Hard-to-remove marks or moisture issues often call for a new floor. Repair vs. Full Replacement Minor issues like single chips may be solved with simple fixes or terrazzo floor repair. Widespread problems such as large cracks, uneven surfaces, or old designs often require full tile flooring replacement for long-term value. For expert advice and installation, SF Marble and Granite can help you decide whether repair or replacement fits your home best. Planning Your Tile Flooring Replacement A smooth project begins with the right plan. Any tile floor replacement guide should first focus on accurate measurements and tile selection. Measure the space – Knowing the exact square footage avoids wasted material and extra costs. Choose your style – Options like marble tile for elegance or concrete for durability help match your home’s design. Set a budget – Factor in materials, labor, and tools when preparing for tile flooring replacement. Good planning ensures your project stays within budget while delivering the look and durability you want. Tools & Materials You’ll Need For any flooring job, the right prep matters. This tile floor replacement guide makes it simple. Here’s what you’ll need to replace tile floor: Basic Tools Hammer & chisel for removing old tiles Tile cutter or wet saw for shaping Trowel & spacers for even placement Rubber mallet & grout float for finishing Safety Gear Gloves and goggles for protection Knee pads for comfort Dust mask to avoid debris For durable results, use high-quality tiles, such as marble, and source products from trusted stone suppliers. Even businesses you find while searching for granite countertops near me often carry flooring materials. With these essentials, your tile flooring replacement project will run smoothly and safely. Step-by-Step Tile Floor Replacement Guide A tile floor replacement guide should be simple to follow. Here’s a step-by-step breakdown to make the process smooth: Removing Old Tiles Use a hammer and chisel to carefully lift and remove old tiles. Work slowly to avoid damaging the subfloor. Preparing the Subfloor Clean away debris and check for cracks. A smooth, level base ensures long-lasting results. Installing New Tiles Lay out your tiles in a pattern first. Materials like grey marble or marble mosaic add timeless beauty. Use spacers for even gaps and a thin-set mortar for firm placement. Grouting and Finishing After placing tiles, set the tiles, and add and distribute grout evenly between the tiles. Clean excess grout off with a damp sponge, and let the floor cure before heavy foot traffic. Following this guide to replacing your tile floor ensures your new flooring will be durable, elegant, and correct. You May Also Read: Swimming Pool Tile Grout Repair DIY vs. Hiring Professionals Not every project needs a professional, but knowing when to do it yourself and when to hire someone can save you time and money. This guide to replacing tile floors will address both: When DIY Works Small areas with minimal damage. Simple layouts that don’t need complex cutting. If you already have basic tools and patience. When to Call Experts Large spaces or detailed designs. Floors needing subfloor repair or leveling. For high-end materials where precision matters. Hiring pros ensures long-lasting, polished results, while DIY is best for small, manageable tasks. Cost of Tile Flooring Replacement Budgeting is an important part of any tile floor replacement guide. The cost can vary depending on materials, labor, and design choices. Average Price Per Square Foot Basic ceramic tiles: $5 – $10 per sq. ft. (installed) Porcelain or marble tile: $10 – $20 per sq. ft. Premium styles like mosaics: $20+ per sq. ft. Factors That Affect Cost Materials: Natural stone and marble cost more than ceramic. Labor: Skilled installation raises the price but ensures durability. Design: Patterns, borders, or custom cuts increase costs. Subfloor Prep: If leveling or repairs are needed, the budget goes up. Keeping these factors in mind helps you plan realistically and avoid surprises. Maintenance After Replacement A good tile floor replacement guide doesn’t end with installation. Proper care keeps your tiles looking new for years. Cleaning & Sealing Tips Sweep or vacuum regularly to prevent scratches. Use pH-neutral cleaners safe for ceramic, porcelain, or travertine. Seal grout lines to block moisture and stains. How to Extend Tile Floor Life Place mats in high-traffic areas. Clean spills quickly to avoid long-term damage. Reseal natural stone tiles every 1–2 years for protection. Simple habits make a big difference in maintaining your floor’s shine and durability. Why Choose SF Marble and Granite for Tile Flooring Replacement Following a tile floor replacement guide, professional help can make a world of difference. At SF Marble and Granite, we leverage a long history of qualified experience and craftsmanship for lasting results. Why Homeowners Trust Us Professional marble floor installation and tile replacement services. Wide selection of premium tiles with expert design guidance. Dedicated team focused on precision and long-term durability. For more details on who we are and what we do, visit our about us section to see how we can bring your flooring vision to life. get a free quote Final Thought Replacing old
Tile Floor Replacement Guide: Steps, Costs & Tips Read More »