Installing a backsplash is a simple way to protect your walls, enhance your kitchen design, and boost your home’s value. This guide on “how to lay backsplash tile” is perfect for DIY enthusiasts, homeowners, and beginners seeking clear, actionable instructions. Learn a complete, step-by-step backsplash tile installation process, including professional tips for laying backsplash tile with precision. We explain planning your layout, selecting quality materials, and troubleshooting common mistakes, as well as maintenance strategies. Whether you need an easy guide to laying backsplash tile for your kitchen or detailed tile installation tips, this guide is your comprehensive, hands-on resource indeed.
How to Lay Backsplash Tile?
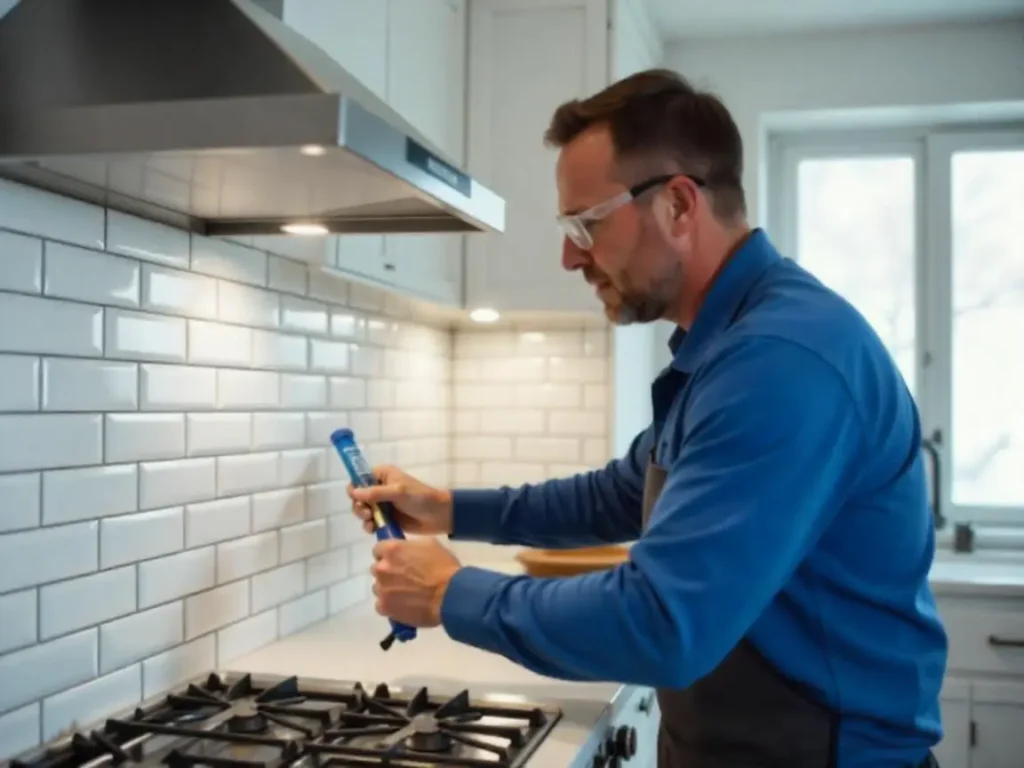
Start by cleaning and priming your wall. Next, measure, mark, and plan your layout to determine your starting point. Apply tile adhesive in small sections, then lay backsplash tile with consistent spacing using spacers. Trim tiles for edges with a tile cutter, apply grout, clean off excess, and seal for lasting durability. Follow detailed steps in Section 3 for planning, Section 6 for installation, and Section 7 for design enhancements. This process minimizes mistakes and ensures a professional, attractive finish.
Table of Contents
ToggleUnderstanding Backsplash Tile Options and Trends
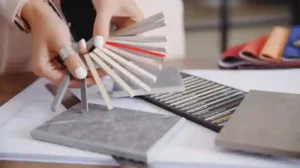
When learning how to lay backsplash tile, it’s essential to know your options. Start with a materials comparison:
- Ceramic: Affordable and easy to work with, ceramic tiles are great for classic, clean looks.
- Porcelain: Durable and low-maintenance, perfect for busy kitchens.
- Glass: Offers a modern, reflective quality that brightens your space.
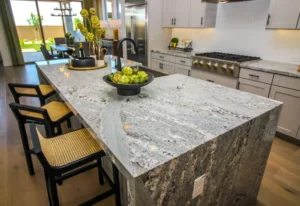
- Natural Stone: Options like granite or marble add timeless elegance and unique patterns.
Design Styles
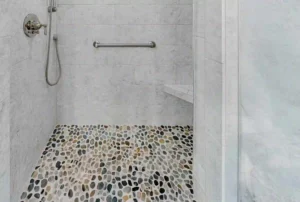
Popular styles include classic subway, mosaic, patterned, and modern minimalist. Each style influences your layout and overall kitchen aesthetic.
Color & Texture
Select colors and textures that complement your countertops and cabinetry. Look for harmonious shades that enhance your décor without overwhelming the space.
Sustainability in Tile Selection
Eco-friendly options are emerging opt for recycled glass or sustainably sourced natural stone. Sustainable practices not only reduce waste but also align with green building trends.
Emerging Trends
Innovative tile designs, such as textured surfaces and smart tile solutions with integrated LED lighting, are gaining traction. These trends offer fresh ways to personalize your backsplash and make your DIY project stand out.
Pre-Installation Planning and Layout
A successful DIY backsplash tile installation begins with solid planning.
Surface Assessment
Inspect your wall for any damage. Clean thoroughly and prime the surface to ensure proper adhesion.
Measuring and Marking
Measure the area accurately, and use a level to mark guidelines. Determining your starting point often the center or bottom is crucial for symmetry.
Project Timeline & Scheduling
Estimate the time needed for each phase: preparation, tile laying, grouting, and sealing. Create a realistic schedule that accommodates drying times and breaks.
Safety and Accessibility Considerations
Wear appropriate personal protective equipment (PPE) such as gloves and safety glasses. Ensure that instructions are clear and accessible for DIY beginners, so even novices can confidently follow the process.
Tools, Materials, Budgeting, and Supplier Selection
Gathering the right tools and materials is key for how to lay backsplash tile successfully.
Tools Required
Essential tools include:
- Tile cutter or wet saw: For precise cuts.
- Notched trowel: To spread adhesive evenly.
- Grout float: For smooth grout application.
- Spacers and level: To maintain consistent tile spacing and alignment.
Materials Needed
You’ll need high-quality adhesive, grout, primer, sealant, and spacers. These materials ensure your backsplash tile installation is durable and attractive.
Budgeting Tips
Estimate project costs by listing tools and materials. Look for cost-saving tips, such as renting specialized tools or buying materials in bulk.
Supplier and Brand Selection
Research local suppliers and reputable brands. Read reviews and compare prices to choose quality products that fit your budget, ensuring your DIY backsplash tile project lasts for years.
Step-by-Step Installation Process

Follow these clear steps for your tile backsplash installation:
Adhesive Application
Mix your tile adhesive according to manufacturer instructions. Apply it in small sections with a notched trowel, ensuring even coverage.
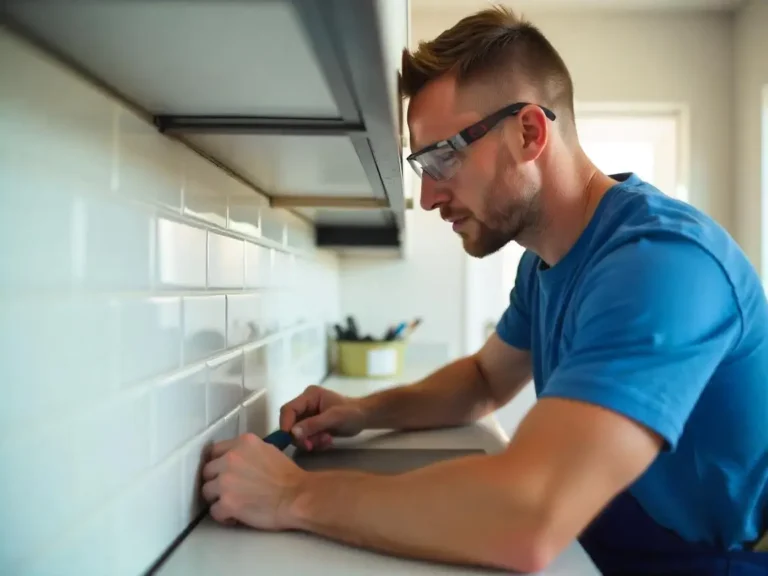
Tile Placement
Start laying your tiles from your determined starting point. Use spacers to maintain consistent gaps for grout and check alignment with a level.
Tile Cutting Techniques
For edges and obstacles, trim tiles using a tile cutter or wet saw. This step is vital for a clean, professional finish.
Grouting Process
Once tiles are set, apply grout with a grout float. Work it into the spaces, then remove excess grout with a damp sponge.
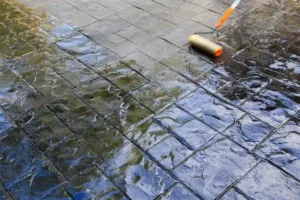
Sealing and Finishing
After the grout dries, seal the tiles and grout to protect against moisture and stains.
Advanced Installation Techniques
For curved surfaces or mosaic effects, adjust your method experiment with layout variations and extra cutting techniques to handle irregular areas.
Design Enhancements and Creative Customizations
Make your backsplash stand out with creative customizations:
Enhancing Visual Appeal
Integrate your backsplash design with your countertops, cabinets, and overall kitchen décor. Consistency in style ties the room together.
Decorative Accents
Use contrasting grout colors, accent lighting, or patterned tiles to add visual interest. These small details can transform a simple installation into a statement piece.
Smart Home Integration
Consider incorporating LED strip lighting or smart sensors. These modern touches not only add style but also enhance functionality by illuminating your backsplash.
Custom Patterning
Explore unique layout options, like creating a focal mosaic or incorporating geometric patterns, to add a personalized touch that reflects your style.
Troubleshooting and Common Mistakes
Even with careful planning, challenges can arise. Here’s how to tackle them:
Identifying Issues
Common pitfalls include uneven tile spacing, improper adhesive application, or grout inconsistency. Regularly check your alignment and spacing throughout the process.
Troubleshooting Tips
If tiles start to shift, gently reposition them before the adhesive sets. For grout issues, adjust the water-to-grout ratio and reapply if necessary.
Preventative Quality Checks
Implement periodic checks during installation. Measure frequently and use a level to ensure consistency. This proactive approach helps catch errors early, ensuring a smooth, professional finish.
Post-Installation Care and Long-Term Maintenance

Keep your backsplash looking fresh and lasting over time:
Routine Cleaning
Clean tiles regularly with a non-abrasive cleaner. Avoid harsh chemicals that may damage the grout or sealant.
Maintenance Schedule
Develop a schedule for re-sealing grout and inspecting tiles for any signs of damage. Small repairs done early can prevent larger issues later.
Upgrading Your Backsplash
Over time, consider refreshing the look without full replacement. You might update the grout color, add decorative accents, or integrate new lighting features to keep your backsplash modern and stylish.
Elevate Your Kitchen with SF Marble & Granite in Lowell
At SF Marble & Granite Inc., we’re not just another company offering backsplash installation in Lowell we’re your neighbors and local experts. We understand the unique architectural styles and design preferences of Lowell homes, whether you’re in a historic Victorian or a modern condo. Our tailored approach ensures your kitchen not only gets a beautiful backsplash but also a design that seamlessly complements your space. Trust us to deliver quality craftsmanship and personalized service that transforms your kitchen into a stunning, functional work of art. Experience the difference with our expert, locally inspired solutions!
Conclusion
Installing your own backsplash tile is an empowering project that not only protects your walls and elevates your kitchen’s design but also adds lasting value to your home. By carefully planning your layout, selecting the right materials, and following a detailed step-by-step process from preparing the surface and applying adhesive to laying, cutting, grouting, and sealing the tiles you’re set to achieve a stunning, professional finish. With expert tips on design enhancements, troubleshooting common issues, and ensuring long-term maintenance, you now have the knowledge to confidently complete your DIY project. We invite you to share your progress and finished projects in the comments, submit your questions, or tag us on social media for further community support and inspiration. Contact us now!
FAQs
What If My Wall Is Uneven Or Damaged?
If your wall has imperfections, it’s essential to smooth and repair it before beginning your tile installation. Clean the surface thoroughly, fill in any cracks or holes with an appropriate filler, and apply a quality primer. This ensures that the adhesive bonds properly and that your backsplash tile lays flat for a professional finish.
How Do I Choose The Right Adhesive And Grout For My Tiles?
Selecting the proper adhesive and grout depends on the type of tile you’re using and the environmental conditions in your kitchen. Look for a high-quality, moisture-resistant adhesive specifically designed for backsplash applications. For grout, choose a color that complements your tile design and offers durability. Testing a small area first can help ensure that the materials work well together.
What Are The Common Mistakes To Avoid When Laying Backsplash Tile?
Common pitfalls include improper surface preparation, inconsistent tile spacing, and rushed grouting. Always take the time to prepare your wall correctly, use tile spacers to maintain even gaps, and allow each phase adhesive, tile setting, grouting to fully cure before proceeding. Patience and precision are key to achieving a neat, long-lasting finish.
How Do I Maintain And Clean My Backsplash Tile?
Regular maintenance is crucial to keep your backsplash looking its best. Clean the tiles with a non-abrasive cleaner and a soft cloth to remove dirt and grime without damaging the surface. Avoid harsh chemicals that could deteriorate the grout. Periodically inspect for any signs of wear or damage, and reapply sealant as needed to protect against moisture and stains.
Can I Customize The Design To Match My Kitchen Décor?
Absolutely! A backsplash offers a great opportunity to personalize your kitchen. You can choose from a variety of tile materials, colors, and patterns to complement your countertops and cabinetry. Experiment with unique layouts, contrasting grout colors, or even incorporate decorative accents like mosaic designs to create a focal point that reflects your personal style.
What Safety Precautions Should I Take During Installation?
Safety is paramount when working on any DIY project. Wear appropriate personal protective equipment, such as gloves, safety glasses, and a dust mask. Ensure your work area is well-ventilated and that you have a stable platform for using tools like tile cutters or wet saws. Following proper safety guidelines will help you complete your backsplash tile installation confidently and without injury.