Tiles can transform any kitchen, bathroom, or floor, but poor installation can quickly lead to loose edges, cracks, hollow sounds, and water damage. That is why understanding How To Fix Tiles With Tile Adhesive is essential before starting any project. At SF Marble & Granite Inc, we have repaired many surfaces where improper bonding caused costly issues.
Proper tile installation is not just about sticking tiles down. It requires correct surface preparation, the right adhesive choice, careful application, and proper finishing. This guide shares simple, practical advice for gluing tile to wall areas, gluing floor tiles, and installing bathtub tiles correctly.
What Is Tile Adhesive and Why Is It Important in Tile Installation?
Tile adhesive is a specially formulated bonding material designed to attach tiles to floors and walls. Unlike traditional cement mortar, tile fixing adhesive contains polymers that improve flexibility and grip, making it more reliable for ceramic tile to tile adhesive applications and modern surfaces. Traditional cement mortar lacks flexibility and may not bond well to smooth surfaces, while tile adhesive provides stronger bonding, controlled thickness, and better performance in moisture-prone areas.
At SF Marble & Granite Inc, we use the right adhesive to ensure marble, granite, ceramic, and porcelain tiles remain secure and long-lasting.
Why Professionals Prefer Tile Adhesive Over Traditional Cement
Professional installers prefer tile fixing adhesive because it provides consistent results. It creates strong bonding between tile and substrate. It reduces hollow spaces beneath tiles. It allows better leveling during installation.
Flexibility is another key factor. Floors expand and contract due to temperature changes. Tile adhesive absorbs minor movement, reducing cracks.
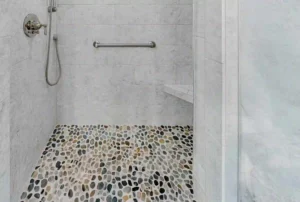
Water resistance is critical in bathrooms and when glueing tile to wall areas exposed to moisture. In projects such as how to install bathtub tiles on walls, waterproof adhesive is essential to prevent long-term damage.
Long-term durability matters most. A properly applied ceramic tile to tile adhesive system can last many years without failure.
Choosing the Right Tile Adhesive for Different Tile Types
Not all adhesives are the same. Selecting the correct adhesive to tile material is crucial.
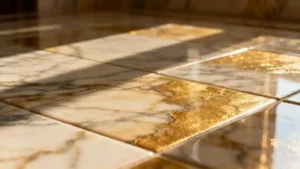
Marble tiles require white or non-staining adhesive to prevent discoloration. Because marble is porous, moisture control is important.
Granite tiles are heavier and demand high-strength tile fixing adhesive with strong grab properties.
Ceramic tiles are lighter and easier to bond, but still require proper adhesive thickness for secure gluing of floor tiles or glueing tile to wall installations.
Porcelain tiles are dense and less porous. They need a high-bond polymer-modified adhesive for effectively fixing tiles with adhesive.
Pool tiles and bathtub walls need waterproof adhesive systems. When learning how to install bathtub tiles on walls, always select a moisture-resistant adhesive.
Tools and Materials You’ll Need for Tile Fixing
Before starting, prepare the correct tools. Tile adhesive, notched trowel, tile spacers, spirit level, tile cutter, grout, sponge, and clean water are essential.
Using the right tools ensures the adhesive to tile contact is even. A notched trowel spreads adhesive uniformly. Spacers maintain equal gaps. A level keeps the surface straight.
Skipping proper tools often leads to uneven surfaces and weak bonding.
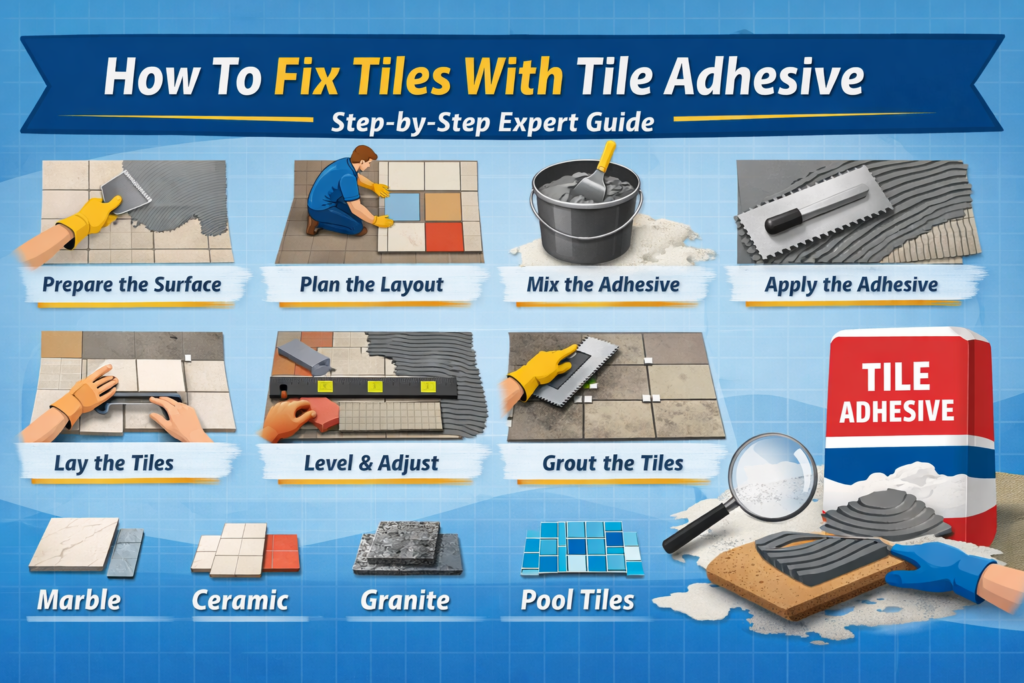
Step-by-Step Guide to Fix Tiles With Tile Adhesive
Step 1: Prepare the Surface Properly
Surface preparation is the foundation of successful fixing tiles with adhesive. The surface must be clean, dry, and free from dust or grease. Remove loose plaster or old adhesive.
For gluing floor tiles, ensure the base is solid and crack-free. For glueing tile to the wall, check that the wall is stable and moisture-free.
Step 2: Check Wall or Floor Levelness
Use a spirit level to check flatness. Uneven surfaces create hollow spots under tiles. Large-format marble and granite tiles are especially sensitive to leveling issues.
If required, apply leveling compound before proceeding.
Step 3: Plan the Tile Layout
Dry-lay tiles before applying adhesive. This step helps avoid small tile cuts at edges. It also improves the final look.
Planning is very important when learning how to install bathtub tiles on walls because alignment affects water flow and design.
Step 4: Mix the Tile Adhesive Correctly
Follow manufacturer instructions carefully. Add water gradually and mix until smooth and lump-free. The consistency should be creamy but not too thin.
Incorrect mixing reduces the bonding strength of ceramic tile to tile adhesive systems.
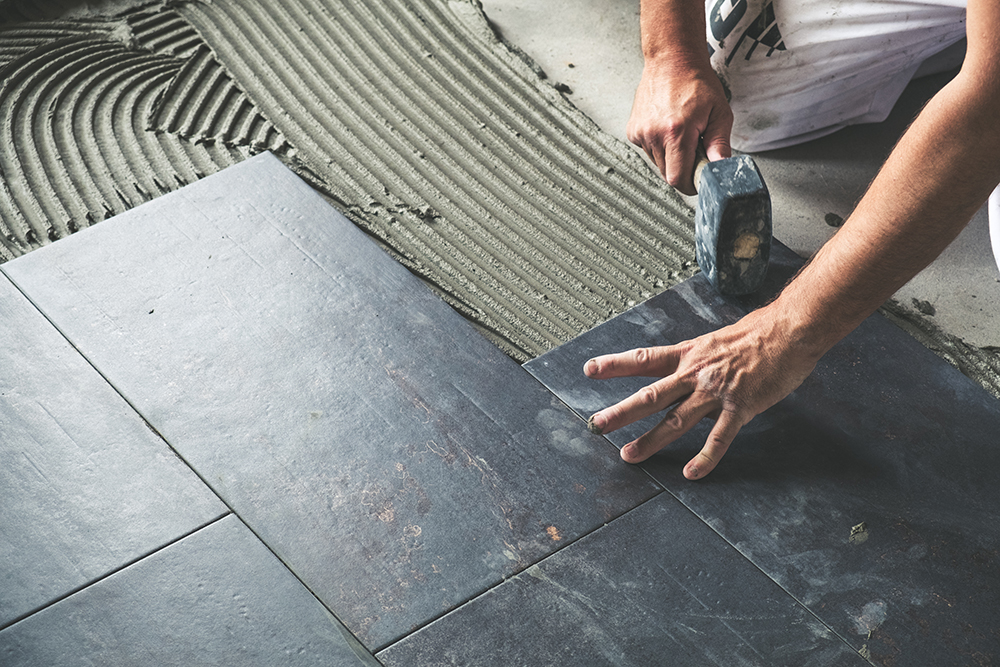
Step 5: Apply Adhesive With Notched Trowel
Spread adhesive evenly using a notched trowel. Hold it at a 45-degree angle. This creates ridges that improve the adhesive to tile grip.
For gluing floor tiles, apply adhesive on a small section at a time to prevent drying before tile placement.
Step 6: Lay the Tiles Carefully
Press the tile firmly into the adhesive. Slightly slide it back and forth to collapse ridges and ensure full contact.
When glueing tile to the wall, start from the bottom and move upward using spacers.
Step 7: Level and Adjust Using Spacers
Insert spacers between tiles to maintain uniform gaps. Use a level to check alignment frequently.
Uneven placement is a common issue in fixing tiles with adhesive. Adjust immediately before the adhesive sets.
Step 8: Allow Proper Setting Time
Do not disturb tiles during curing. Most adhesives require 24 hours before grouting.
For bathtub installations or gluing floor tiles in heavy-use areas, full curing time must be respected.
Step 9: Apply Grout After Drying
Once the adhesive has cured, remove spacers and apply grout to fill gaps. Spread diagonally to fill joints.
Grouting improves strength and prevents moisture penetration.
Step 10: Final Cleaning and Inspection
Clean excess grout with a damp sponge. Inspect alignment and surface finish.
A proper ceramic tile to tile adhesive installation should feel solid with no hollow sound.
You may also read: Tiling with Natural Stone
Common Mistakes to Avoid While Using Tile Adhesive
Using the wrong adhesive for the tile type can cause detachment. Uneven mixing weakens bonding strength. Applying too thick adhesive leads to sinking tiles. Not checking the level results in uneven surfaces. Early grouting before adhesive cures may disturb bonding.
Many DIY failures happen due to rushing the process.
When Should You Hire a Professional Tile Installer?
Large marble floors demand technical precision. Granite tile installation requires experience because of the weight and cutting complexity. Backsplash work involves detailed glueing tile to the wall alignment.
Swimming pool tiles and bathtub walls require waterproof knowledge. Uneven or damaged surfaces need professional correction before fixing tiles with adhesive.
If you are in Lowell, MA, and planning a stone flooring project, our team provides Expert Marble Floor Installation in Lowell, MA. At SF Marble & Granite Inc, we handle both small repairs and full installations with proper adhesive systems and surface preparation.
Maintenance Tips After Tile Installation
Avoid heavy loads for at least 24 to 48 hours after gluing floor tiles. Use mild cleaning products to protect grout and tile finish. Regular inspection helps detect early signs of cracks or loose joints.
Proper maintenance extends the life of adhesive to tile bonding systems.
Final Thoughts
Understanding How To Fix Tiles With Tile Adhesive helps prevent costly mistakes and long-term damage. Proper surface preparation, correct adhesive selection, and careful installation steps make all the difference between a lasting finish and early failure.
If you want reliable, professional results, especially for marble, granite, or complex wall installations, it is wise to consult experts. At SF Marble & Granite Inc, we focus on precision, durability, and honest workmanship. If you are planning a new project or need help with repairs, contact us today for professional guidance and installation support.
FAQs
How long does tile adhesive take to dry?
Most tile fixing adhesive products require 24 hours before grouting. Full curing may take longer depending on humidity and temperature.
Can I use tile adhesive for glueing tile to the wall in bathrooms?
Yes, but it must be moisture-resistant. When learning how to install bathtub tiles on walls, always choose waterproof adhesive.
Is tile adhesive better than cement for gluing floor tiles?
In most modern installations, yes. Tile adhesive offers stronger bonding, flexibility, and better performance than traditional cement mortar.
Can I apply ceramic tile to tile adhesive over old tiles?
It is possible if the old tiles are stable and properly cleaned. Surface preparation is critical for proper adhesive to tile bonding.
Why do tiles sound hollow after installation?
Hollow sound usually indicates poorly fixed tiles with adhesive or uneven spreading. Proper trowel technique reduces this issue.