Installing a vertical shiplap backsplash in kitchen can transform your kitchen, adding texture, charm, and a modern farmhouse feel. This guide will walk you through every step, from planning and prep to finishing touches, to help you achieve a clean, professional-looking shiplap kitchen backsplash that suits your style.
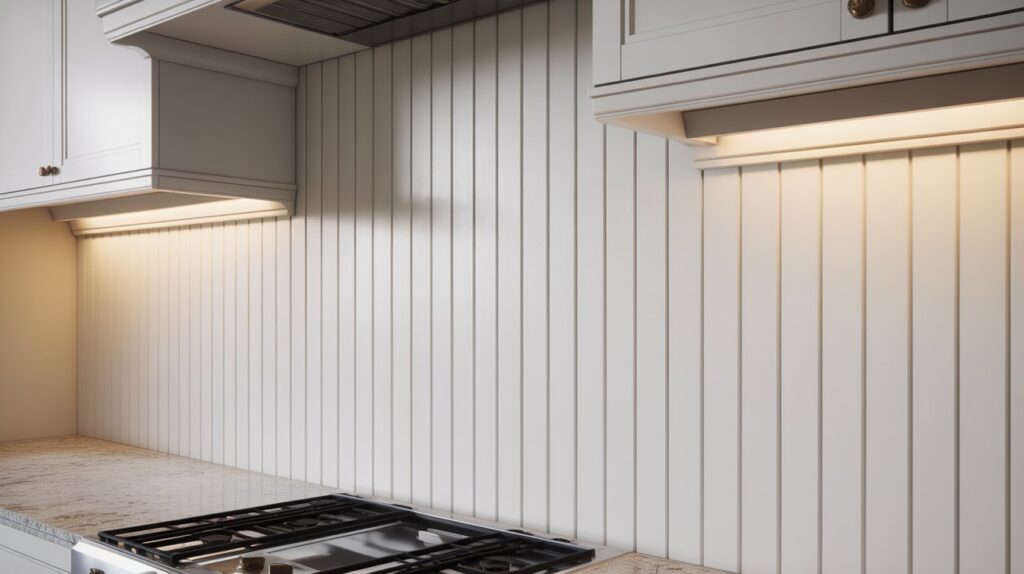
A vertical shiplap backsplash is not only visually appealing but also highly versatile. Whether your kitchen is small or spacious, the upward lines of vertical boards can create the illusion of taller ceilings and a more open space. It adds depth to your walls and pairs beautifully with both modern and rustic kitchen designs.
Why Choose a Shiplap Backsplash?
A backsplash shiplap is a stylish and practical choice for any kitchen, offering a clean, modern, and slightly rustic look. Its vertical lines create visual height, making smaller kitchens feel more open and spacious. Shiplap is also cost-effective, easy to install, and customizable through paint or finish. Whether you’re redesigning a full kitchen or doing a simple refresh, shiplap adds charm, warmth, and texture without breaking your budget.
- It brings warmth and character to a kitchen with its natural board lines and wood texture.
- Vertical orientation (as opposed to horizontal) can make a space feel taller, giving the illusion of higher ceilings.
- It is relatively simple to install and can be a budget-friendly way to upgrade your kitchen. Many DIYers use MDF or primed wood to cut costs.
- Once installed, it is easy to paint or caulk, giving a clean finish that works well behind cabinetry, sinks, or stoves.
Can You Put Shiplap in a Kitchen?
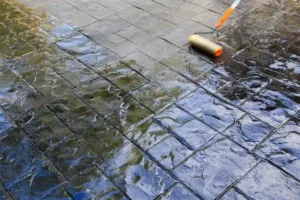
Absolutely. Shiplap in a kitchen is not only decorative but also practical when installed correctly. Many homeowners choose a shiplap backsplash because it delivers a clean, timeless look that blends well with modern, farmhouse, coastal, and traditional kitchen styles. When you prepare and seal the boards properly, shiplap becomes a durable surface that can handle daily cooking activities, occasional splashes, and regular cleaning.
Shiplap is usually made from wood, MDF, or PVC, and all of these materials can work in a kitchen environment as long as they are protected with a quality primer, paint, and sealant. Once sealed, the surface becomes smooth and wipe-friendly, allowing you to clean grease or food stains with gentle household cleaners.
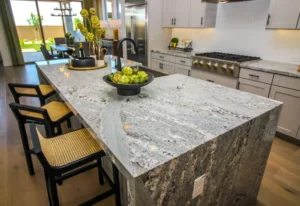
Another reason shiplap works well in kitchens is its flexibility. You can install it behind sinks, around cabinets, next to stoves, or even across an entire accent wall. It also pairs nicely with open shelving and stone countertops, creating a balanced mix of texture and warmth.
Homeowners who want a custom look without the high cost of tile often turn to shiplap. It provides the same level of visual interest but is easier to install and modify. If you ever want to repaint or refresh your kitchen, shiplap adjusts beautifully with new colors or finishes.
In short, with the right materials and protective coating, a shiplap backsplash becomes a long-lasting, attractive, and budget-friendly option for any kitchen design.
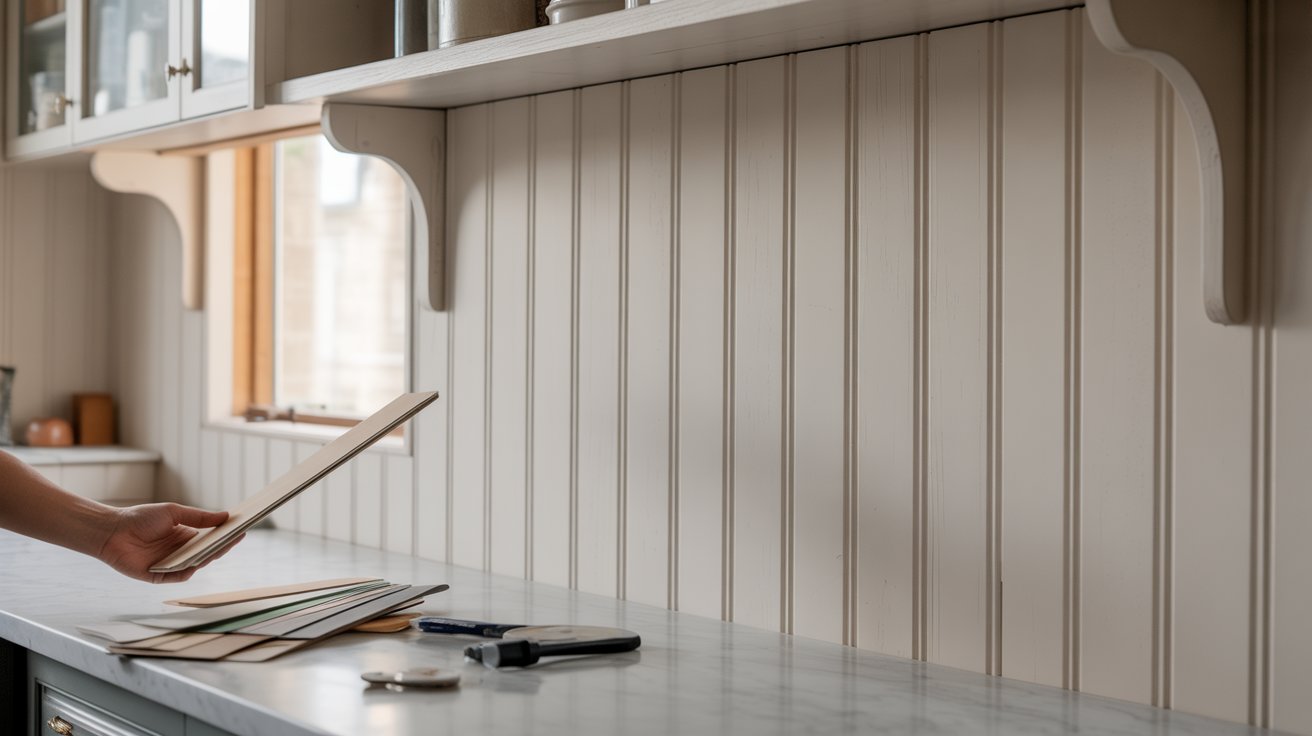
Picking Out Vertical Shiplap for Your Kitchen Backsplash
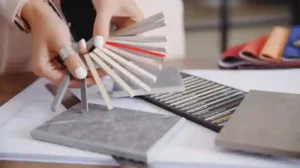
Choosing the right materials is essential for getting a clean, long-lasting, and visually appealing finish. Before you start, consider how each material will look, how it handles moisture, and how easy it is to install. The type of shiplap you choose can affect durability, cost, and the overall style of your kitchen. With the right selection, your vertical shiplap backsplash will look polished and stay beautiful for years.
-
Material type
- Real wood: gives an authentic feel, but may expand or contract. Allow boards to acclimate to the room for a few days.
- MDF shiplap: smooth, primed, and more affordable. Often used in DIY kitchen backsplash projects.
- Pre-painted or primed boards: save time on finishing, especially in a backsplash area.
-
Board size and style
- Nickel-gap shiplap gives a clean, narrow reveal between boards.
- Tongue-and-groove vs. butt joint: tongue-and-groove provides tighter joints, while simpler styles may be cheaper.
-
Wall support
- For vertical installation, furring strips (such as 1 × 3 lumber) are often required, spaced regularly for a solid nailing surface.
- Ensure your wall (drywall or plaster) is sound and stable before beginning.
Tools and Supplies You Will Need
Before you begin installing a kitchen shiplap backsplash, it is important to gather every tool and material you will need. Having everything ready not only speeds up the process but also ensures your installation looks clean and professional. Start with a reliable stud finder, since locating studs is essential for securing your vertical boards. A long level, ideally four feet or more, helps keep each piece perfectly straight from top to bottom, which is especially important with vertical shiplap because even a small tilt becomes visible once several boards are installed.
A measuring tape is another must-have since accurate measurements prevent gaps, misalignment, or wasted material. For cutting the shiplap boards, you may use a miter saw, circular saw, or table saw. Each one works well as long as you make clean, straight cuts. Most homeowners prefer a miter saw for speed and accuracy.
To attach the boards, a brad nailer or finish nail gun with fifteen or sixteen-gauge trim nails creates a secure hold without large nail holes. Many installers also combine nails with construction adhesive for added strength, especially in areas where the wall may not have enough studs.
For keeping the gaps perfectly even, simple items such as nickels or thin spacers work surprisingly well. Once the boards are up, wood filler or spackle is used to cover nail holes and achieve a smooth finish. After that, you will need paintable caulk and a caulk gun to seal edges, corners, and seams where the shiplap meets cabinets, countertops, or adjacent walls.
If your boards are unfinished or only primed, you will need good-quality paint and possibly a primer. Sandpaper or a sanding block helps smooth rough cuts or edges before painting. Lastly, do not forget basic safety gear. Gloves protect your hands while handling wood, eye protection shields you from sawdust, and ear protection is recommended when using power tools.
Having all these tools and supplies ready will make your project smoother, safer, and much more enjoyable.
Before you begin installing your vertical shiplap backsplash, it’s important to get the area ready for a smooth, long-lasting finish. Proper preparation ensures the boards sit flat, stay secure, and look professional once installed. This step also helps prevent gaps, warping, or alignment issues later. Take a little extra time here; good prep work always leads to a cleaner, more polished final result.
Preparing for Installation
Before you begin installing your vertical shiplap backsplash, it’s important to get the area ready for a smooth, long-lasting finish. Proper preparation ensures the boards sit flat, stay secure, and look professional once installed. This step also helps prevent gaps, warping, or alignment issues later. Take a little extra time here; good prep work always leads to a cleaner, more polished final result.
Prepare the wall
- Remove any existing backsplash material and clean the surface.
- Patch any holes or uneven spots with spackle.
- If there are large patched areas, consider priming the wall first.
- Use your stud finder to find and mark studs. These will be your nailing reference points.
Install furring strips
- Attach furring strips horizontally at regular intervals (e.g., 16–24 inches), depending on your board length and manufacturer’s instructions.
- These strips give you a stable, level base to nail the shiplap into.
Installing the Vertical Shiplap
Before you begin installing vertical shiplap, it’s important to prepare your workspace and gather all the necessary tools. A proper setup ensures cleaner lines, better alignment, and a professional finish. Vertical shiplap instantly adds height and character to your kitchen, but the installation must be done carefully to avoid gaps, uneven seams, or misaligned boards. With the right approach, even beginners can achieve a clean and stylish backsplash.
Here is a step-by-step process to put up your kitchen shiplap wall or backsplash:
Step 1: Position the First Board
- Begin in one corner of the wall.
- Ensure the board’s back edge (not the tongue) is against the wall, and make sure it is perfectly level. Some walls may not be square, so adjust as necessary.
- Use a level vertically to verify.
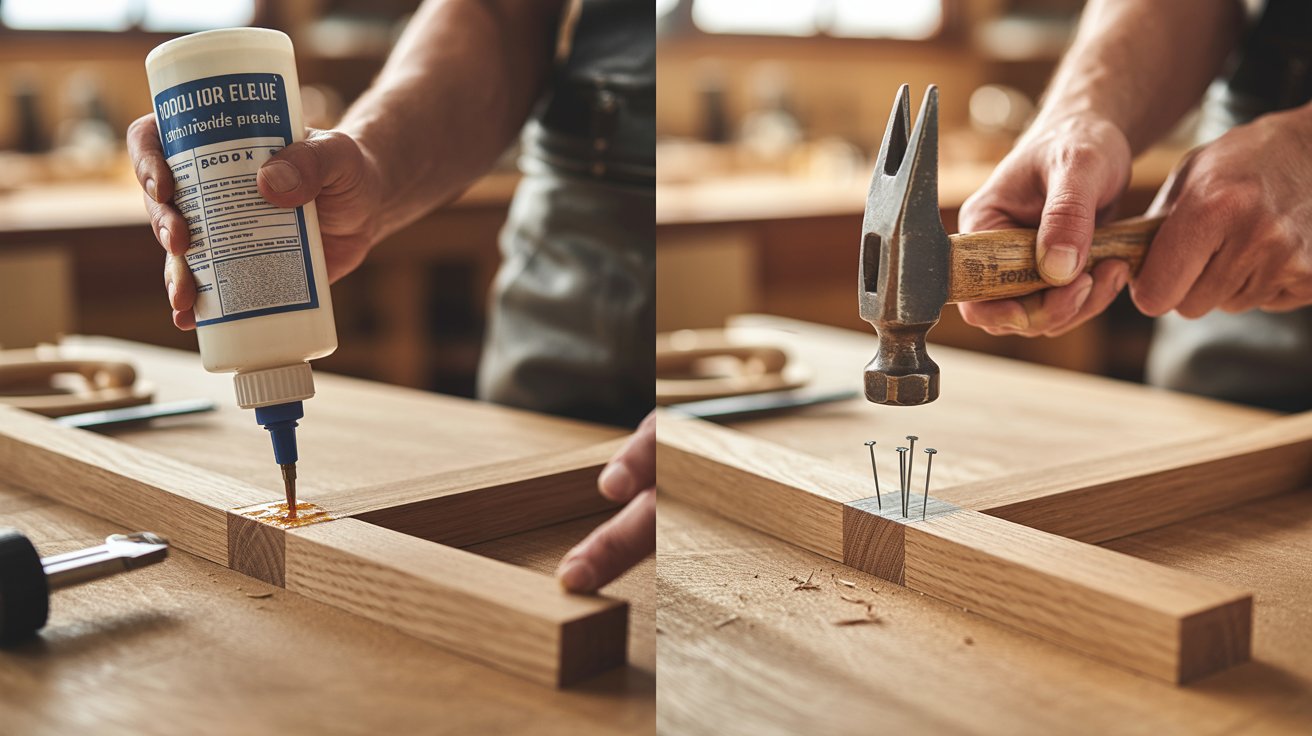
Step 2: Adhesive and Nailing
- Apply a bead of construction adhesive to the back of the board, about 1 inch from the edge.
- Press the board onto the wall, aligning with the furring strips.
- Nail through the board into the strips or studs using trim nails. For boards over studs, you can use both glue and nails.
- For areas not directly over a stud, rely more on the adhesive along with a few nails.
Step 3: Continue Installing Boards
- Use spacers (e.g., nickels) between boards to maintain consistent gaps.
- Dry-fit each piece first. Measure, cut if necessary, then apply adhesive and nail.
- When you reach outlets or switches, carefully measure and cut around them using a jigsaw or oscillating tool.
- For the final board on a wall, measure the remaining space. Often, subtracting a small margin (e.g., ⅛ inch) helps to wiggle it in and leave room for caulk.
Finishing Touches: Cutting, Caulk, & Paint
Before you wrap up your project, the finishing touches are what truly make your vertical shiplap backsplash look polished and professional. This stage is all about refining the details, trimming edges, filling gaps, smoothing surfaces, and adding the perfect coat of paint. These small steps bring everything together, ensuring your shiplap backsplash not only looks beautiful but also lasts longer with a clean, seamless finish.
Once all the boards are installed, complete the job with these finishing steps:
-
Trim and molding
- Add baseboards, crown molding, or trim pieces around the backsplash area as needed.
- Make sure the trim is level and fits flush with the edges.
Use wood filler or spackle to fill nail holes. Let it dry and then sand smooth.
-
Caulk seams
- Apply paintable caulk to all seams, corners, and any gaps.
- To smooth the caulk, run your finger (or a damp tool) over the line. Some recommend using a baby wipe as a “life hack” for a clean finish.
-
Paint
- If your shiplap is not already primed or pre-painted, apply primer first.
- Paint all sides of each board before installing; if possible, this ensures better coverage.
- Use a roller for large surfaces and an angled brush for gaps.
- Apply two coats for a polished, durable finish.
Gluing versus Nailing: Pros and Cons
When installing a shiplap backsplash, deciding whether to use glue, nails, or a combination of both is important for stability and appearance. Each method has advantages depending on your wall type, the material of your shiplap, and the final look you want. Understanding these differences will help you achieve a secure, long-lasting, and polished finish for your kitchen shiplap backsplash.
-
Adhesive only
Pros: No visible nail holes; smoother look.
Cons: Less immediate mechanical strength; requires precise leveling while the glue sets.
Many DIYers use only glue on boards that do not align with studs. -
Glue plus nails
Pros: Structural strength from nails + clean look from glue; more forgiving during installation.
Strategy: Use adhesive, then place nails where the board meets a stud.
Pros & Cons of Vertical Shiplap Backsplash
A vertical shiplap backsplash can completely transform your kitchen by adding texture and height to the space. While it offers a modern, clean look that complements many kitchen styles, it is important to understand both its advantages and limitations. Knowing the pros and cons helps you plan your installation carefully, ensuring that your kitchen shiplap backsplash remains both stylish and functional for years to come.
Pros
- Vertical lines draw the eye upward and can visually elevate a space.
- Simple to install with basic tools.
- Versatile: can be painted any color or finished to suit your style.
Cons
- Wood can expand or contract due to humidity changes; leaving small expansion gaps is important.
- Nail holes, if not filled carefully, may be visible.
- Requires good preparation and leveling for a polished result.
Tips for a Smooth Installation
Installing a vertical shiplap backsplash can be straightforward if you follow a few careful steps. Paying attention to preparation, layout, and spacing will make your work look professional and polished. Even small details, like letting boards acclimate or checking for level frequently, can prevent common mistakes and ensure a clean, consistent finish throughout your kitchen. These tips will help you achieve a flawless result.
- Let boards acclimate: Allow your shiplap boards to sit in the room for several days before installing.
- Dry-fit your layout: Lay out the boards on the floor first to stagger seams and plan cuts.
- Maintain consistency: Use the same size spacers throughout to create a uniform look.
- Check for level often: Even small deviations early on can compound and lead to crooked lines.
- Be careful around outlets: Use a jigsaw or oscillating tool for clean cuts.
- Smooth caulk with water: For neater results, use a damp fingertip (or baby wipe) to smooth caulk lines.
Common Mistakes to Avoid
Even though installing a vertical shiplap backsplash is manageable for most DIYers, small mistakes can make the final result look uneven or unprofessional. Being aware of common pitfalls before you begin will save time, money, and frustration. From improper wall prep to inconsistent gaps, avoiding these errors ensures your kitchen with shiplap backsplash looks polished, durable, and stylish for years to come.
- Skipping furring strips when needed: Without proper backing, boards may bow or not fasten securely.
- Not marking studs: You may miss the chance to anchor securely if you do not identify stud locations.
- Neglecting acclimation: Installing boards before they adjust to room conditions can lead to warping later.
- Uneven gaps: If spacers are not used consistently, the reveal between boards will be irregular.
- Rushing finishing: Poor caulk application, nail hole filling, or painting can undermine the elegant look of a shiplap backsplash.
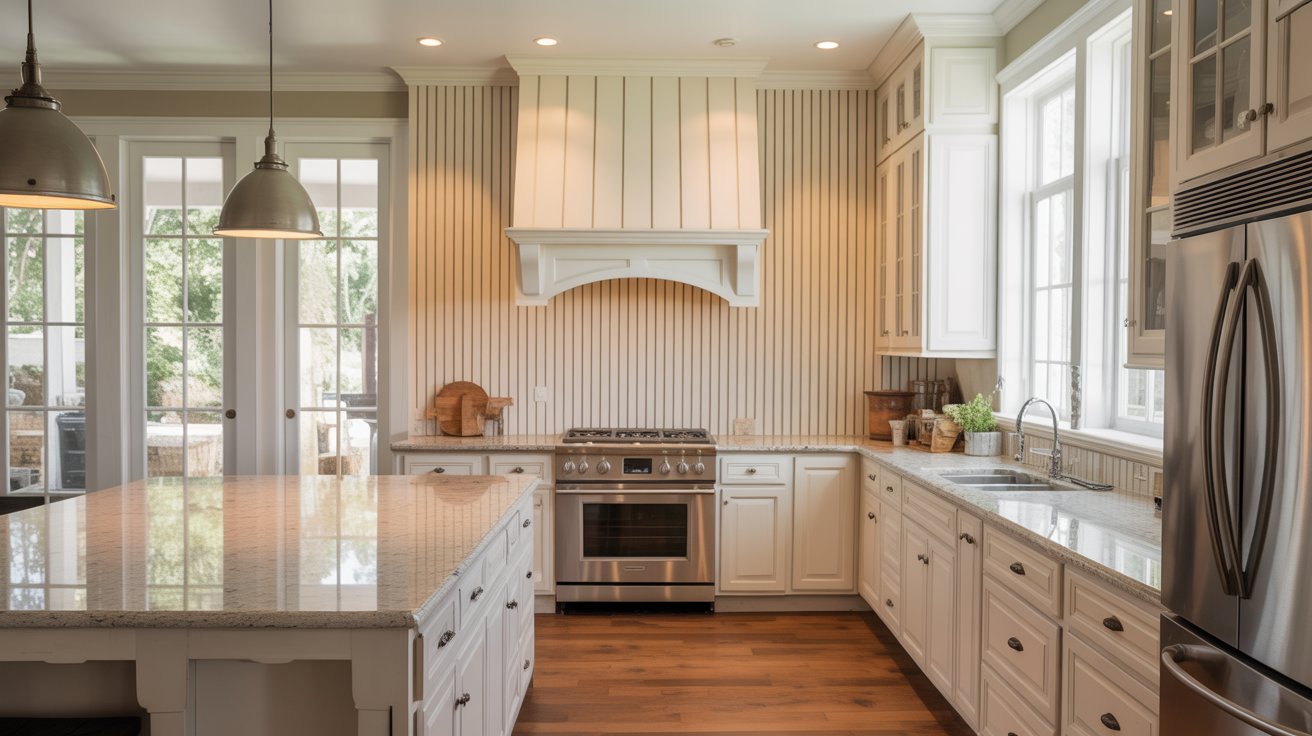
How to Use Vertical Shiplap in Different Kitchen Layouts
Using vertical shiplap in your kitchen can completely transform the look and feel of the space. Depending on your layout, you can create a striking focal point, add texture behind countertops, or complement cabinetry and open shelving. Whether you want a dramatic full-height backsplash or a subtle half-wall feature, vertical shiplap can be adapted to suit any kitchen style while maintaining a polished and cohesive appearance.
- Behind the stove or sink: Focus on moisture-resistant paint or sealant.
- Full-height backsplash (counter to ceiling): Offers dramatic effect, especially in a kitchen with shiplap walls.
- Half-wall backsplash: Run shiplap from countertop to mid-height, then transition to tile or paint. This can be very cost-effective
- Around open shelves: Adds texture and contrast behind floating shelves, creating a visual focal point.
Conclusion
Installing a vertical shiplap backsplash in your kitchen is a rewarding DIY project. It brings rich texture, a modern yet rustic feel, and a visual lift to the space. With thoughtful planning, the right supplies, and a steady hand, you can achieve a professional-looking finish that enhances your kitchen with shiplap backsplash or kitchen shiplap wall. Whether you choose MDF or real wood, glue or nails, or paint your boards bold or neutral, the results can elevate your kitchen’s style dramatically.
At SF Marble and Granite, we help you protect and maintain your beautifully finished spaces. After completing your shiplap backsplash kitchen or kitchen shiplap wall project, consider safeguarding it with our backsplash installation services. Our professional team ensures your kitchen surfaces are installed perfectly and built to last, giving you both style and durability in one complete package.
FAQ
Is vertical shiplap suitable for a moist kitchen environment?
Yes, when the boards are properly primed or sealed and painted, shiplap can withstand typical kitchen moisture.
Can I install shiplap over tile?
You can, but make sure the tile is firmly attached and level. Adding furring strips over the tile creates a stable base.
Do I need to paint the back of the shiplap boards before installation?
It is recommended. Painting or priming all sides helps prevent moisture absorption and ensures a uniform finish.
How do I deal with outlets and switches?
Measure and mark carefully, then cut out slots using a jigsaw. Dry-fit the boards before applying adhesive and nails.
How much gap should I leave for expansion?
Leave about ⅛ inch around corners or trim to allow for wood expansion and contraction.