Your marble floor looked perfect the day it was installed. Now it’s dull, scratched near the sink, and covered in faint rings from coffee mugs. That’s frustrating, and it’s also completely normal. Marble is soft compared to granite or quartz, so it scuffs and etches faster than most people expect.
Here’s the promise: by the end of this article, you’ll know exactly which polishing method fits your situation, what tools actually work, and when it’s smarter to call a professional instead of risking your countertop. The best marble polish techniques depend on how bad the damage is, whether the stone is honed or polished, and what caused the dullness in the first place. If you just want the short answer, a calcium carbonate-based polishing powder paired with a soft buffing pad restores shine on light etching and dullness, while deep scratches or heavy etching need diamond abrasive pads or a professional refinishing job. Keep reading and I’ll walk you through each option in plain terms.
Understanding Marble Polish
Marble polish is a fine abrasive compound, usually calcium carbonate or tin oxide based, that buffs away the top layer of dull or etched stone to bring back a reflective surface. It’s not a coating. It’s not wax. It works by smoothing the stone itself, which is why the results last so much longer than a spray-on shine product.
Marble is a calcium-based stone, which means it reacts to acid. Lemon juice, vinegar, wine, even some bathroom cleaners will eat into the surface and leave a dull, cloudy mark called etching. That’s not dirt, so scrubbing won’t fix it. Polish works because it physically levels out that damaged layer instead of just covering it up.
A lot of homeowners confuse polishing with sealing, and they’re not the same job. Sealing protects the stone from stains by filling the pores. Polishing restores the finish after damage has already happened. You often need both, but they solve different problems.
There’s also a difference between honed marble and polished marble, and it changes how you should treat the surface. Polished marble has a glossy, reflective finish straight from the factory, and it shows etching and scratches clearly because any change in the surface breaks up the light. Honed marble has a matte, satin finish, and it hides minor wear far better, though it still needs periodic maintenance to keep from looking flat and lifeless. Knowing which type you have before you start tells you how much shine you’re actually trying to bring back.
Choosing the Best Marble Polish
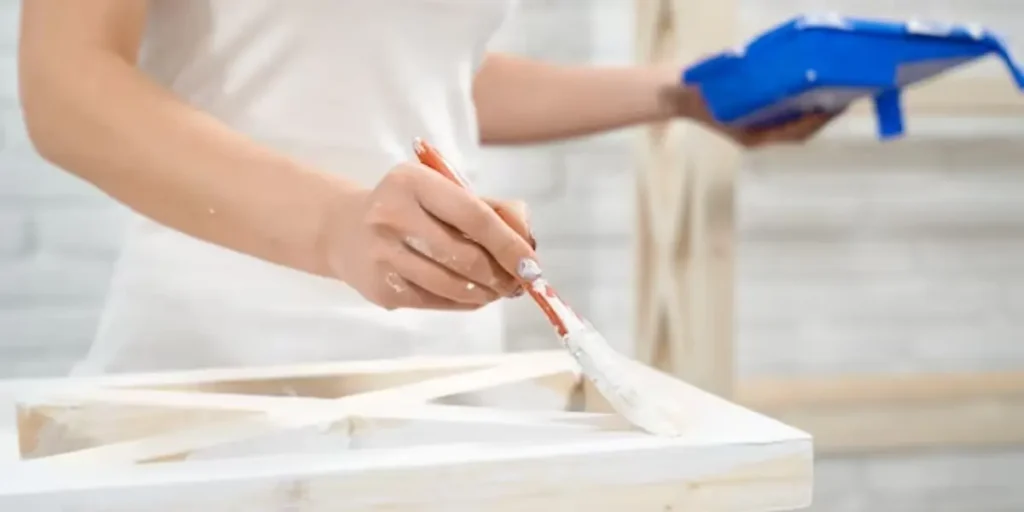
When choosing a marble polish, consider the condition and type of marble surface. An excellent all-purpose polish for most applications is a bottle of marble polish liquid:
Dark Marble
Look for a polish designed for dark marble to preserve color. Avoid products with harsh abrasives.
Honed/Polished Marble
A polish wax is suitable for honed and polished marble surfaces. Apply gently in small sections to maintain shine.
Heavily Stained Marble
For removing stubborn stains, deep cleaning powder polish may be necessary before using a liquid or wax polish.
New Marble Installations
For new marble installations, use a penetrating polish or natural wax initially to protect the pores of the stone.
It’s also important to choose a polish free from harsh chemicals that can damage marble over time such as ammonia, citrus, and chlorine. A few top brands for marble polish include Gleem, StoneTech, and LimeAway.
Marble Polishing techniques
There isn’t one single way to polish marble. The right technique depends on the tools you have, the size of the area, and how much damage you’re dealing with.
Powder and water paste is the classic hand-polishing method. You make a thick paste, apply it in small circular motions with a felt or microfiber pad, and let friction do the work. It’s slow, but it’s forgiving for beginners because there’s very little room to damage the stone further.
Cream and buffer technique speeds things up. You apply the cream, then use a low-speed orbital buffer with a soft pad to work it across the surface. This is the most common approach for kitchen countertops because it covers ground faster than hand polishing without needing diamond tools.
Dry diamond pad polishing is the professional-grade method. Pads run from coarse grits, around 50, up to fine grits near 3000, and you work through them in sequence on a wet polisher machine. This is genuinely the best marble polish techniques option for scratches, chips, or heavy etching, but it takes practice, and one wrong pass can leave visible swirl marks.
Poultice treatment isn’t technically polishing, but it often comes first. A poultice pulls stains out from inside the stone before you polish, since polishing over a stain just seals it in place instead of removing it.
Tips for Effectively Marble Polishing
Here are some additional tips for keeping marble looking its best with regular polish:
- Sweep before washing to remove loose dirt which can scratch the surface.
- Use a pH neutral cleaner designed for stone and rinse thoroughly before polishing.
- Test new polishes in an unseen area for colorfastness before full application.
- Always work in small sections and buff the polish dry before it dries on its own.
- Wipe spills immediately and avoid harsh acidic or alkaline chemicals exposure.
- Consider marble polish kits for a complete system including cleaner and polish.
- Machine polishing gives showroom results but can be laborious for large floors.
- Reapply polish more frequently in high-traffic areas like entryways.
- Use polish sparingly to avoid building up a dulling residue over time.
- Dry buff occasionally with a clean cloth to renew luster between full polishes.
With diligent monthly polishing using the proper techniques and products, marble floors, counters and surfaces can retain their natural beauty for many years. Regular polish prevents staining and wear for long-lasting shiny marble.
Common Marble Problems and How Polish Helps
While beautiful, marble is porous and can develop common issues over time that dull its natural glow. Regular polishing helps prevent and resolve several key marble concerns:
Etching
Citrus juices, vinegar and other acidic substances can penetrate marble, leaving behind dull white marks called etching. Applying a marble polish powder tackles etching through mechanical abrasion to restore the smooth surface.
Oxidation
Like other stones, airborne pollutants cause marble’s surface tooxidize into a dirty gray haze over the years. Polishing liquid or wax breaks through oxidation to return marble’s brilliance.
Water Spots
Hard water minerals deposited on marble from steam or wet mopping appear as white spots. The acidic properties in certain polish liquids dissolve these deposits for a spot-free shine.
Scratches
Light scratches happen through ordinary use but detract from marble’s polished beauty. Polishing fills in fine scratches for a flawless appearance. Deeper scores may require re-honing by professionals.
Dullness
Regular foot traffic, cleaning products and age naturally rob marble of its glossy luster. Polishing revives marble’s natural radiance through encapsulation that shields against such dulling elements.
Stains
Wine, coffee or ink spills that aren’t wiped immediately may leave behind dark splotches. Marble polishing powders’ abrasiveness can scrub away stubborn stains better than liquids alone. Prevention through prompt cleanup is best.
Marble Cost: What You’ll Pay for Flooring, Countertops, and Polishing
The price of marble varies a lot depending on the type, the finish, and where you’re buying it. Standard marble flooring cost typically runs lower per square foot than premium slabs like Calacatta or Statuario, which carry a higher price tag because of their veining and rarity.
Marble countertops cost more than flooring on average, since countertop slabs need to be cut and finished to a higher standard with less visible seaming. Many suppliers now offer a marble price calculator or a marble cost calculator on their websites, which lets you plug in square footage and finish type to get a rough estimate before you ever visit a showroom.
Polishing costs are separate from material costs. A DIY polishing kit for a small kitchen counter typically costs far less than hiring someone, while professional refinishing is priced per square foot and depends on how much correction the stone needs. It’s worth getting a written estimate before work starts, since heavily etched or scratched stone takes more passes and more time than routine maintenance polishing.
How to Polish Marble: Step-by-Step Instructions
Start by clearing the surface completely and cleaning it with a pH-neutral marble cleaner. Skip anything with vinegar, bleach, or citrus, since those will etch the stone further before you even get to the polishing step.
Next, test your chosen polish on a small, hidden section first, like the underside of a countertop edge or a corner behind an appliance. This tells you how the stone reacts before you commit to the whole surface.
Apply the polish in small circular motions, working one section at a time rather than the whole floor or counter at once. Keep the pad or cloth slightly damp, not soaked, and use light, even pressure. Pressing too hard doesn’t speed things up, it just risks uneven wear.
Once you’ve worked through the section, buff off the residue with a clean, dry microfiber cloth until the haze disappears and the shine comes through. Move to the next section and repeat the same pattern so the finish stays consistent across the whole surface.
Finish by rinsing with plain water, drying completely, and applying a penetrating sealer if it’s been more than a year since the last one. Polishing opens the surface slightly, so sealing afterward keeps stains from creeping back in.
Conclusion
In conclusion, this post covered everything you need to know to properly polish and care for marble surfaces. We discussed the different types of marble polish products available and how to choose the best option. Detailed steps were provided for cleaning and polishing marble by hand or machine.
SF Marble and Granite Inc is a trusted resource for local marble and stone installation, fabrication, restoration and polishing services. With over 30 years in the industry, our team has expertise in caring for both residential and commercial marble, granite, travertine and other natural stone. Whether you need a custom stone kitchen countertop installed or your existing marble floors brought back to a showroom shine, contact us today at 978-459-582 or sfmarbleangranite@gmail.com for a free quote.
FAQs About Marble Polish
How often should I polish marble?
Most experts recommend polishing marble monthly for low-traffic areas, every 2-3 weeks for entryways and high-use surfaces. Allow more time between for low-use decorative stone.
Is it okay to use furniture polish on marble?
In general, no – furniture polish can contain silicone or other ingredients that leave a filmy buildup. Look for cleaners and polishes specifically formulated for stone.
Can you polish honed or polished marble differently?
Yes, honed marble has a matte texture so use gentle polishing motions. Polished marble is smoother – apply polish normally with light pressure in small sections.
What’s the best way to polish large marble floors?
For floors, electric or battery-powered polishing machines with soft pads work efficiently in sections. You can also hand polish but it requires more time and effort.
Will polish darken or change my marble’s appearance?
Quality polishes will not affect marble’s color if used as directed. Always spot test new products first in case of streaking or darkening with certain stones.