Marble Countertops Pros and Cons: A Complete Homeowner’s Guide
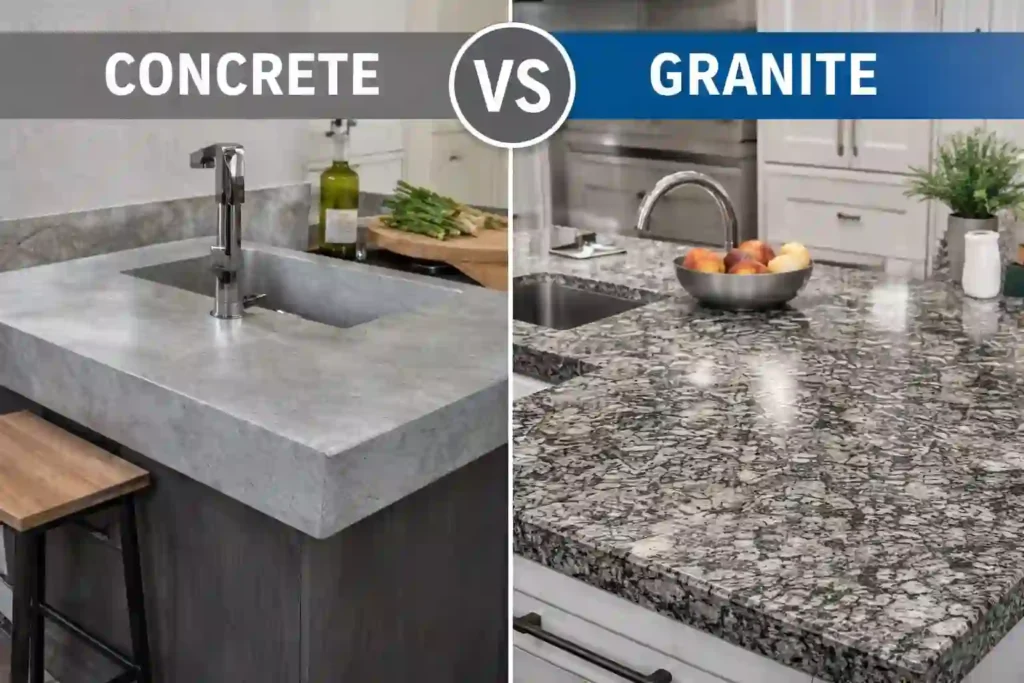
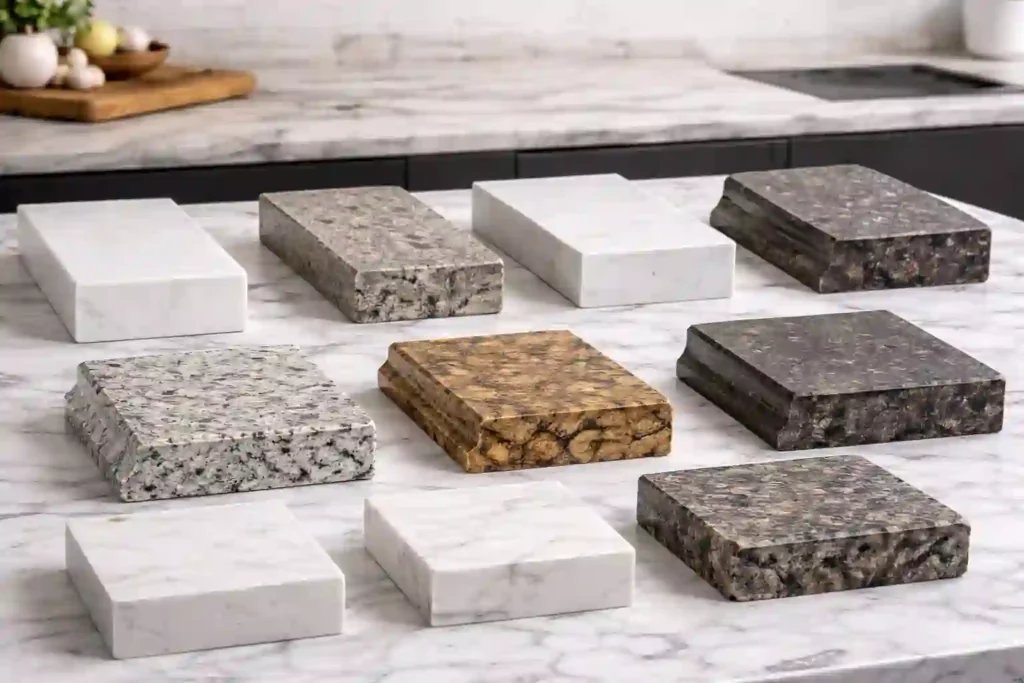
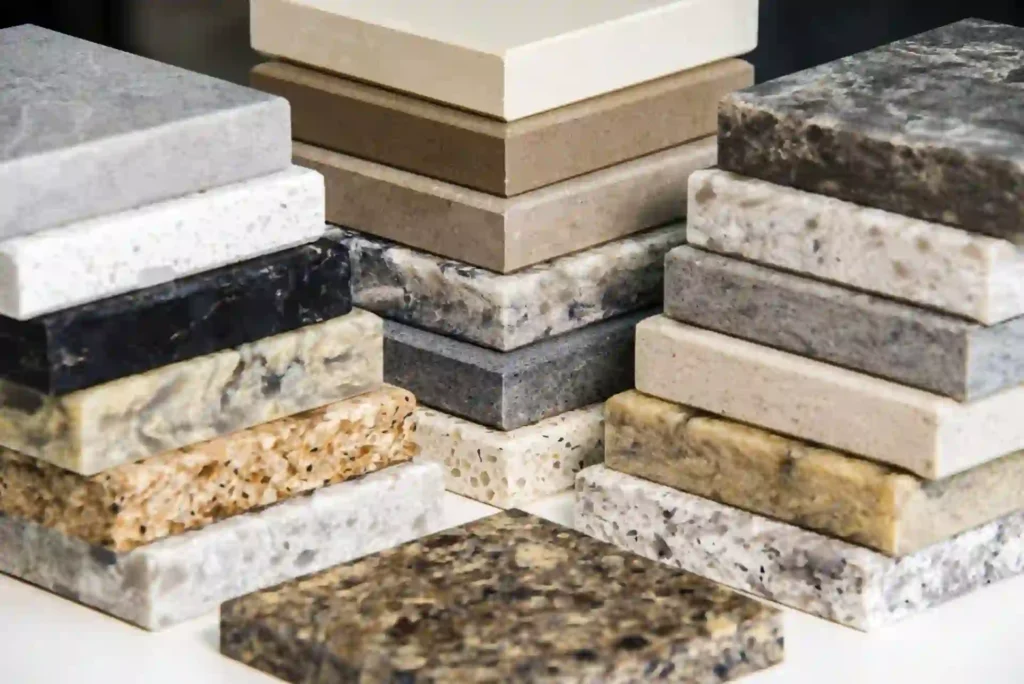
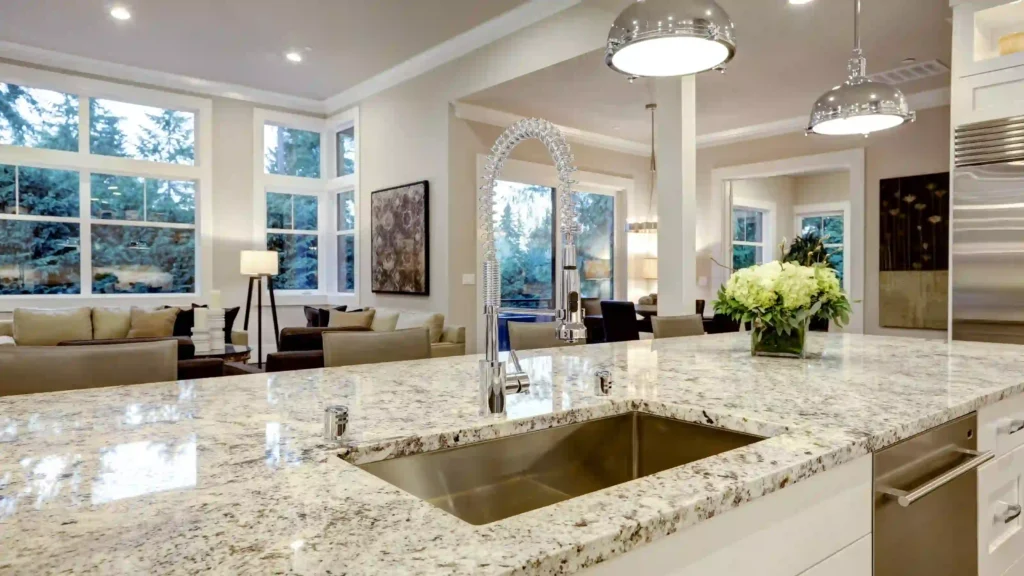
Choosing the right surface for your kitchen or bathroom isn’t just about looks; it’s about lifestyle, maintenance, and long-term value. When homeowners search for marble countertops pros and cons, they’re usually trying to answer one important question: Is marble truly worth it? At SF Marble & Granite Inc, we’ve worked with homeowners across Massachusetts who love the elegance of marble but also want honest guidance before making a major investment. In this guide, you’ll find a clear, practical breakdown based on real-world installation experience, not marketing hype. What Are Marble Countertops? Marble countertops are surfaces made from natural stone that is quarried from the earth, cut into slabs, polished, and fabricated for kitchens and bathrooms. At SF Marble & Granite Inc, we often explain to homeowners that marble’s natural origin is what makes it both beautiful and unique. Unlike engineered materials, marble forms naturally under heat and pressure. This natural formation is what gives every slab its distinctive veining and movement. How Marble Slabs Are Made Large marble blocks are extracted from quarries. Blocks are cut into slabs. Slabs are polished and finished. Fabricators shape and install them as a marble counter top. Because marble is natural, no two pieces are identical, which is exactly why many homeowners fall in love with it. Why Homeowners Choose Marble Countertops There’s a reason marble has been used for centuries in architecture and design. 1. Luxury Appearance A white marble counter instantly elevates a kitchen. The soft veining creates depth and elegance that manufactured materials often try to imitate but rarely match. 2. Timeless Appeal Trends change, marble doesn’t. A well-designed kitchen layout with white marble countertopsrarely feels outdated. 3. High-End Feel Marble is commonly used in upscale homes, boutique hotels, and luxury bathrooms. It signals craftsmanship and refined taste. Pros of Marble Countertops Let’s look at the practical advantages behind the beauty. Natural Beauty & Unique Patterns Every slab of marble has one-of-a-kind veining. If you value originality in your home, this matters. No two white marble countertops kitchen installations ever look the same. Heat Resistance Marble handles heat better than many synthetic options. Hot pans won’t instantly damage it (though trivets are still recommended). Bakers especially appreciate the naturally cool surface. Smooth & Cool Surface For pastry work, dough rolling, and chocolate tempering, marble performs beautifully. Professional chefs often prefer a natural marble counter top for this reason. Adds Property Value Natural stone surfaces are considered premium upgrades. In many cases, installing a white marble counter can enhance perceived home value and buyer appeal. You may also read: Bathroom Tile Grout Cons of Marble Countertops Honesty builds trust. Marble isn’t perfect, and it’s important to understand the trade-offs. Porous Nature (Staining Risk) Marble is porous. That means: Wine can stain. Oil can darken spots. Lemon juice can leave marks. If you’re asking, is marble good for countertops in busy kitchens? This is where you need to pause and think carefully. Scratches & Etching Acidic substances like vinegar or tomato sauce can cause etching, dull spots that change the finish. Over time, a marble counter top may develop a “patina” from daily use. Some homeowners love this aged look. Others don’t. High Maintenance Marble requires: Regular sealing Gentle cleaning products Immediate spill cleanup Compared to synthetic marble kitchen countertops or quartz countertops, it requires more attention. Cost Consideration Marble typically costs more than basic granite options. Installation complexity can also increase labor expenses. When reviewing the full marble countertop pros and cons, maintenance is often the deciding factor. Marble Countertops Pros and Cons | Quick Comparison Advantages Disadvantages Elegant, natural veining Can stain easily Heat resistant Prone to etching Cool surface for baking Requires sealing Adds resale appeal Higher maintenance This simple table helps homeowners quickly evaluate the pros and cons to marble countertops before committing. Marble vs Granite Countertops Many homeowners comparing marble countertop pros and cons also ask about granite. Durability Granite is harder and more resistant to scratches. Maintenance Granite still needs sealing, but less frequently than marble. Daily Kitchen Use For heavy cooking households, granite may be more forgiving. That said, granite doesn’t replicate the soft elegance of a white marble counter. Marble vs Quartz Countertops Quartz is engineered. Marble is natural. Stain Resistance Quartz and synthetic marble kitchen countertops are far more stain-resistant. Maintenance Quartz requires minimal upkeep compared to marble. Long-Term Care Marble develops character. Quartz stays consistent. If you prefer low maintenance over natural authenticity, synthetic marble kitchen countertops may be worth exploring. Best Places to Use Marble Countertops Marble isn’t always ideal for every kitchen layout. Here’s where it performs best: Bathroom vanities Kitchen islands used for prep Fireplace surrounds Low-traffic kitchens In these areas, a white marble countertops kitchen design can shine without excessive wear. Is Marble a Good Choice for Kitchens? So, is marble good for countertops in real kitchens? It depends on: How often do you cook Whether you clean spills immediately Your tolerance for natural aging Busy families who cook daily may prefer granite or quartz. Design-focused homeowners who value appearance often accept the maintenance trade-offs. Maintenance Tips for Marble Countertops If you choose marble, proper care makes all the difference. Seal Regularly Reseal every 6–12 months, depending on usage. Daily Cleaning Use mild soap and water. Avoid acidic cleaners. Avoid Direct Cutting Always use cutting boards. Protect from Acids Wipe spills immediately, especially citrus, wine, and vinegar. Good habits extend the life of your marble counter top significantly. Common Marble Countertop Mistakes to Avoid Here’s where many homeowners go wrong: Skipping sealing Using vinegar-based cleaners Leaving oil spills overnight Cutting directly on the surface Understanding these risks upfront makes the pros and cons to marble countertops easier to manage. When Marble Countertops Are Worth the Investment Marble makes sense when: You’re designing a luxury home You prioritize aesthetics over durability You’re comfortable with maintenance It may not be ideal if you want a completely worry-free kitchen surface. Professional Marble Countertop Installation Matters Even the highest-quality marble can fail
Marble Countertops Pros and Cons: A Complete Homeowner’s Guide Read More »