What is the Most Popular Backsplash for Kitchen?
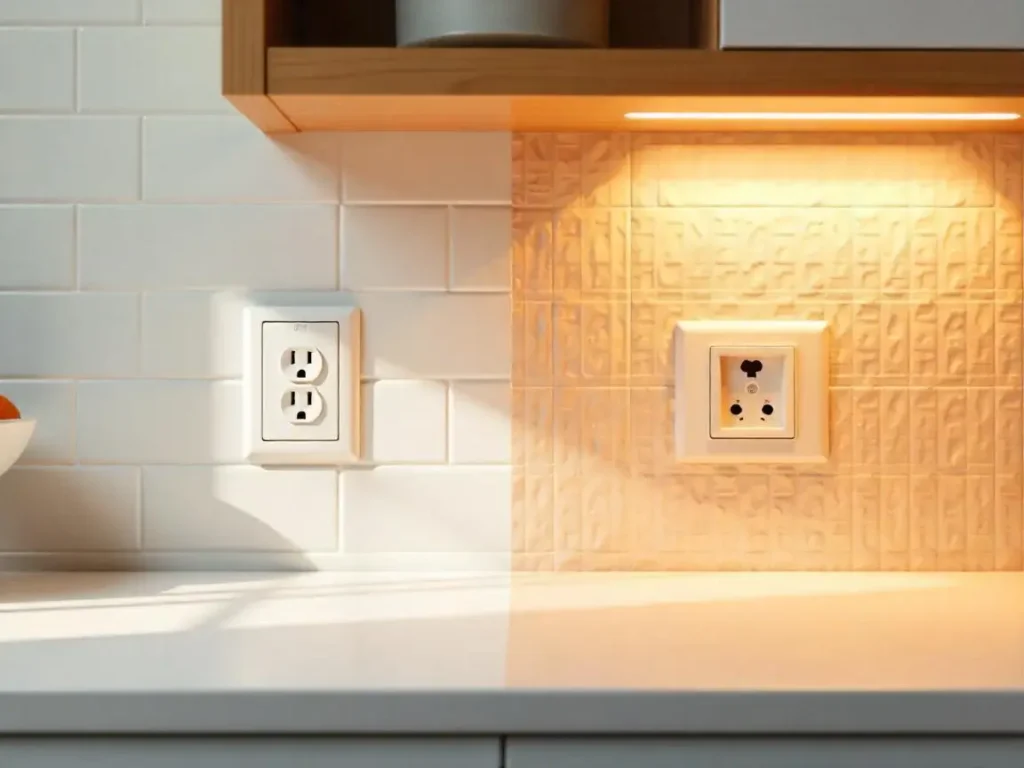
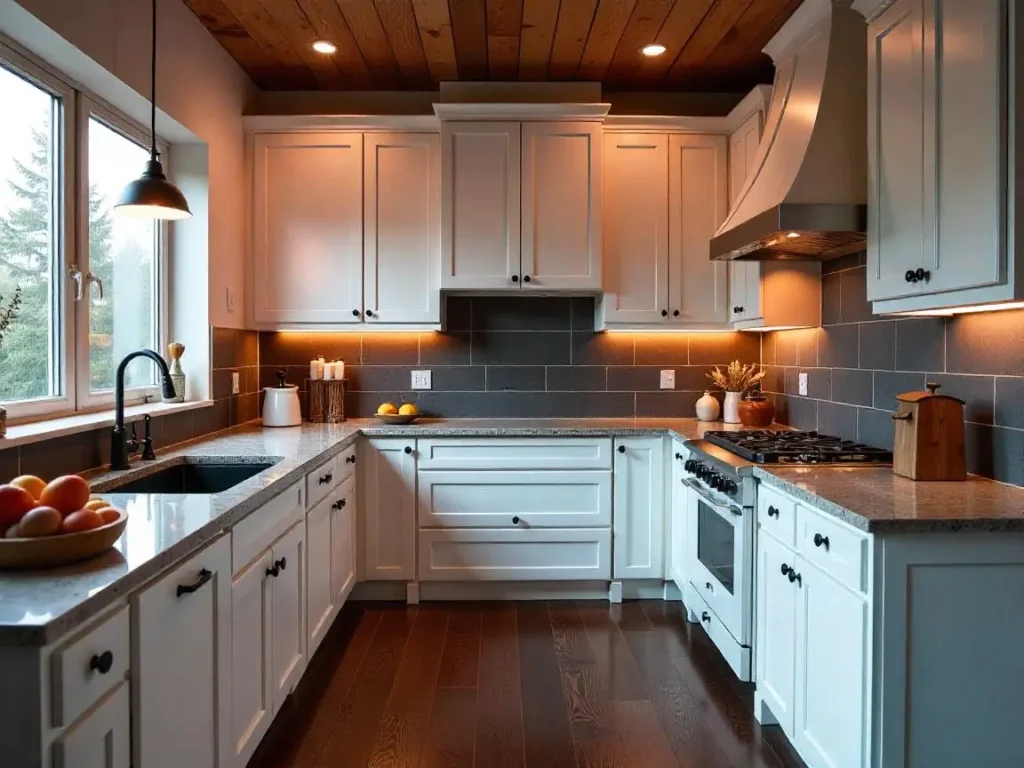
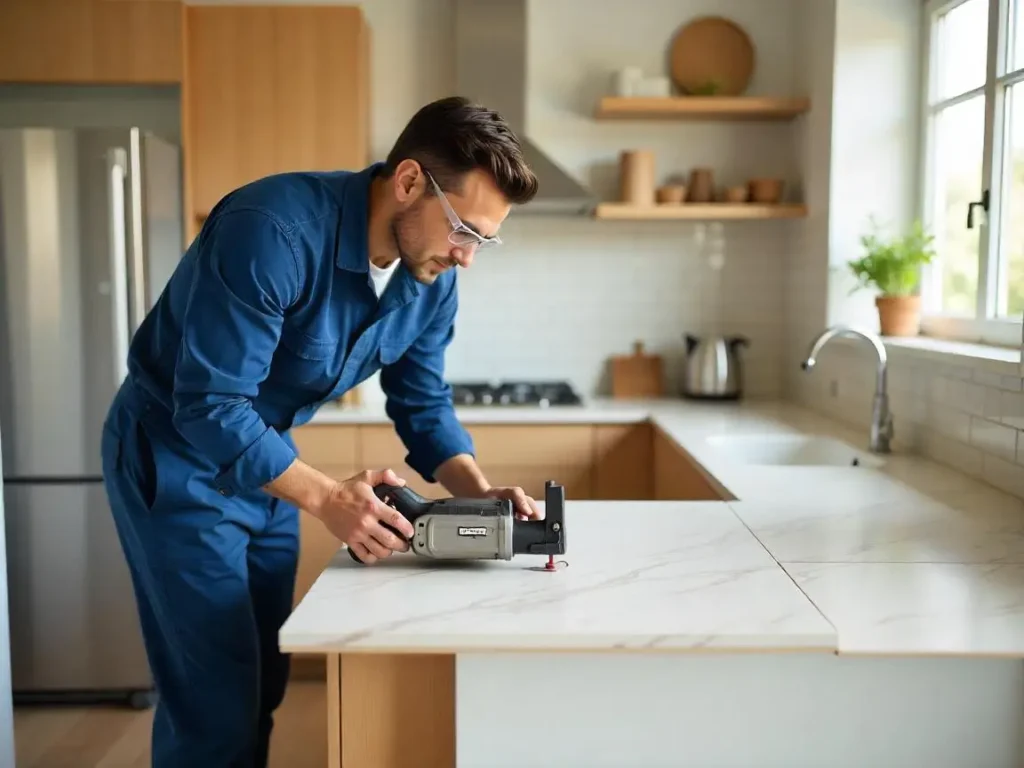
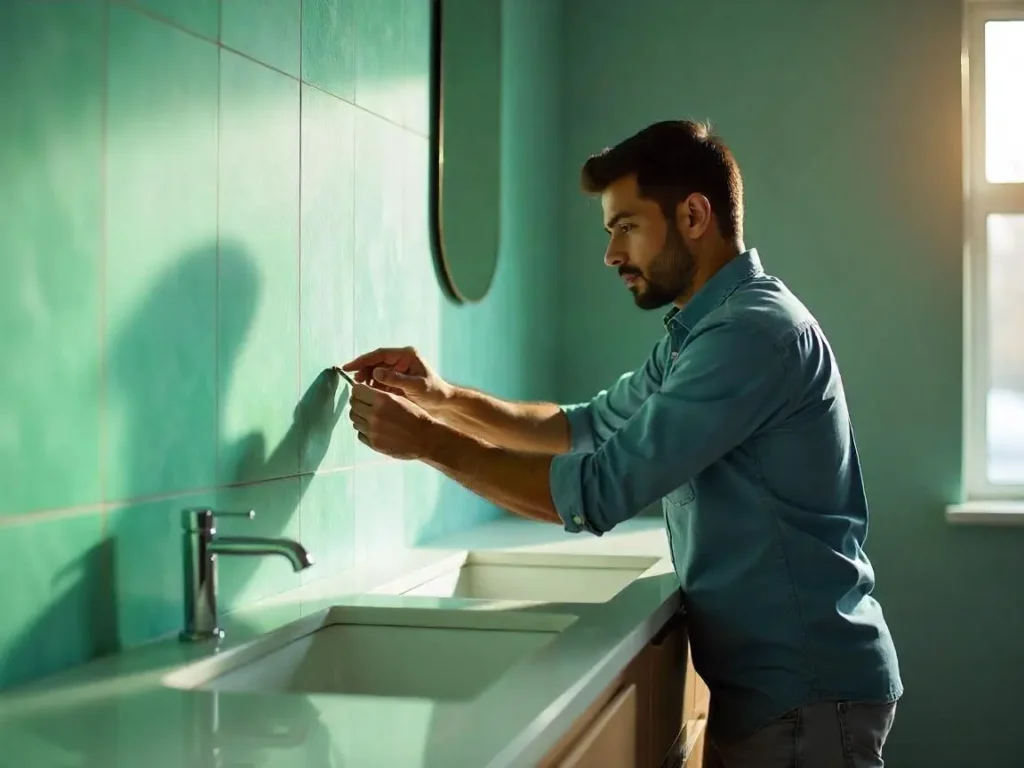
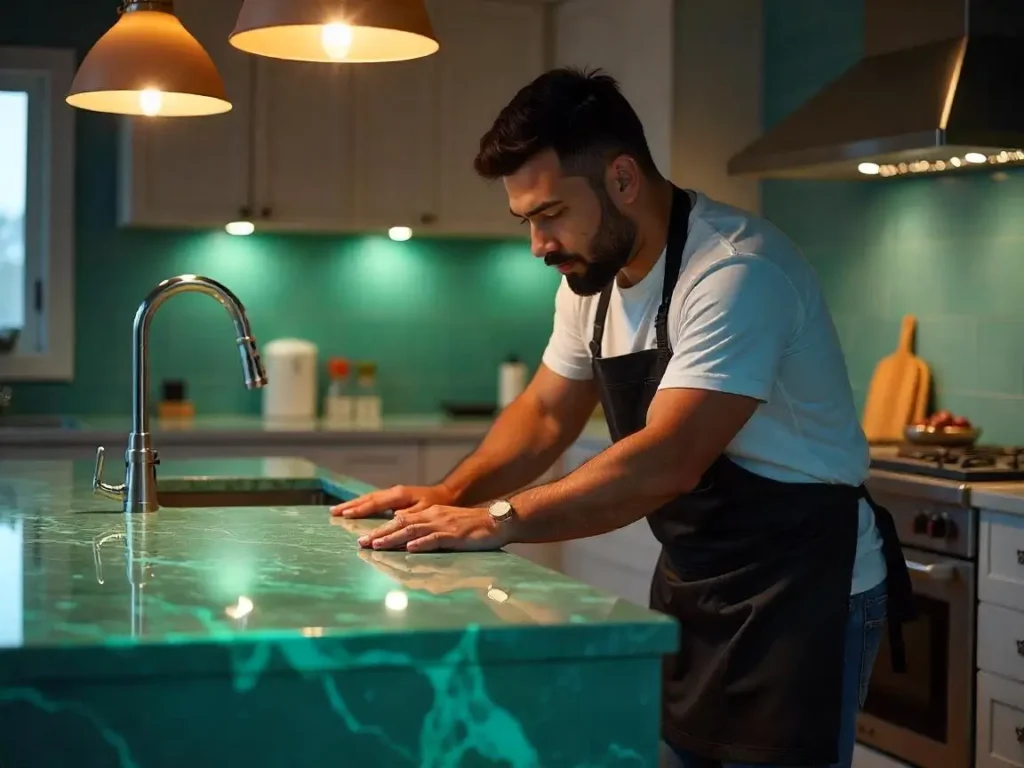
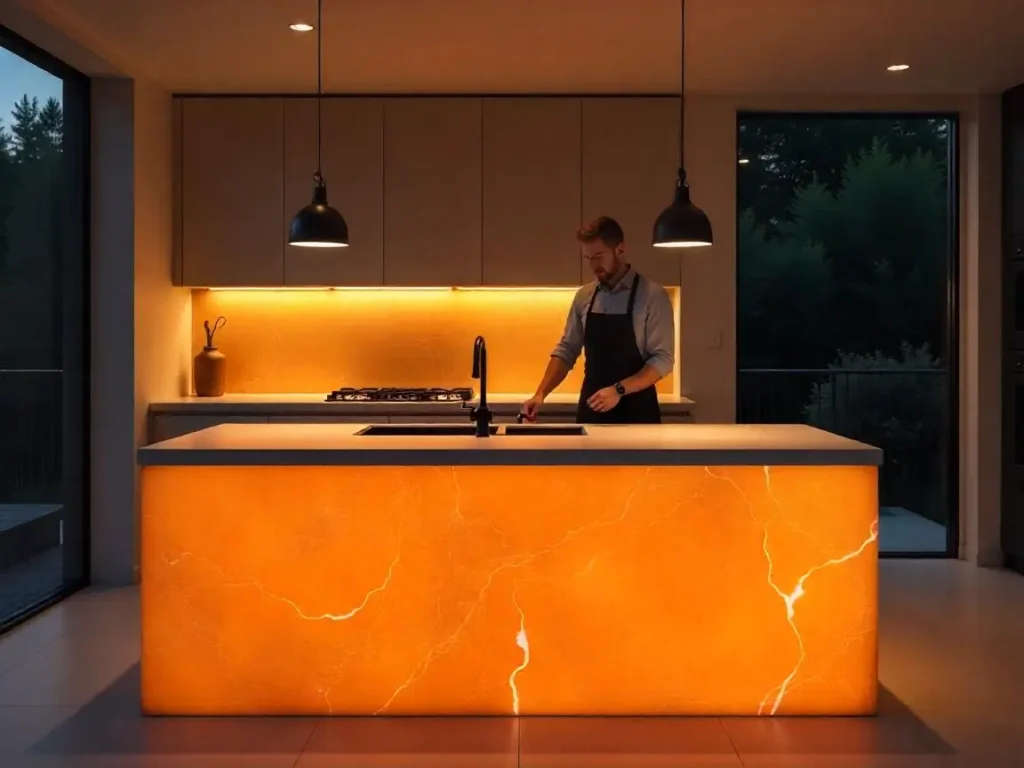
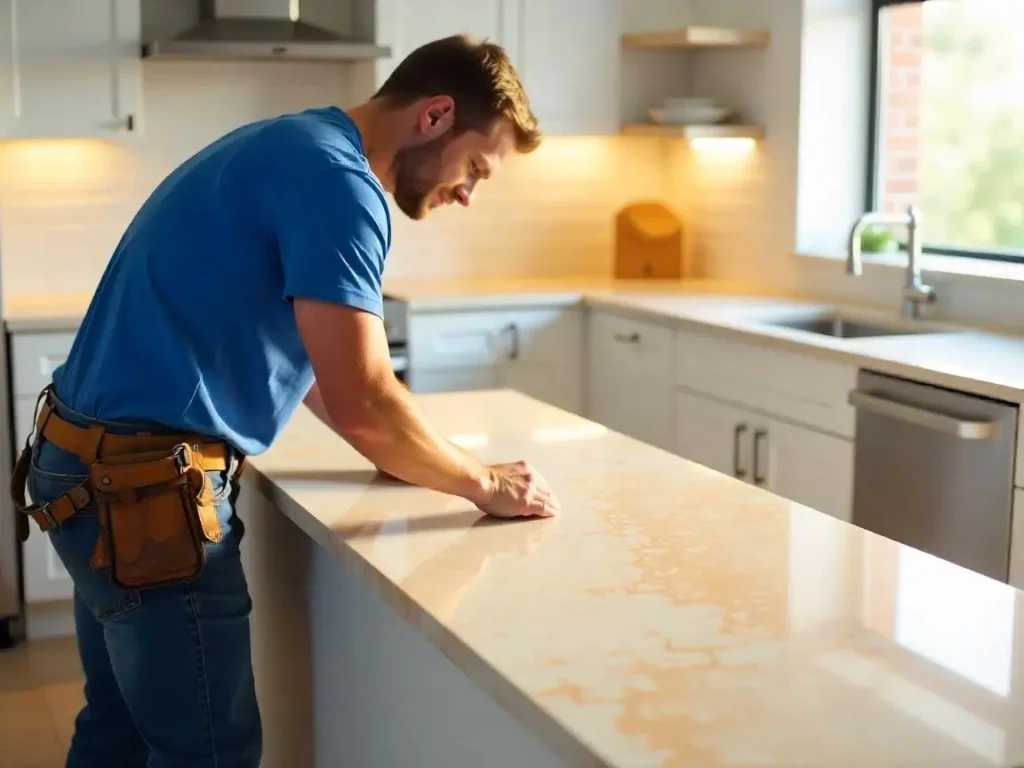
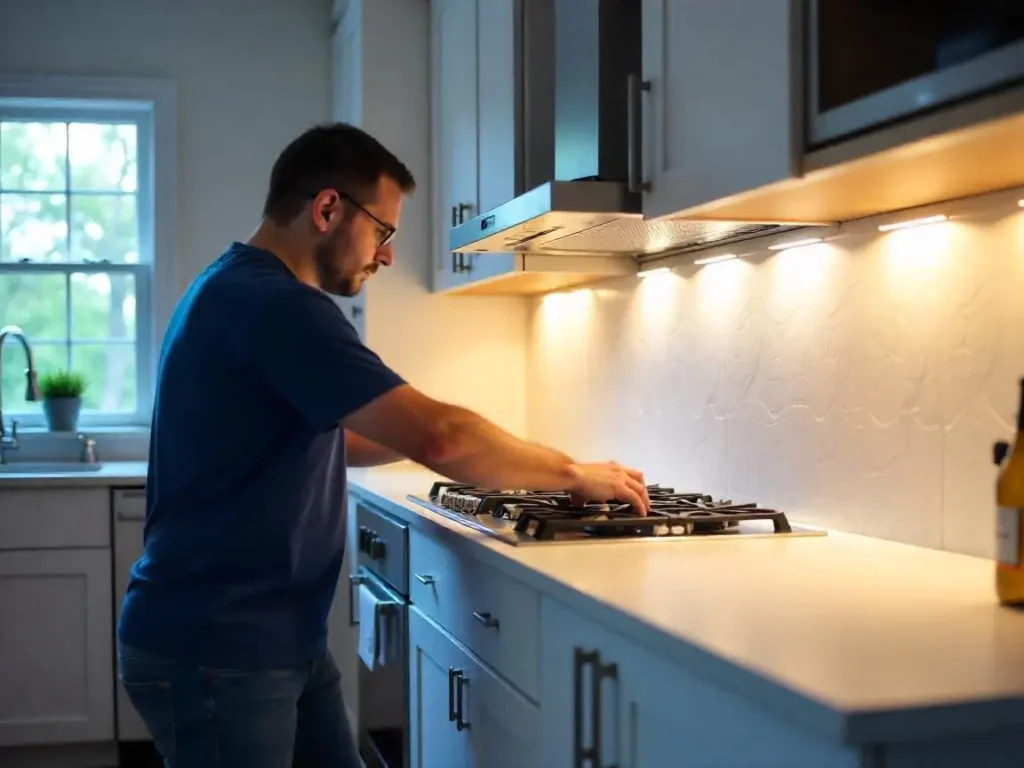
Home The most popular backsplash for kitchens in 2025 is a blend of natural stone slabs-primarily granite and marble-and textured ceramic tiles. Quartz surfaces are also rapidly gaining favor due to their durability and low maintenance. Meanwhile, classic subway tiles remain timeless but are being refreshed with new patterns and grout colors to suit modern tastes. Backsplashes are more than just wall protection-they enhance your kitchen’s style, reflect your personal taste, and can even increase your home’s value. This guide will walk you through the hottest materials, trending designs, local insights for Lowell, MA homeowners, maintenance tips, and expert advice from SF Marble & Granite Inc., the trusted stone fabricators in your area. Why Are Granite, Marble, and Quartz Backsplashes Leading the Trend? Overview of Popular Kitchen Backsplash Materials in 2025 Natural Stone Slabs Ceramic and Porcelain Tiles Glass and Metallic Tiles Emerging & Specialty Materials Trending Styles, Patterns, and Colors for Kitchen Backsplashes Design Tips for Lowell, MA Homeowners and Contractors Installation & Fabrication: What You Need to Know Maintenance and Durability: Keeping Your Backsplash Beautiful Budgeting Your Kitchen Backsplash Project How Kitchen Backsplashes Affect Home Resale Value Backsplash Lighting: Enhancing Your Kitchen’s Ambiance Elevate Your Kitchen with SF Marble & Granite Inc. Choosing the right backsplash can transform your kitchen’s look and protect your walls from daily wear. At SF Marble & Granite Inc., we specialize in professional backsplash installation in Lowell, combining expert craftsmanship with a wide selection of premium materials like granite, marble, quartz, and ceramic tiles. Whether you want a timeless subway tile or a luxurious natural stone slab that perfectly matches your countertops, our local team ensures a flawless fit and finish tailored to your style and kitchen needs. Trust our 10+ years of experience to deliver durable, beautiful backsplashes that enhance your home’s value and make cleaning effortless. Elevate your kitchen with a custom backsplash designed and installed by Lowell’s trusted stone fabricators. Conclusion In 2025, the most popular kitchen backsplashes combine the timeless elegance of natural stone slabs-granite and marble-with the versatility and texture of ceramic tiles and quartz. These materials offer durability, style, and easy maintenance, making them perfect for Lowell homeowners looking to elevate their kitchens. Call to Action For expert backsplash fabrication and installation tailored to your kitchen’s unique style and needs, contact SF Marble & Granite Inc.. With over 10 years of experience serving Lowell, MA, we provide custom solutions that blend beauty and function seamlessly. Schedule your free consultation today and transform your kitchen with a backsplash that lasts a lifetime. FAQs What backsplash material is the most durable?Granite and quartz are among the most durable, offering heat resistance and low maintenance. Can I match my backsplash to my granite countertop?Yes, using the same natural stone or coordinating colors creates a seamless, elegant look. How long does backsplash installation usually take?Depending on material and kitchen size, installation typically takes 2-5 days, including preparation and finishing. Are quartz backsplashes worth the investment?Absolutely, quartz is non-porous, stain-resistant, and easy to maintain, making it ideal for busy kitchens. How do I maintain a marble backsplash in a busy kitchen?Regular sealing and gentle cleaning with pH-neutral products help protect marble from stains and etching.
What is the Most Popular Backsplash for Kitchen? Read More »