Do You Need Backer Board for a Kitchen Backsplash? A Comprehensive Guide
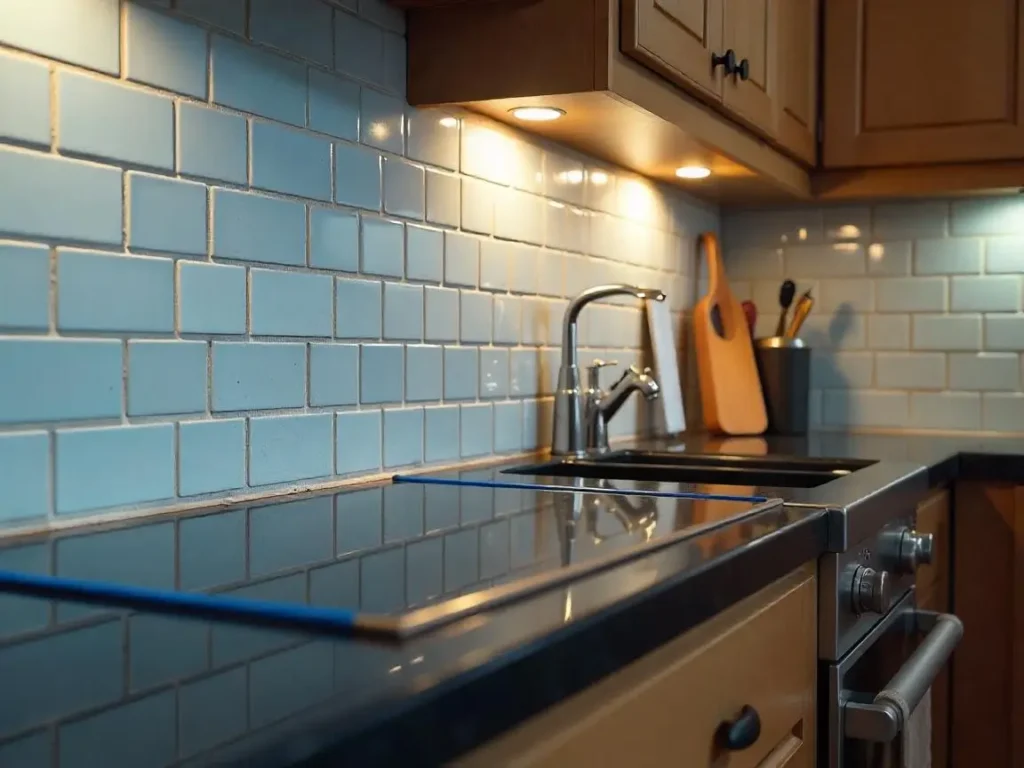
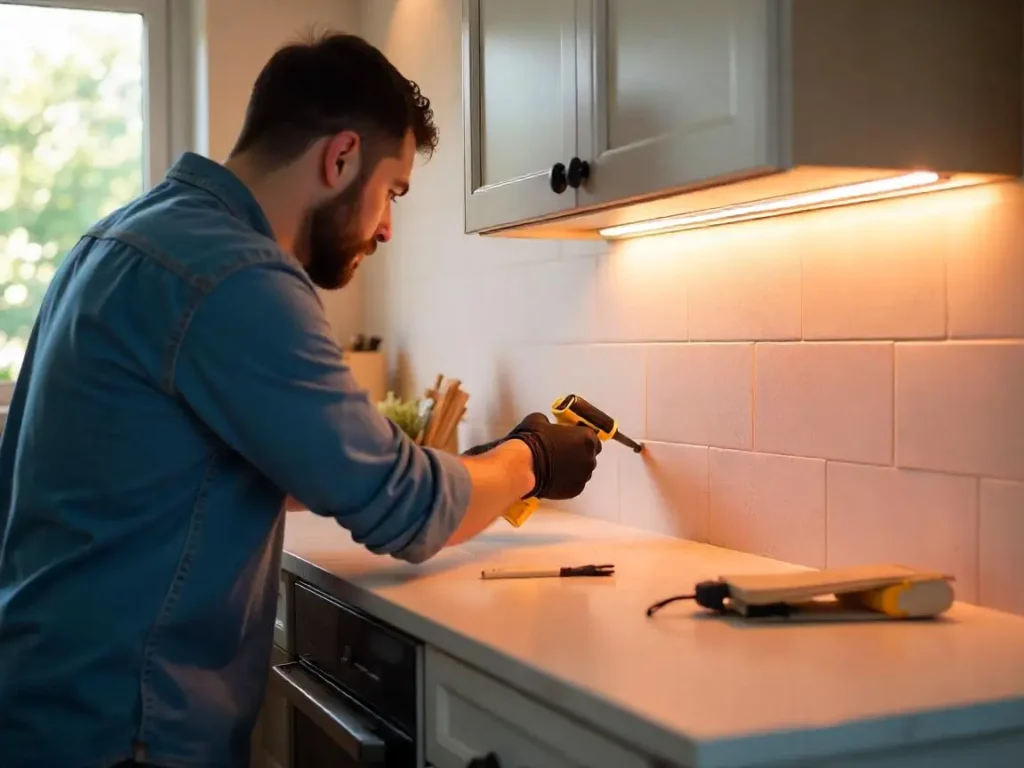
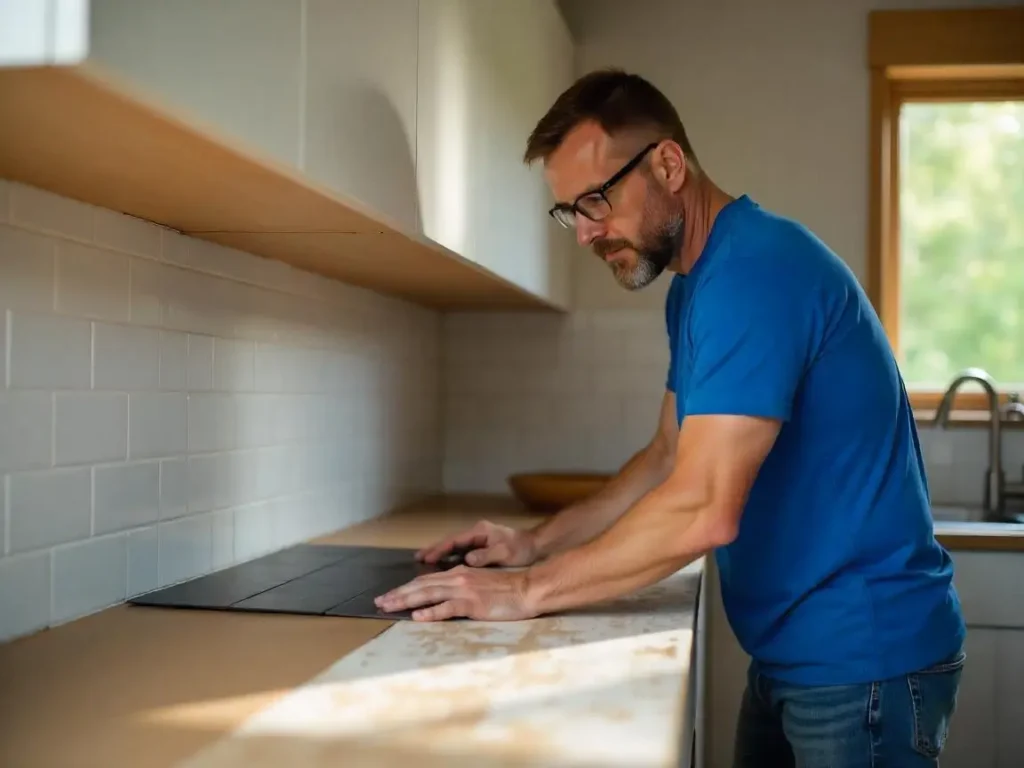
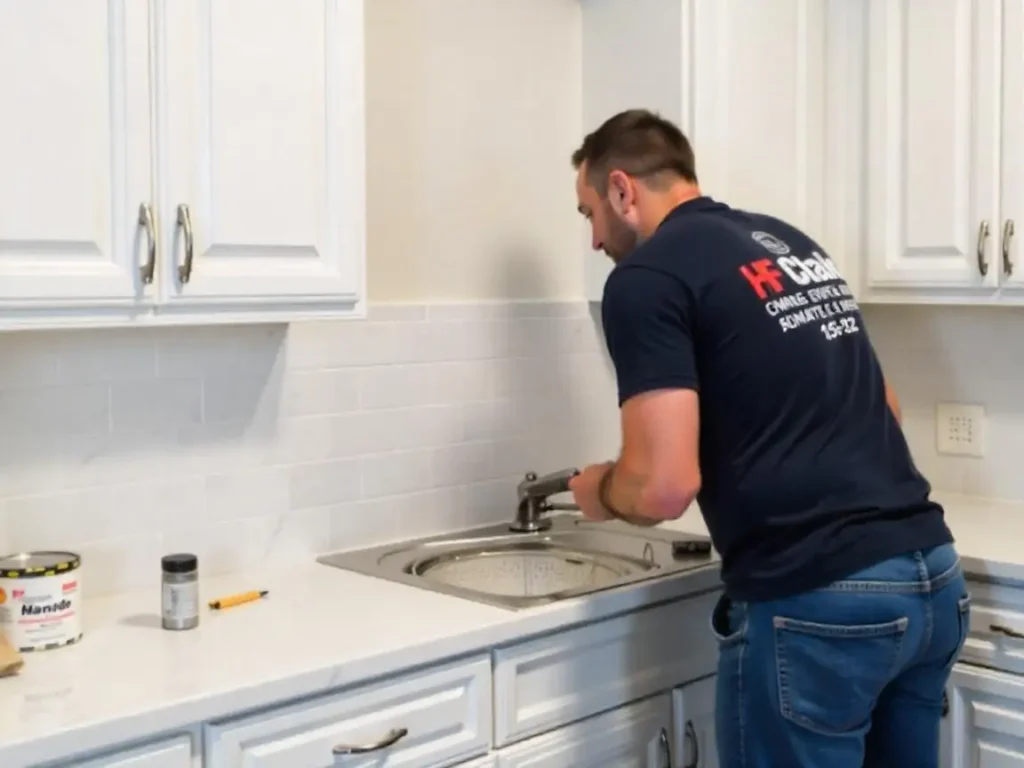
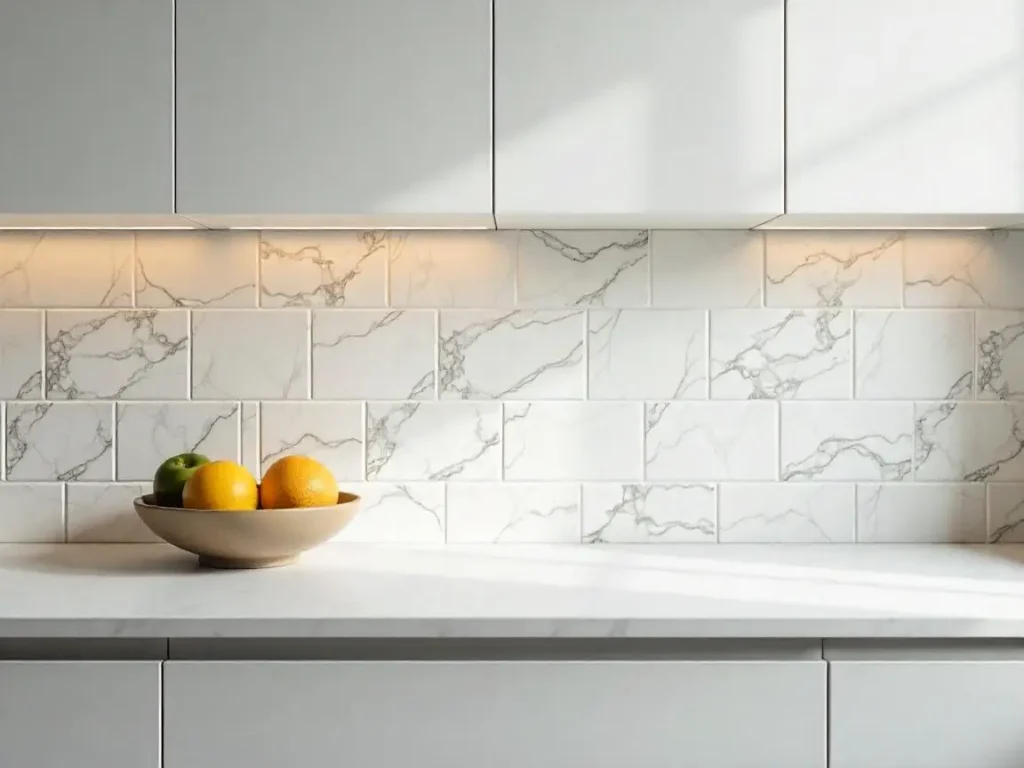
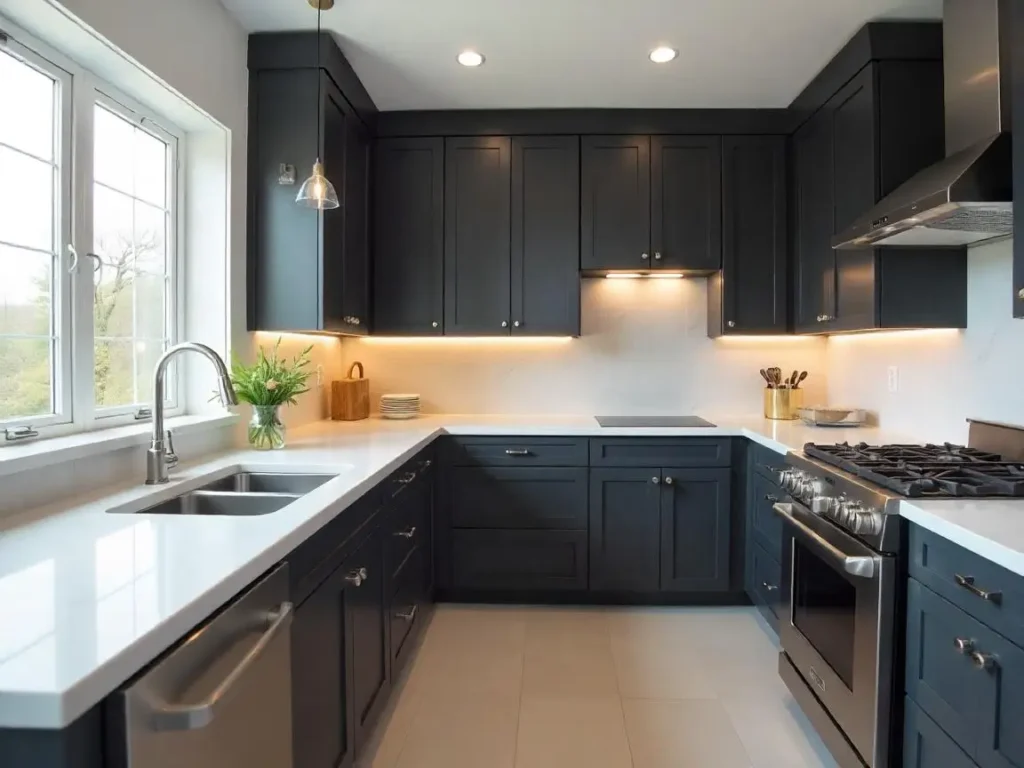
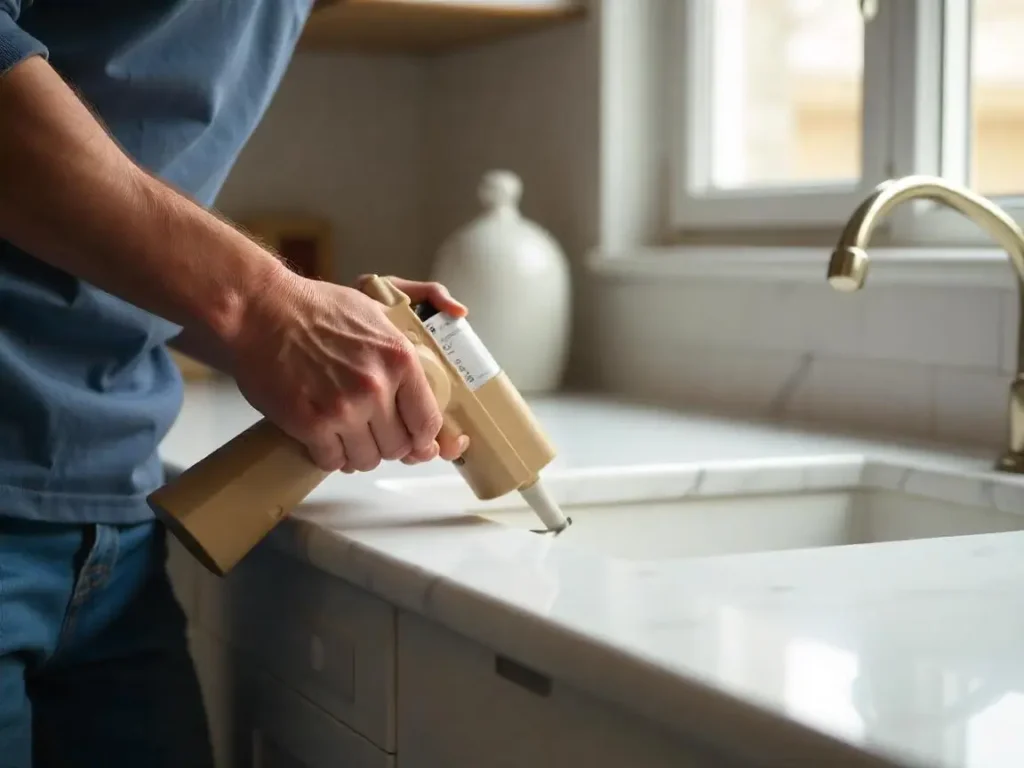
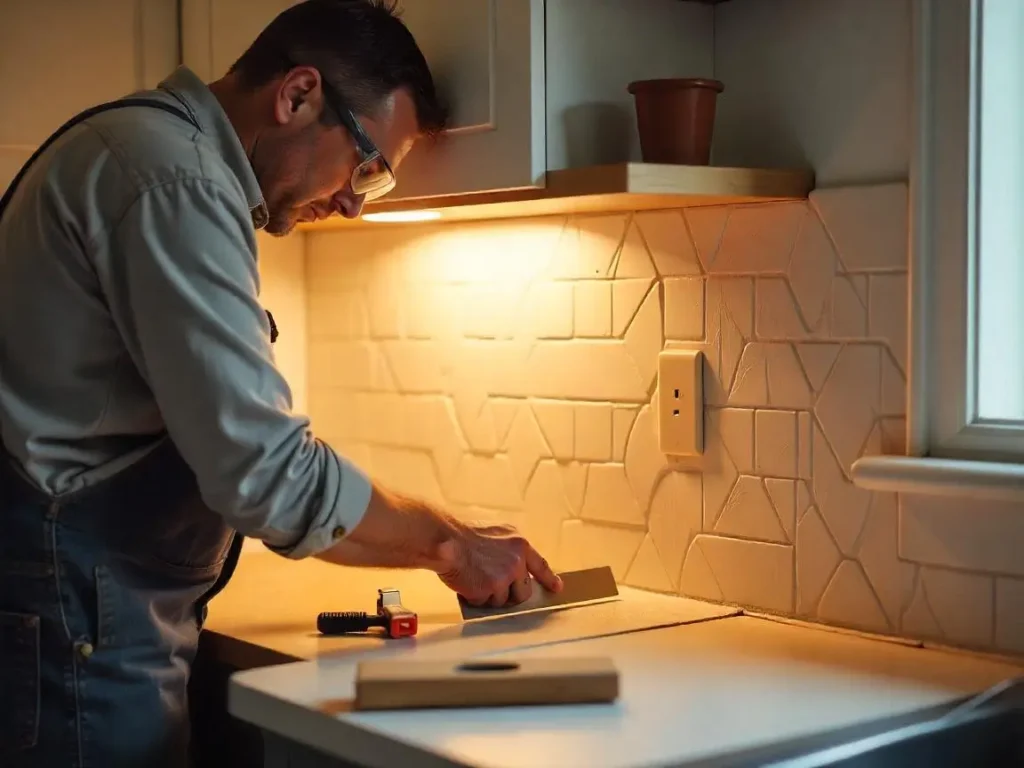
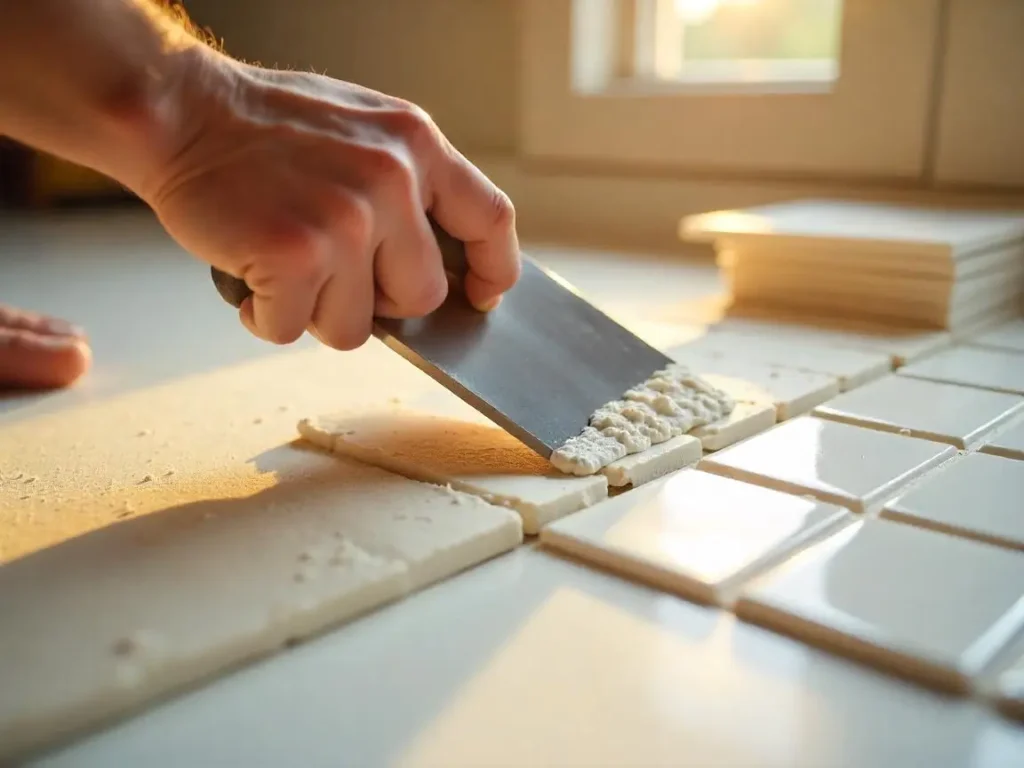
Home No, you don’t always need a backer board for a kitchen backsplash-but using one significantly improves durability, moisture resistance, and tile adhesion, especially in high-splash zones. While standard drywall can suffice for low-moisture areas, backer boards like cement board or fiber cement provide a robust foundation for tile installations in kitchens prone to spills, steam, and frequent cleaning. This guide explores when backer boards are essential, compares material options, and provides actionable insights for homeowners and contractors in Lowell, MA, seeking lasting results. Understanding the Role of Backer Boards in Backsplash Installations What Is a Tile Backer Board? A tile backer board is a specialized substrate designed to support tile installations in wet or high-moisture environments. Unlike standard drywall or plywood, backer boards are engineered to resist water penetration, mold growth, and structural shifting, ensuring tiles remain securely bonded over time. Common materials include: These boards act as a stable middle layer between the wall framing and tile, preventing cracks caused by movement or moisture. When Is a Backer Board Necessary for a Kitchen Backsplash? High-Moisture Environments While kitchen backsplashes aren’t exposed to direct water flow like showers, sinks and stovetops generate significant steam and splashes. Cement-based backer boards (e.g., Hardie Backer 500) are recommended behind tiles in these zones to prevent drywall degradation. Heavy or Large-Format Tiles Natural stone or large porcelain tiles require a rigid, non-flexing surface. Cement boards like PermaBASE PLUS provide the compressive strength needed to support heavier materials without sagging. Uneven Existing Walls If existing drywall is damaged or uneven, installing a 1/4″ backer board creates a flat surface for tile adhesion, reducing lippage and ensuring a professional finish. Long-Term Durability Homes in Lowell, MA, with humid summers benefit from mold-resistant boards like glass mat gypsum, which withstand temperature fluctuations better than standard drywall. Types of Backer Boards for Kitchen Backsplashes Given are the types of backer boards for kitchen backsplashes: Cement Board Fiber Cement Board Foam-Based Boards Water-Resistant Drywall How to Install Backer Board for a Tile Backsplash Following are the steps to install backer board for a tile backsplash: Step 1: Prepare the Wall Surface Step 2: Cut and Secure the Backer Board Step 3: Seal Joints and Edges Step 4: Tile Installation Pros and Cons of Skipping Backer Board Here are the pros and cons of skipping backer board: Direct Tile-on-Drywall: When It Works Risks of Omitting Backer Board Alternatives to Traditional Backer Boards Given are the alternatives to traditional backer boards: Waterproof Membranes Products like Schluter®-KERDI-BAND provide a thin, flexible barrier between drywall and tile, ideal for retrofits. Double-Layer Drywall Adding a second layer of moisture-resistant drywall improves stability but lacks mold resistance. Uncoupling Mats These peel-and-stick mats (e.g., Ditra) isolate tiles from substrate movement, suitable for floors. Expert Backsplash Installation in Lowell Wondering how to get a flawless, durable backsplash that stands up to daily kitchen life? At SF Marble & Granite Inc., our professional backsplash installation in Lowell ensures your tile backsplash not only looks stunning but also lasts for years. We handle everything from prepping the wall with the right backer board to precise tile placement and grouting, so you don’t have to worry about cracks, moisture damage, or uneven surfaces. Conclusion For most Lowell kitchens, installing a cement or fiber cement backer board behind tile offers long-term benefits outweighing the upfront cost. While drywall suffices in low-use areas, backsplashes near sinks or stoves demand the rigidity and mold resistance of dedicated backer boards. Homeowners prioritizing durability should consider Hardie Backer 500 or Schluter®-KERDI-BOARD, both rated for wet environments. SF Marble & Granite Inc. Tip: Pair your backer board with our leathered quartz countertops for a cohesive, low-maintenance kitchen design. Contact us for professional backsplash installation services in Lowell, MA! FAQs Can I tile directly over painted drywall? Yes, but sand the paint to create a rough surface for thinset adhesion. Use a primer if the paint is glossy. How much does backer board cost? Cement boards range from $0.70–$1.50/sq. ft., while foam boards cost $2.00–$4.00/sq. ft. Do I need to waterproof backer board? Cement boards are inherently water-resistant, but applying a liquid membrane (e.g., RedGard) adds extra protection in splash zones. Can I use plywood as a backer board? No-plywood expands with moisture, causing tile cracks. Use fiber cement instead.
Do You Need Backer Board for a Kitchen Backsplash? A Comprehensive Guide Read More »