A stunning kitchen doesn’t just happen it’s designed with thoughtful details, and a tile backsplash can instantly elevate the space. Whether you’re updating your kitchen for style or protection, learning how to install tile backsplash yourself can save money while giving your home a high-end look. With the right tools and a bit of patience, this project can be completed in just a weekend. The best part? You don’t need to be a professional to get flawless results. By following a step-by-step approach, you can achieve a polished, magazine-worthy backsplash that enhances your kitchen’s aesthetic. From selecting the right tiles to proper installation techniques, this guide will walk you through everything you need to know to complete the job like a pro.
Why Install a Tile Backsplash?

A tile backsplash is more than just a stylish upgrade it’s a smart investment. It adds instant value to your home, offering a quick return by making your kitchen or bathroom look modern and well-maintained. Whether you plan to sell or stay, a well-executed backsplash installation enhances both function and appeal.
Table of Contents
ToggleBeyond aesthetics, a backsplash protects your walls from stains, moisture, and everyday splatters. Plus, with endless design options, you can customize your space to match your style. If you’re wondering how to install tile backsplash, the process is simpler than you think. With the right tools and technique, applying backsplash tile can be a rewarding DIY project that transforms your space in just a weekend.
Tools & Materials Checklist for Kitchen Backsplash Installation
Having the right tools and materials makes tiling walls in the kitchen easier and ensures a professional-looking finish. Below is a helpful table outlining the essentials and upgrades for a smooth kitchen backsplash installation.
Tools for Backsplash Installation
Category | Essential Tools | Pro Upgrades |
Application | Notched trowel (for even adhesive spread) | Laser level (for precision alignment) |
Cutting | Tile cutter (manual) | Wet saw (for faster, cleaner cuts) |
Spacing & Grouting | Tile spacers (for uniform gaps), grout float (for smooth grout application) | Tile leveling system (for flawless alignment) |
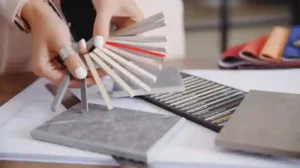
Materials for Installing a Tile Backsplash
Material | Options | Best For |
Tile Types | Ceramic, subway, glass, mosaic | Different styles & durability needs |
Adhesive vs. Mortar | Adhesive (easier for DIYers), mortar (stronger hold) | Fireclay tiles often require mortar |
Grout Choices | Pre-mixed (easy for beginners), sanded (for larger gaps) | Smooth, long-lasting finish |
With the right tools and materials, how to install tile backsplash becomes a simple, rewarding project. Investing in quality supplies ensures a sleek, durable finish that enhances your kitchen’s style and functionality.
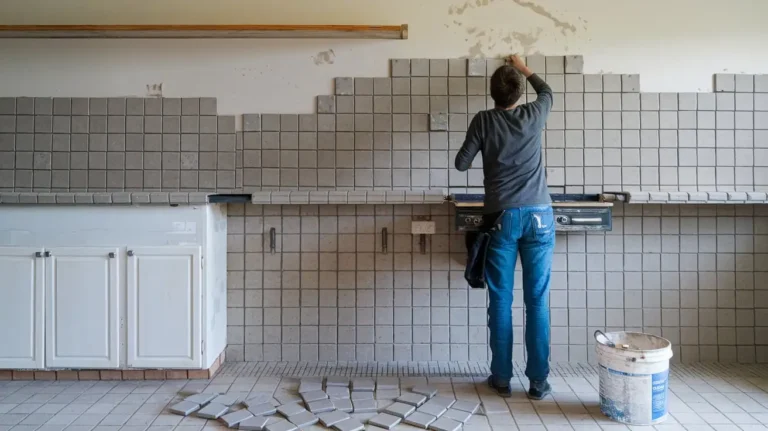
Pre-Installation Prep: Avoid Costly Mistakes
Proper preparation is key to a flawless backsplash. Before you start tiling a kitchen backsplash, follow these essential steps to ensure accuracy and a professional finish.
Measure Like a Pro
- Calculate Tile Quantity – Measure the backsplash area (height × width) and add 10% extra for cuts and breakage. This prevents last-minute shortages.
- Use a Template for Precision – Apply painter’s tape on the wall to outline the tile layout before installation. This simple trick helps visualize spacing and avoid surprises.
Surface Preparation
- Clean the Walls – Use a degreaser to remove grease and dust, ensuring the adhesive bonds properly.
- Fix Imperfections – Small holes can be patched with spackle, but larger issues may require a backer board for stability before you install the backsplash.
Layout Planning
- Find the Center Point – Start in the middle for a balanced look or begin at a focal point (like behind the stove). Avoid starting at the edges unless necessary.
- Avoid Sliver Cuts – Plan tile placement carefully to prevent ending with thin, awkward tile pieces at the edges. Adjusting the starting point can help maintain even cuts for a seamless finish.
A well-planned approach makes how to install a backsplash easier, ensuring a polished, long-lasting result.
How to Install Tile Backsplash: Step-by-Step Installation Process
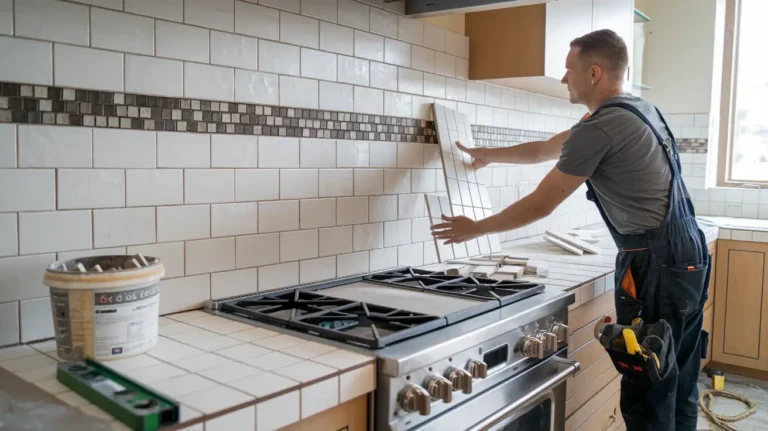
Follow these clear steps to ensure your kitchen backsplash installation looks professional and lasts for years. Let’s break it down!
Step 1: Dry Fit Tiles
Before applying anything, test your layout:
- Plan your pattern — Arrange tiles on the counter to visualize the design.
- Mark problem areas — Outline where outlets and edges fall.
- Adjust spacing — Use tile spacers to ensure even gaps and prevent uneven lines later.
Step 2: Apply Adhesive/Mortar
Time to secure your tiles:
- Choose your adhesive — Use thin-set mortar for heavier tiles or tile adhesive for easier application.
- Notch correctly — Hold your notched trowel at a 45-degree angle, spreading the adhesive evenly. Work in small sections to keep it from drying out too fast.
- Pro tip: Apply adhesive to both the wall and the back of larger tiles for better grip.
Step 3: Set Tiles
Now, let’s put those tiles in place:
- Start from the center — Lay the first tile at your focal point, using spacers to keep even gaps.
- Keep it level — Double-check alignment after every few tiles.
- Cut around outlets — Use a tile cutter or wet saw, and create a paper template first to ensure accuracy.
Step 4: Edge & Corner Solutions
Finishing touches matter:
- Schluter strips — Great for a modern, clean look. These metal strips protect tile edges and add a sleek finish.
- Bullnose tiles — Ideal for a softer, classic design. These rounded-edge tiles complete the look while preventing sharp edges.
- Tip: Match your edging to the tile color or choose a metallic finish for added contrast.
With these steps, tiling a kitchen backsplash becomes manageable even for beginners. Take your time, check your work, and watch your kitchen transform tile by tile!
Grouting & Finishing Touches
The final step in how to install tile backsplash is grouting and sealing. This stage ensures durability, a polished look, and long-term protection for your tiles.
Grouting Like a Pro
Applying grout correctly prevents cracks and staining:
- Wait for the right time – Allow at least 24 hours for the adhesive to set before grouting. Rushing this step can cause tiles to shift.
- Use the right technique – Hold a grout float at a 45-degree angle and apply grout using diagonal strokes to fully pack the joints.
- Avoid grout haze – After 10-15 minutes, wipe excess grout with a damp sponge, rinsing frequently to prevent buildup.
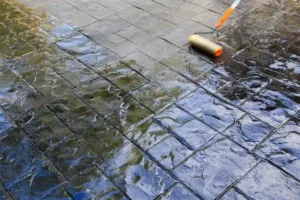
Sealing for Protection
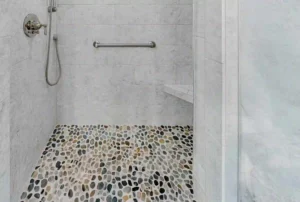
Not all tiles need sealing, but for those that do, it’s essential for longevity:
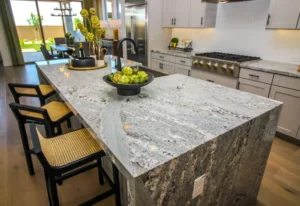
- Seal natural stone – Materials like granite, marble, and travertine are porous and require a high-quality sealer to prevent stains.
- Best eco-friendly sealers – Look for non-toxic, water-based sealers to protect your backsplash without harsh chemicals. These are safe for kitchens and indoor air quality.
- Application tip – Use a soft cloth or sponge to apply the sealer in thin layers, allowing it to fully absorb before buffing off the excess.
Grouting and sealing the right way will keep your backsplash looking flawless for years while protecting against moisture and stains.
Design Inspiration & Trends
Backsplash designs in 2024 are all about creativity and personality. Terrazzo tiles are making a big comeback, offering a blend of modern and vintage charm with their speckled patterns. Handmade tiles are also trending, adding a unique, artisanal touch to kitchens with their slight imperfections and rich textures. For those who love bold statements, geometric and patterned tiles are taking center stage, turning backsplashes into eye-catching focal points.
Mixing textures is another popular trend, combining glossy and matte finishes to create depth and visual interest. Experts, like Fireclay, emphasize the power of layering different materials such as pairing smooth ceramic tiles with rougher, natural stone elements to achieve a dynamic, high-end look. However, if you’re on a budget, affordable alternatives like peel-and-stick tiles offer a stylish way to refresh your space without the commitment of traditional tiling. These cost-effective options mimic the appearance of real tile while being easy to install and replace.
Why Choose SF Marble & Granite for Backsplash Installation?
When it comes to backsplash installation in Lowell, SF Marble & Granite stands out for its expertise, precision, and high-quality craftsmanship. Our team ensures flawless installation, from perfect tile alignment to expert grouting, giving your kitchen a sleek and polished look.
We offer a wide range of tile options, including ceramic, glass, and natural stone, tailored to match your style and budget. With years of experience and a commitment to customer satisfaction, we guarantee a hassle-free process and a stunning backsplash that enhances your home’s value. Ready to upgrade your kitchen? Contact us today!
Conclusion
You’ve put in the work, and now it’s time to admire your stunning new backsplash! With the right tools, preparation, and creativity, your kitchen is ready to shine with a personalized, Insta-worthy look.
If you’re looking for expert help with backsplash installation in Lowell, our team at SF Marble & Granite is here to make your vision a reality. Reach out today to get started on transforming your kitchen into a stylish and functional space!
FAQs
Can I install tile over the existing backsplash?
Yes, you can! If your existing backsplash is in good condition, you can tile over it. Just ensure the surface is clean, smooth, and free of grease. A good adhesive will help create a strong bond.
How long does it take?
Typically, backsplash installation takes 1-2 days. The process includes measuring, cutting tiles, applying adhesive, and grouting. Make sure to allow 24 hours for the adhesive to set before grouting for the best results.
Cost Comparison: DIY vs. hiring a pro
DIY can save on labor costs, but it requires time, tools, and skill. Hiring a professional ensures faster, more precise results, especially if you’re working with intricate patterns or specialty tiles. Professional installation can cost more, but it reduces the risk of mistakes and provides a polished finish.