Hanging a backsplash tile involves preparing the wall surface, planning the layout, applying adhesive, setting tiles with proper alignment, grouting the joints, and sealing porous materials. For glass, stone, or ceramic tiles, the process requires specific tools like notched trowels, tile spacers, and diamond drill bits for modifications. Homeowners can also hang decorative items like mirrors, plates, and shelves on existing tile backsplashes using adhesive strips, anchors, or specialized mounting systems.
Understanding Backsplash Tile Installation Fundamentals
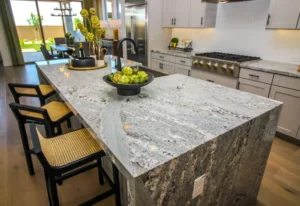
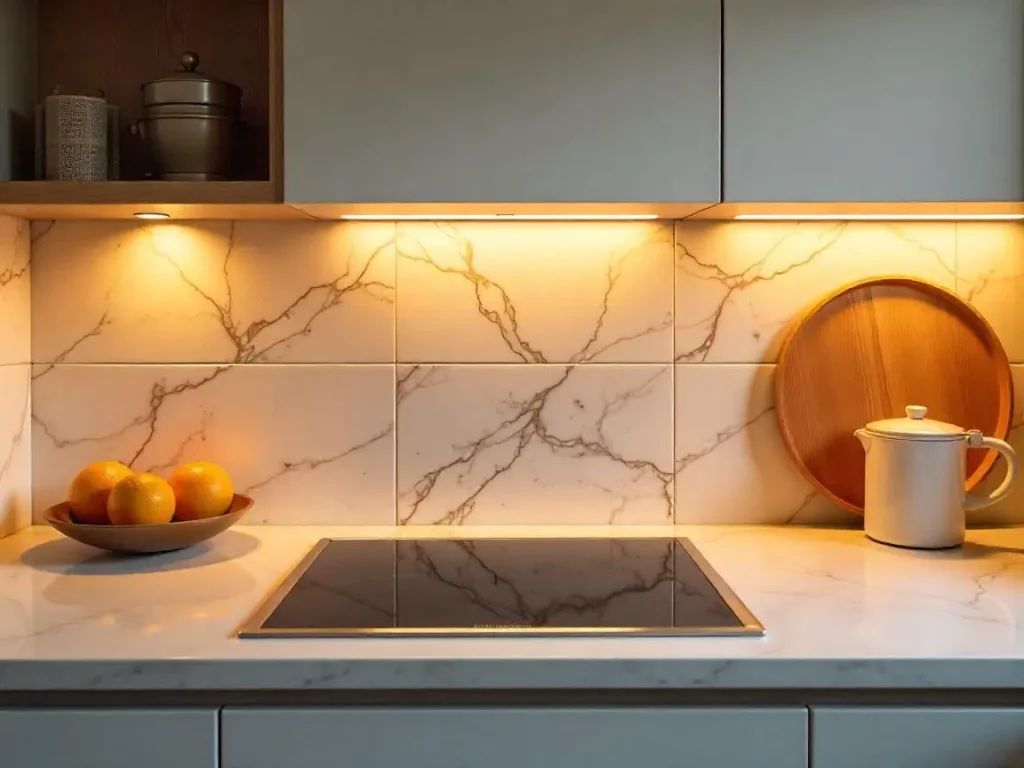
Installing a tile backsplash transforms kitchens and bathrooms by combining functionality with aesthetic appeal. Whether using glass mosaics, natural stone, or ceramic tiles, the core principles of preparation, precision, and patience ensure a professional result.
Preparing the Wall Surface for Tile Adhesion
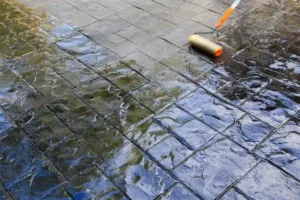
Before hanging backsplash tiles, ensure the wall is clean, dry, and free of debris. For drywall in kitchen areas (non-wet zones), no backer board is needed, but sanding uneven surfaces improves adhesion. Use a level to identify dips or protrusions; fill gaps with thin-set mortar or spackle. In bathrooms or behind sinks, apply a waterproof membrane if local building codes require it.
Key Tools for Wall Preparation
- Stud finder: Locate studs for secure shelf or heavy-item mounting.
- Ledger board: Temporary support for first tile rows, preventing slippage during installation.
- Grinder or sandpaper: Smooth rough edges on cut tiles.
Step-by-Step Process for Hanging Backsplash Tiles
Given are the step-by-step process for hanging backsplash tiles:
Step 1: Planning the Tile Layout
Measure the backsplash area and mark the centerline using a laser level. Dry-fit tiles to visualize patterns and avoid awkward cuts at edges or outlets. For mosaic sheets, align seams carefully-adjust individual tiles with a utility knife if gaps appear. Leave a 1/8-inch expansion gap where tiles meet countertops or cabinets to accommodate shifting.
Adjusting Layouts for Outlets and Cabinets
- Outlet cutouts: Use a wet saw to slice through tile sheets while still on the mesh backing.
- Border tiles: Cut partial tiles with a snap cutter or angle grinder, smoothing edges with sandpaper.
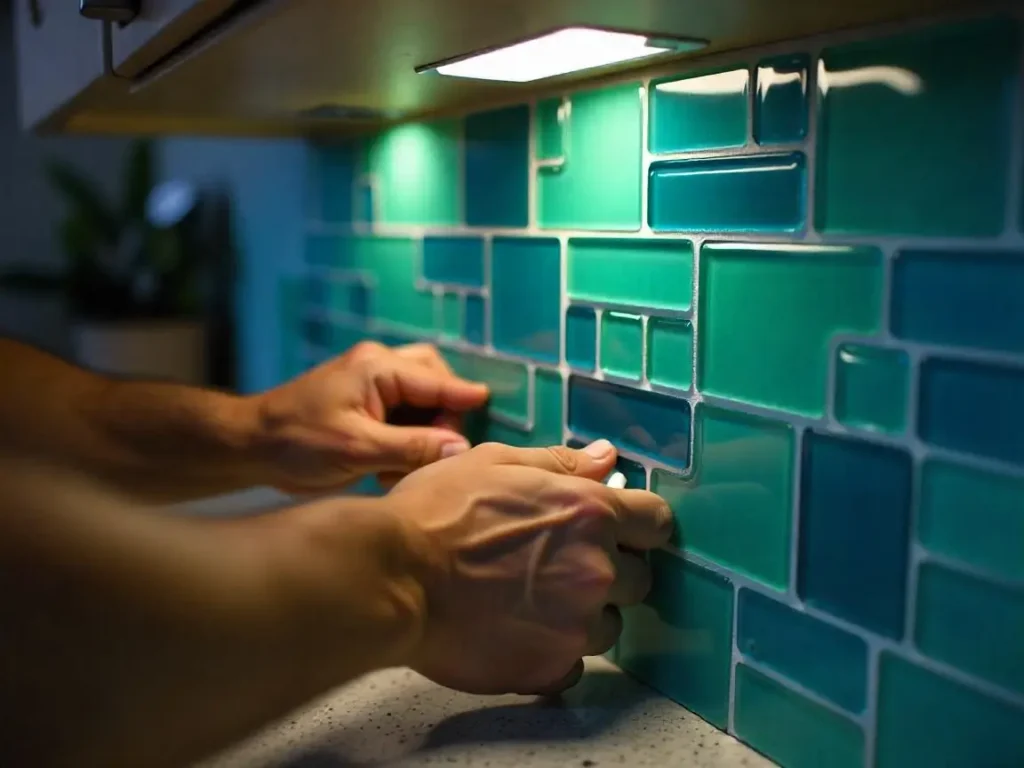
Step 2: Applying Adhesive and Setting Tiles
Select a polymer-modified thinset mortar for glass or stone tiles, or opt for pre-mixed mastic for quicker projects. Apply adhesive with a notched trowel, holding it at a 45-degree angle to create ridges. Press tiles firmly into place, twisting slightly to ensure full contact. For mosaic sheets, tap tiles with a rubber mallet and board to embed them evenly.
Pro Tips for Complex Patterns
- Herringbone or subway tiles: Use spacers to maintain consistent grout lines.
- Heavy stone tiles: Support with a ledger board until the adhesive cures.
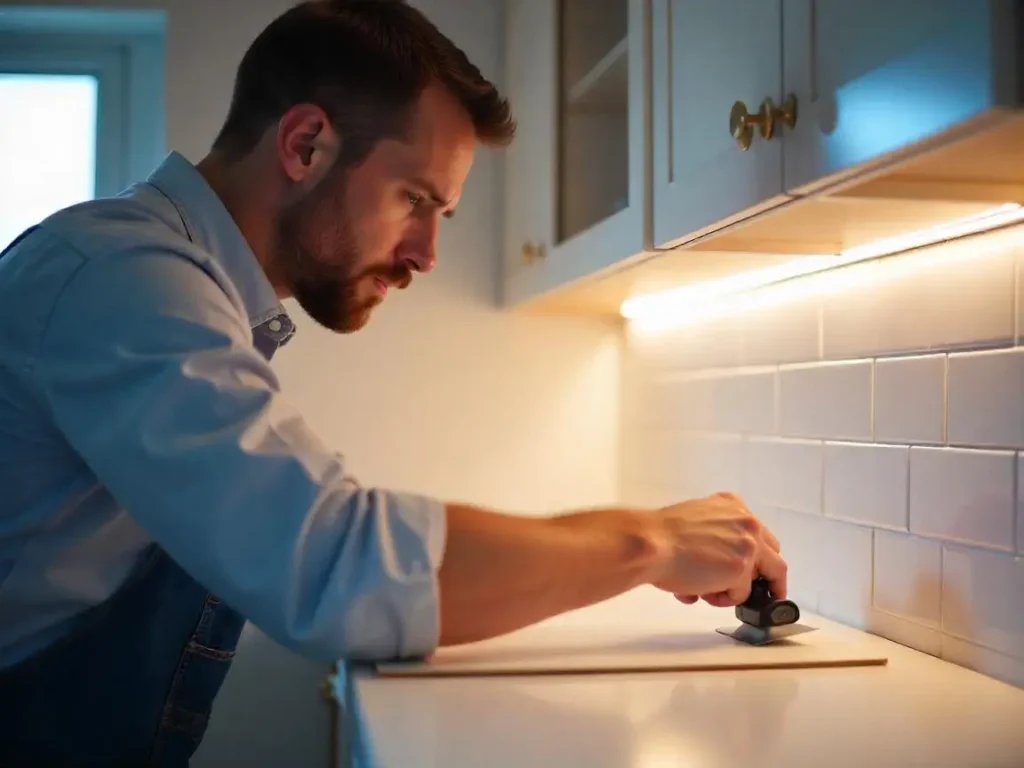
Step 3: Grouting and Sealing
After the adhesive dries (24–48 hours), apply sanded or unsanded grout using a rubber float. Work diagonally to force grout into joints, then wipe excess with a damp sponge. For porous materials like natural stone, seal the tiles before grouting to prevent staining.
Hanging Decorations on Tile Backsplashes
Following are the methods for hanging decorations on tile backsplashes:
Method 1: Adhesive Strips for Lightweight Items
Command Outdoor Hooks or Tesa Powerstrips securely hold plates, small mirrors, or art under 5 lbs. Clean the tile with alcohol, press the adhesive strip for 30 seconds, and attach the item.
Method 2: Drilling into Tile for Heavy Loads
For shelves or large mirrors, use a diamond drill bit and wall anchors:
- Mark drill points with painter’s tape to prevent bit slippage.
- Spray water on the tile while drilling to reduce heat and dust.
- Insert plastic anchors and tighten screws until flush.
Method 3: Non-Permanent Solutions with Adhesives
Liquid Nails or GE Silicone Caulk adhere heavy mirrors without drilling. Apply adhesive in zigzag patterns, press the item, and brace it with tape for 24 hours.
Professional Backsplash Installation Services Tailored for Your Lowell Home
At SF Marble & Granite Inc., we specialize in expert Backsplash installation in Lowell, delivering flawless results that enhance your kitchen or bathroom’s beauty and durability. Whether you’re looking to hang glass, stone, or ceramic tile backsplashes, our experienced team handles every step with care-from precise surface preparation to perfect tile placement and finishing touches. We understand how important it is to combine style with function, and our personalized approach ensures your backsplash not only looks stunning but stands the test of time. Contact us to bring your vision to life with quality craftsmanship and attention to detail that Lowell homeowners rely on.
Conclusion
A well-executed tile backsplash enhances durability and style, whether in a Lowell kitchen or bathroom. By mastering layout planning, adhesive selection, and decorative mounting techniques, homeowners can achieve professional-grade results. For intricate stone or glass installations, partnering with experts like SF Marble & Granite Inc ensures precision and longevity, leveraging their decade of experience in fabrication and installation.
FAQs
Can You Hang Tiles Over Existing Backsplashes?
Yes, if the current surface is smooth and non-glossy. Sand glossy tiles lightly and use a high-bond mortar.
How to Remove Items Without Damaging Tiles?
Heat adhesive strips with a hairdryer to loosen them. For glued items, slice the adhesive with a piano wire.
Best Adhesive for Glass Tile Backsplashes?
Opt for white thinset mortar to prevent discoloration. Avoid mastics, which can yellow over time.