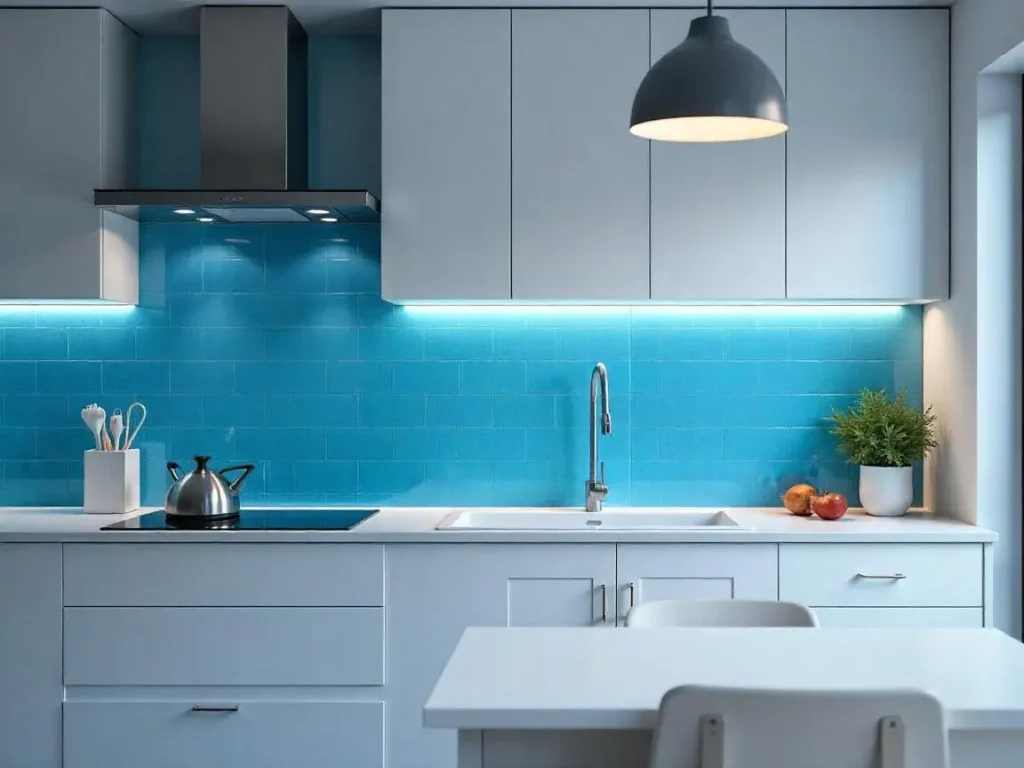
The kitchen backsplash is more than just a shield against splashes; it’s a design statement that can elevate the entire space. However, how to end backsplash on open wall presents a unique challenge. Unlike backsplashes enclosed by cabinets, open-ended designs require careful planning to ensure a seamless and visually appealing finish. In this guide, we’ll explore creative and practical solutions to tackle this design puzzle.
Understanding the Basics

What is an Open Wall Backsplash?
An open wall backsplash refers to a backsplash that isn’t confined by adjacent walls or cabinets. This layout is common in modern, open-concept kitchens where the backsplash extends along a wall without any clear boundaries.
Table of Contents
ToggleCommon Design Challenges with Open Walls
Open walls pose several design challenges:
- Lack of Natural Stopping Points: Without cabinets or walls to define the edge, it’s tricky to determine where the backsplash should end.
- Exposed Edges: Raw tile edges can look unfinished and may be vulnerable to damage.
- Visual Imbalance: An improperly terminated backsplash can disrupt the overall harmony of the kitchen design.
Importance of Choosing the Right Stopping Point
Selecting the right stopping point is crucial for both aesthetics and functionality. A well-placed ending creates a polished look, protects the edges, and ensures the backsplash complements the rest of the kitchen.
Design Principles for Ending Backsplashes
Balance and Proportion
Maintaining visual harmony is essential in any kitchen design. When ending a backsplash on an open wall, consider how it aligns with other elements in the room. A backsplash that is either too long or too short can throw off the balance.
Tip: Use the height of upper cabinets or the length of the countertop as a guide to determine the appropriate length for your backsplash.
Visual Continuity
Ensure smooth transitions between the backsplash, walls, and cabinetry. The goal is to create a cohesive design where the backsplash appears to be a natural extension of the surrounding elements.
Tip: Choose colors and patterns that complement the existing décor to create a seamless look.
Functional Considerations
Protecting exposed edges from damage and dirt is a key functional concern. Open edges are more susceptible to chipping and can accumulate grime over time.
Tip: Use edge treatments like bullnose tiles or metal trims to protect and seal the exposed edges.
12 Creative Methods to End a Backsplash
Align with Cabinetry
Ending the backsplash at the base of upper cabinets or aligning with lower cabinets is a straightforward approach. This method works well when the cabinets provide a natural stopping point.
How to: Simply extend the backsplash to the bottom edge of the upper cabinets, ensuring a clean, straight line.
Taper Off the Tile
Gradually staggering the tiles to create a soft transition offers a more subtle finish. This technique works best with mosaic or small format tiles.
How to: Start with a full row of tiles and gradually reduce the height in subsequent rows to create a tapered effect.
Frame the Area
Using picture rails, chair rails, or trim tiles to define the backsplash area adds a decorative touch. This method is ideal for creating a focal point.
How to: Install trim along the top and sides of the backsplash to create a framed effect, adding visual interest.
Bullnose Trim Tiles
Adding rounded edge tiles for a polished finish provides a clean and professional look. Bullnose tiles are specifically designed to finish off exposed edges.
How to: Replace the last row of standard tiles with bullnose tiles to create a smooth, rounded edge.
Schluter Strips or Metal Trim
Using aluminum, steel, or PVC trims for clean edges offers a sleek, modern aesthetic. Schluter strips provide a clean line and protect the tile edges.
How to: Install Schluter strips along the exposed edges of the backsplash, ensuring a snug fit for a seamless finish.
Full-Wall Cladding
Extending the backsplash to the ceiling for a bold statement can transform the entire kitchen. This method works well with eye-catching tiles or patterns.
How to: Continue the backsplash tiles all the way to the ceiling, creating a dramatic, floor-to-ceiling effect.
Decorative Borders
Creating defined edges with contrasting tiles or patterns adds visual interest. This method is ideal for those looking to make a statement.
How to: Use a border of contrasting tiles along the top and sides of the backsplash to create a visually striking edge.
Countertop Material Extension
Continuing the countertop material up the wall as the backsplash provides a seamless and luxurious look. This method works well with materials like granite, quartz, or marble.
How to: Extend the countertop material a few inches or feet up the wall, creating a backsplash that matches the countertop.
Add Floating Shelves
Using shelves as natural stopping points while adding functionality is a practical and stylish solution. Shelves provide a clear boundary for the backsplash while offering additional storage.
How to: Install floating shelves along the open wall and end the backsplash at the bottom edge of the shelves.
Wainscoting or Beadboard Integration
Combining paneling with tile for a bespoke look adds texture and dimension. This method is ideal for creating a unique, customized backsplash.
How to: Install wainscoting or beadboard along the lower portion of the wall and end the backsplash where the paneling begins.
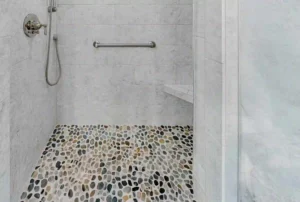
Large Mirrors (for Bathrooms)
Ending the backsplash below mirrors for a sleek finish is common in bathrooms. This method creates a clean and reflective surface.
How to: End the backsplash a few inches below the bottom edge of the mirror for a seamless look.
Caulking for Simplicity
Sealing edges with caulk for an affordable and easy solution provides a clean finish. This method is best for minor gaps or imperfections.
How to: Apply painter’s tape along the edges of the backsplash and apply a bead of caulk, smoothing it out with a finger or tool before removing the tape.
Material-Specific Solutions
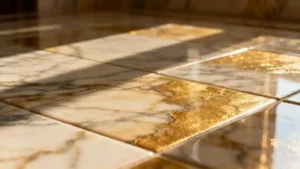
Marble Backsplash Edge Finishing Techniques
Marble requires special care to maintain its elegance. Polishing the edges and sealing them properly prevents staining and damage.
Tip: Use a wet polisher with diamond pads to smooth the edges, followed by a high-quality sealant.
Granite Backsplash Transitions for Durability and Style
Granite is known for its durability, making it an excellent choice for high-use areas. Ensure the edges are properly sealed to prevent moisture damage.
Tip: Use a granite-specific sealant and reapply every year to maintain its protective properties.
Quartz Backsplash Options for Modern Kitchens
Quartz offers a sleek, modern look and is relatively low maintenance. Its non-porous surface makes it ideal for backsplashes.
Tip: Simply wipe down the edges with a mild cleaner to keep them looking pristine.
DIY vs. Professional Installation
Tools and Skills Needed for DIY Projects
Simple backsplash endings like caulking or installing floating shelves can be DIY projects. However, more complex methods like tapering tiles or installing Schluter strips may require professional skills.
When to Hire Professionals
Complex materials like marble or quartz often require professional installation to ensure a flawless finish. Additionally, if you’re not comfortable working with power tools or adhesives, it’s best to hire a pro.
Cost Comparison
DIY projects are typically more cost-effective, but professional installations can save time and ensure high-quality results. Consider your budget and skill level when deciding whether to DIY or hire a professional.
Overcoming Common Challenges
Uneven Walls and Surfaces
Use shims or leveling compounds to create a smooth, even surface before installing the backsplash. This ensures the tiles adhere properly and the edges align correctly.
Dealing with Corners and Awkward Angles
Miter the edges of the tiles at a 45-degree angle to create seamless corners. For awkward angles, consider using flexible trim or custom-cut tiles.
Accommodating Outlets, Switches, and Other Obstacles
Carefully measure and cut the tiles to fit around outlets and switches. Use a tile saw or specialized cutting tools for precise cuts.
Color and Texture Considerations
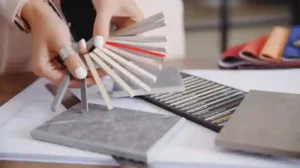
Matching Backsplash Colors with Countertops and Walls
Choose colors that complement the existing décor to create a cohesive look. Consider using a color palette that ties together the backsplash, countertops, and walls.
Blending Textures for Cohesive Designs
Incorporate textures that add visual interest without clashing with other elements. Smooth tiles pair well with textured walls, while textured tiles can add depth to a minimalist kitchen.
Trending Backsplash Designs for Open Walls
Full-Wall Backsplashes as a Modern Trend
Extending the backsplash to the ceiling is a popular trend that creates a dramatic effect. This design works well in modern kitchens with clean lines.
Mixed Material Designs
Combining different materials like tile, wood, and metal adds visual interest. For example, pairing a tile backsplash with a wooden ledge or metal trim can create a unique and stylish look.
Geometric Patterns
Using geometric patterns like chevrons, hexagons, or triangles adds a contemporary touch. These patterns can be created using different colored tiles or by arranging the tiles in a unique way.
Maintenance and Longevity Tips
Sealing Exposed Edges
Applying a sealant to the exposed edges of the backsplash protects them from moisture and damage. Reapply the sealant every year or as needed.
Cleaning Tips Based on Material Type
Use gentle cleaners specifically designed for the material of your backsplash. Avoid abrasive cleaners that can scratch or damage the surface.
Repairing Chips or Cracks
Repair chips or cracks as soon as possible to prevent further damage. Use a color-matched epoxy or filler to fill in the damaged areas.
Budget-Friendly Options
Affordable Materials
Ceramic and PVC trims are cost-effective options for ending backsplashes on open walls. These materials are easy to install and maintain.
Cost-Effective DIY Techniques
Caulking and installing floating shelves are DIY techniques that can save money. These projects require minimal tools and skills.
Balancing Aesthetics with Affordability
Prioritize the most important design elements and look for affordable alternatives. For example, consider using ceramic tiles instead of marble for a similar look at a lower cost.
Future-Proofing Your Backsplash Design
Choosing Timeless Designs
Opt for classic designs that won’t go out of style. Subway tiles, neutral colors, and simple patterns are timeless choices.
Modular Solutions
Consider using modular tiles or panels that can be easily updated in the future. This allows you to change the look of your backsplash without a complete renovation.
Adaptable Designs
Choose designs that can adapt to changing kitchen trends. For example, a neutral-colored backsplash can be easily updated with new accessories or paint colors.
Elevate Your Kitchen with SF Marble & Granite in Lowell
We’re not just another company offering backsplash installation in Lowell. We’re your neighbors, familiar with the architectural styles and design preferences prevalent in the Lowell area. Whether you’re in a historic Victorian home or a modern condo, we’ll tailor our services to meet your unique needs.
Conclusion
Knowing how to end backsplash on open wall is essential for achieving a polished and functional kitchen or bathroom. By blending aesthetic principles with practical techniques, you can create a backsplash that not only looks great but also stands the test of time. Whether you opt for a simple caulked edge or a bold full-wall design, the key is to choose a method that suits your personal style, budget, and skill level. Contact us today!
FAQs
What Is The Most Budget-Friendly Way To End A Backsplash On An Open Wall?
Caulking the edge is the most affordable option. Use a high-quality, paintable caulk for a clean finish.
How Do I Choose The Right Color Caulk For My Backsplash?
Select a caulk that matches the grout color or the most dominant color in your backsplash tiles for a seamless look.
What Are Some Modern Alternatives To Bullnose Tiles For Finishing A Backsplash Edge?
Schluter strips, metal trim, or even a simple, clean line achieved by precise tile cutting can offer a contemporary look.
How Do I Protect The Edges Of My Backsplash From Water Damage?
Apply a high-quality sealant to the grout lines and the exposed edges to prevent water from penetrating. Reapply the sealant annually.
Can I Extend My Backsplash To The Ceiling On An Open Wall?
Yes! A full-height backsplash can create a dramatic and modern look, making it a focal point in your kitchen.
What Should I Consider When Choosing The Material For My Backsplash Edge?
Think about durability, aesthetics, and ease of maintenance. Materials like metal or stone offer longevity, while tiles allow for a seamless look.