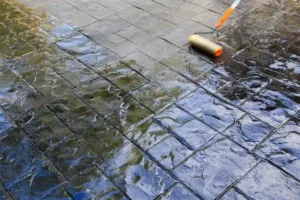
In modern kitchen design, a perfectly cut backsplash elevates home aesthetics by adding style and sophistication. If you’ve ever wondered, “How do you cut tile backsplash?” mastering this DIY skill is a game changer. Learning the art of cutting backsplash tile offers significant cost‑savings and endless customization. Whether you’re cutting tile for backsplash with a manual cutter or experimenting with advanced tools, the satisfaction of achieving professional results on your own is unbeatable. By learning to cut backsplash tile precisely, you not only create a stunning kitchen feature but also embark on a rewarding home improvement journey that transforms your space into a work of art.
What Is the Best Way to Cut Tile Backsplash?
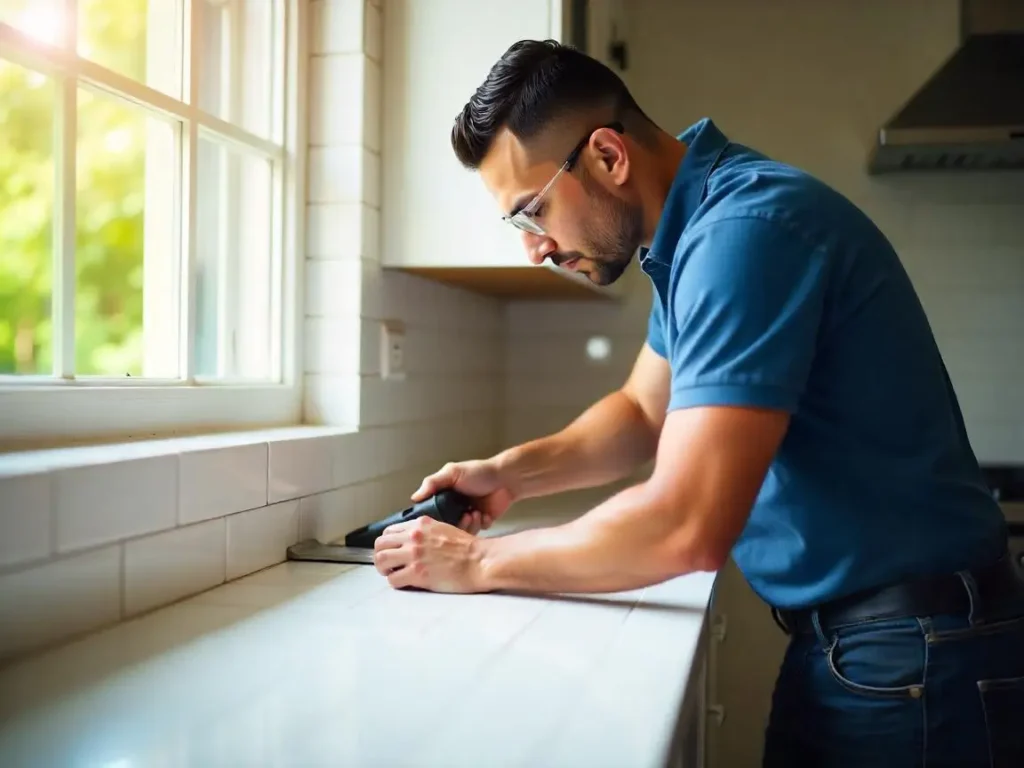
To cut tile backsplash effectively, start by carefully measuring and marking your tile. Choose a tool that matches your tile material whether it’s a manual tile cutter, snap cutter, tile nipper, angle grinder, or wet saw. Score the tile along the marked line and apply steady pressure to snap or cut it cleanly. Finally, smooth rough edges with a rubbing stone or sanding sponge. This process for cutting backsplash tile sets a foundation for DIY projects and leads to professional results.
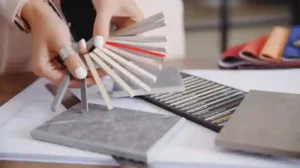
Understanding Your Tile Material & Its Impact
When planning how do you cut tile backsplash, understanding your tile material is key. Different materials require specific methods when cutting and installing.
Tile Types Overview
- Ceramic & Porcelain:
Both are popular choices due to their durability and versatility. For these tiles, using a snap cutter or wet saw ensures clean, straight cuts. - Glass Tiles:
These tiles add a modern, sleek look but are fragile. A glass cutter is essential, and extra caution is necessary to prevent chipping. - Natural Stone:
Materials like marble or granite provide a unique, upscale finish. However, they typically require specialized diamond blades on a wet saw to avoid damage.
Material-Specific Tips
- For ceramic and porcelain, focus on precision by scoring the tile accurately.
- For glass tiles, ensure a consistent, smooth score to reduce breakage.
Sustainability & Waste Reduction
Plan your cuts carefully to maximize tile usage and reduce waste. Measure twice and mark your layout to minimize off‑cuts. Consider recycling any leftover pieces or donating scraps to local community projects. This eco‑friendly approach not only saves you money but also contributes to a greener project.
Pre‑Project Planning & Preparation
Successful backsplash installation starts long before you pick up a tool.
Project Assessment & Goal Setting
- Define the Scope:
Determine the area to be tiled, the number of tiles needed, and the design complexity. - Set Clear Goals:
Decide if you aim to achieve a modern, seamless look or a more traditional style. - Budget Considerations:
Compare DIY costs against hiring professionals. Factor in whether to purchase tools or rent them.
Accurate Measurement & Layout Design
- Precision is Key:
Use a reliable tape measure and level to mark your cutting lines accurately, considering grout lines, corners, and irregular spaces. - Plan Your Layout:
Design your tile pattern ahead of time to reduce awkward cuts and maximize usage. This careful planning simplifies the process of cutting backsplash tile and ensures you have minimal waste.
Workspace Organization & Safety Setup
- Prepare Your Area:
Create a well‑lit, stable workspace with dust control measures. - Safety Equipment:
Gather essential gear such as gloves, eye protection, and respirators. A clean and organized space minimizes accidents and helps you work more efficiently.
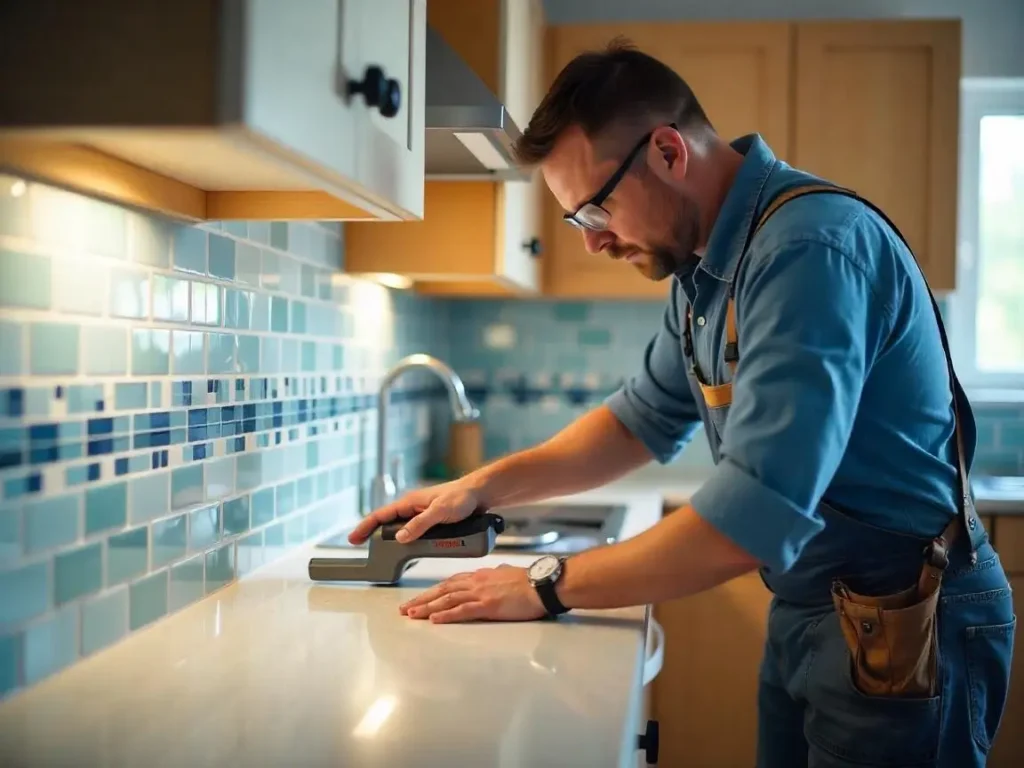
Comprehensive Tool Guide & Maintenance
Choosing the right tool is essential when learning how do you cut tile backsplash.
Overview of Tile Cutting Tools
- Manual Tile Cutter / Snap Cutter:
Ideal for straight cuts on ceramic and porcelain tiles. - Tile Nipper:
Best for trimming curved or small sections. - Angle Grinder (Diamond Blade):
Versatile for both straight and curved cuts on various materials. - Wet Saw:
Provides precise cuts on larger or thicker tiles; water-cooling keeps the blade effective. - Oscillating Tool:
Excellent for modifying pre‑installed backsplash tile. - Glass Cutter:
Essential for delicate glass tile applications.
Tool Selection & Maintenance
- Selecting the Right Tool:
Match your tool choice to your tile material and project size. For example, opt for a wet saw when cutting multiple porcelain pieces and an oscillating tool for adjustments on installed tiles. - Maintenance Tips:
Clean tools after each use, sharpen blades regularly, and store equipment properly. - Cost Comparison:
Consider renting high‑end tools versus purchasing them for one‑time projects, helping you save money while still achieving quality results.
Step‑by‑Step Cutting Techniques
Mastering the cutting process is crucial for a flawless backsplash installation.
Manual Cutting Methods
Using a Manual Tile Cutter/Snap Cutter:
- Score the tile along your marked line using the carbide wheel.
- Apply steady pressure to snap the tile cleanly.
- Smooth the edges with a rubbing stone.
Precision Trimming with Tile Nippers
Trimming Curves and Details:
- Mark the area to trim carefully.
- Use the nippers to remove small sections gradually, ensuring precise, damage-free cuts.
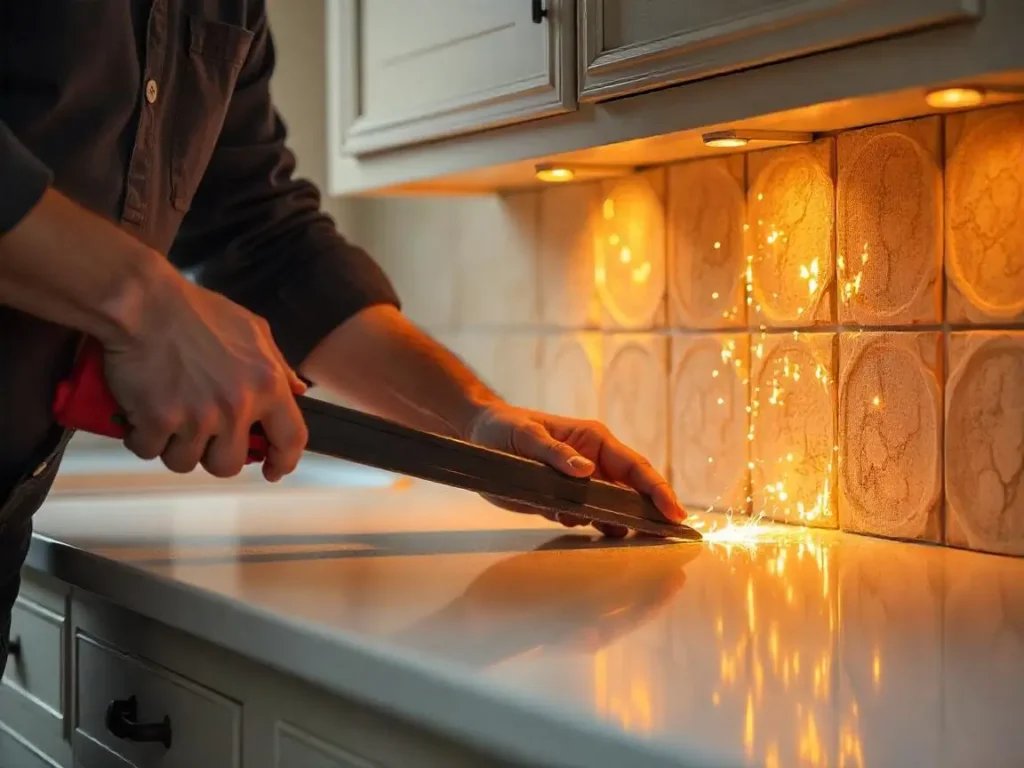
Using an Angle Grinder
Versatile Cutting for Various Shapes:
- Secure the tile firmly on a workbench.
- Carefully guide the grinder along the marked line, taking care not to overcut or chip the tile.
Wet Saw Operation
For Clean, Professional Cuts:
- Set up the wet saw with a full water reservoir to cool the blade.
- Align the tile properly with the rip fence and slowly feed it into the blade.
- This method is perfect for cutting tile for backsplash projects with thicker or multiple pieces.
Techniques for Pre‑Installed Tile
Modifying Existing Backsplash:
- Use an oscillating tool or a specialized jig to cut tile that’s already on the wall, ideal when adding low‑voltage wall plates or making minor modifications.
Advanced Specialty Cuts & Creative Solutions
Making Diagonal, Bevel, L‑Shaped, and Plunge Cuts:
- Use the appropriate tool and technique for each unique cut.
- Experiment with creative layouts that integrate custom shapes or design patterns for a unique backsplash look.
Finishing Touches & Post‑Cut Care
A flawless finish is the final step in laying your backsplash tile.
Edge Smoothing & Refinishing
Sanding & Smoothing:
- Use a rubbing stone or sanding sponge to remove any rough or sharp edges after cutting.
- This not only improves appearance but also ensures safety during installation.
Preparing Tiles for Installation
Cleaning and Surface Preparation:
- Clean the tiles thoroughly to remove dust and debris.
- Choose the proper adhesive and grout to suit your tile type and design.
Long‑Term Maintenance & Repair
Repair Tips:
- Learn methods for patching minor chips or regrouting areas that need touch‑ups.
Regular cleaning and maintenance of your backsplash will keep it looking pristine and extend its life.
Safety Guidelines & Best Practices
Prioritize safety throughout your backsplash tile project.
Comprehensive Safety Checklist
Personal Protective Equipment (PPE):
- Always wear gloves, safety glasses, and a respirator when cutting tile.
- Use hearing protection with power tools.
Managing Dust, Noise, & Water
Dust Control:
- Work in a well‑ventilated area and use dust collection or wet cutting methods to minimize airborne particles.
Noise Reduction:
- Use hearing protection, especially with tools like angle grinders or wet saws.
Water Usage:
- For wet saws, ensure water flows properly to cool the blade and reduce dust.
Emergency & First-Aid Tips
Accident Preparedness:
- Keep a first‑aid kit nearby and know basic first‑aid steps for minor cuts or abrasions.
- Stop work immediately if a tool malfunctions or if you feel unsafe.
Cost Analysis & DIY vs. Professional Help
Evaluate your project’s budget and decide if DIY is right for you.
Budgeting Your Project
Cost Estimation:
- Estimate expenses for tools, tile materials, adhesives, and safety gear.
- Compare costs of purchasing versus renting high‑end equipment.
Cost‑Benefit Analysis
DIY Advantages:
- Significant cost‑savings and personal satisfaction when you cut backsplash tile yourself.
When to Hire a Professional:
- Consider professional help for complex designs or if you lack the proper tools.
Return on Investment (ROI)
Long‑Term Value:
- Mastering how do you cut tile backsplash can boost your home’s aesthetic appeal and resale value.
- Saving on labor costs and gaining a valuable DIY skill makes the investment worthwhile.
Elevate Your Kitchen with SF Marble & Granite in Lowell
At SF Marble & Granite Inc., we’re more than just another Backsplash Installation company in Lowell we’re your local neighbors and experts. We truly understand the unique architectural styles of Lowell homes, whether it’s a charming historic Victorian or a sleek modern condo. Our personalized approach ensures your kitchen gets a backsplash that not only looks stunning but also perfectly complements your space. Trust in our quality craftsmanship and dedicated service to transform your kitchen into a functional work of art. Experience the difference with solutions that are inspired by our local community.
Conclusion
Learning how do you cut tile backsplash can transform your kitchen by giving you a stunning, custom finish that reflects your unique style. By carefully measuring, selecting the right tools, and mastering techniques from scoring and snapping with a manual tile cutter to using a wet saw for precision cuts you can achieve professional results on your own. Remember to plan your project meticulously, follow safety guidelines, and always smooth edges for a flawless look. We encourage you to experiment with these methods, share your DIY successes, and join our community of home improvement enthusiasts. Contact us now!
FAQs
How do I cut tile backsplash without chipping?
To avoid chipping when cutting backsplash tile, start by scoring accurately along your marked line using a manual tile cutter or snap cutter. Apply gentle, steady pressure to snap the tile cleanly. Always follow up by smoothing rough edges with a rubbing stone or sanding sponge. Consistent scoring and proper tool use make all the difference when it comes to cutting tile for backsplash.
What is the best tool for cutting backsplash tile?
The ideal tool depends on your tile type and project needs. Manual tile cutters and snap cutters work well for straight cuts on ceramic and porcelain. Wet saws offer clean, precise cuts, especially for larger or thicker tiles, while tile nippers excel at trimming small or curved sections. For versatile cutting, an angle grinder with a diamond blade can handle various materials. Choose the tool that best suits your backsplash design and tile material.
How can I fix minor damage if my tile gets chipped?
If your tile gets chipped, you can repair it by gently sanding the rough or sharp edges with a fine-grit sanding sponge or rubbing stone. For small gaps or deeper chips, consider using a tile repair kit to fill in and smooth out the damaged area. These simple repair techniques help restore both the appearance and safety of your backsplash.
What safety precautions should I take when cutting backsplash tile?
Safety is paramount when cutting backsplash tile. Always wear gloves, eye protection, and a respirator to protect against dust and debris. Work in a well‑ventilated, well‑lit area and secure your workspace to prevent slips or accidents. Use dust collection or wet cutting methods to minimize airborne particles, and follow the specific safety guidelines for each tool you use.
How do I plan my tile layout to minimize waste?
Accurate measurement and careful layout planning are essential for minimizing waste when cutting tile backsplash. Measure your space precisely, considering grout lines, corners, and irregular areas. Mark each tile clearly before cutting and sketch out your layout to determine the best arrangement. This proactive approach helps reduce awkward cuts, maximizes tile usage, and ensures a more efficient, cost‑effective project.