The ideal place to stop a backsplash behind a stove is 18 inches above the countertop, aligning with the bottom of your range hood or upper cabinets for a cohesive, functional design. This height balances splash protection with visual harmony, but the “right” stopping point depends on your kitchen’s layout, cabinetry, and aesthetic goals. Below, we break down the science, design principles, and professional insights to help you make informed decisions, whether you’re installing marble, granite, or quartz countertops in Lowell, MA.
Key Factors Influencing Backsplash Placement Behind Stoves
Given are the key factors influencing backsplash placement behind stoves:
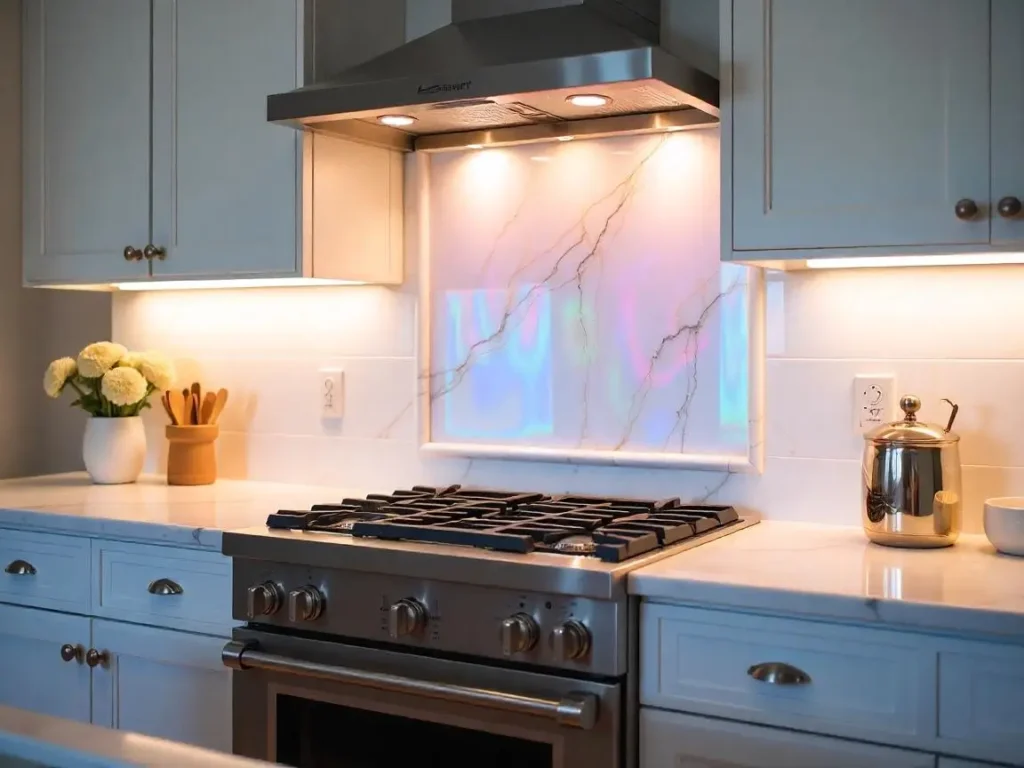
Range Hood Alignment and Height
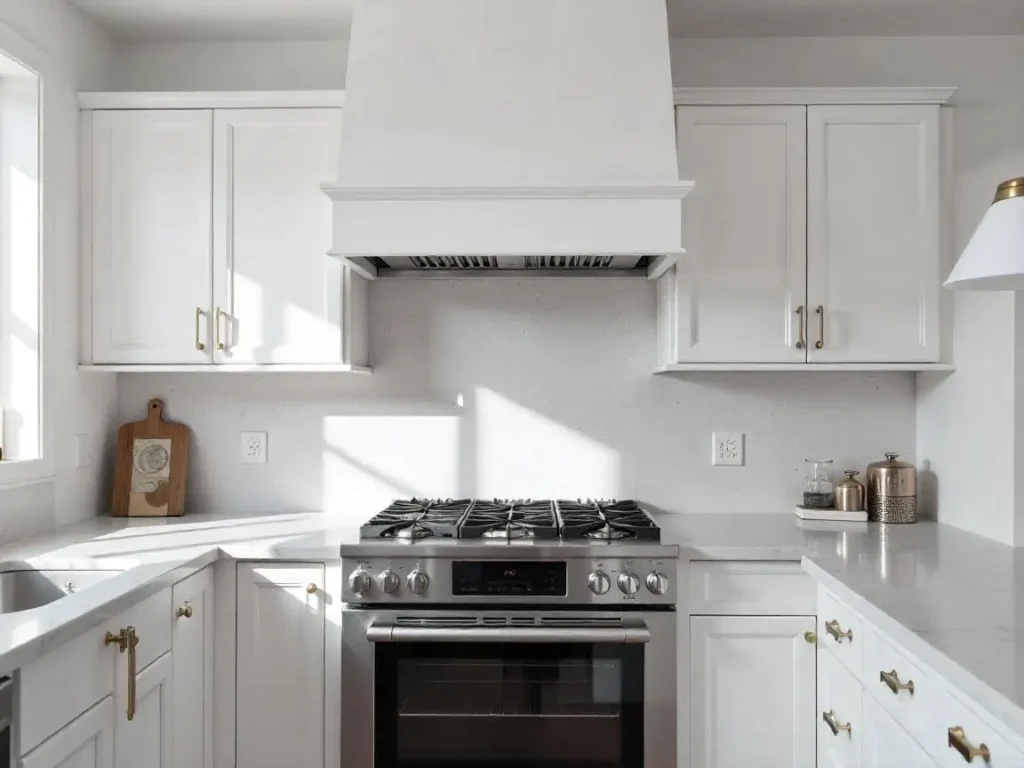
Modern range hoods often dictate backsplash boundaries. In kitchens with chimney-style hoods, extending tiles to the hood’s base creates a streamlined look. For example, stainless steel hood backsplash kits (like the 30″ model from Northside TV) include adjustable extensions that cover 24–37 inches below the hood, ensuring full protection. If your hood sits 30–36 inches above the stove, stopping the backsplash 18 inches below it prevents disjointed lines.
Pro Tip: Match the backsplash material to your hood’s finish (e.g., brushed nickel or stainless steel) for a unified appearance.
Countertop and Cabinet Proportions
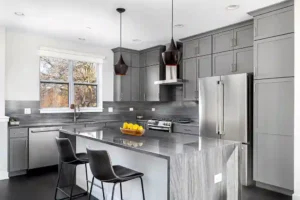
Standard countertops are 36 inches tall, and backsplashes typically extend 4–6 inches upward. However, behind stoves, this height increases to 18 inches to shield walls from grease and heat. Align the top edge with the bottom of upper cabinets to avoid visual clutter. In open-concept kitchens, follow the base cabinets’ endpoints to maintain balance.
Example: To add subtle emphasis without overpowering the room, a 12-inch granite backsplash behind the stove can be changed to 4 inches elsewhere.
Wall Structure and Material Limitations
Partial walls, pipes, or electrical outlets may force creative solutions. For instance, Spectra Design Build used a full-height backsplash to conceal plumbing in a corner kitchen. Natural stone like marble or quartz requires precise cuts at endpoints to prevent chipping, while ceramic tiles can be trimmed with bullnose edges.
Design Considerations for Backsplash Endpoints
Following are the design considerations for backsplash endpoints:
Seamless Transitions on Open Walls
Ending a backsplash on an open wall demands clean lines. Designers recommend:
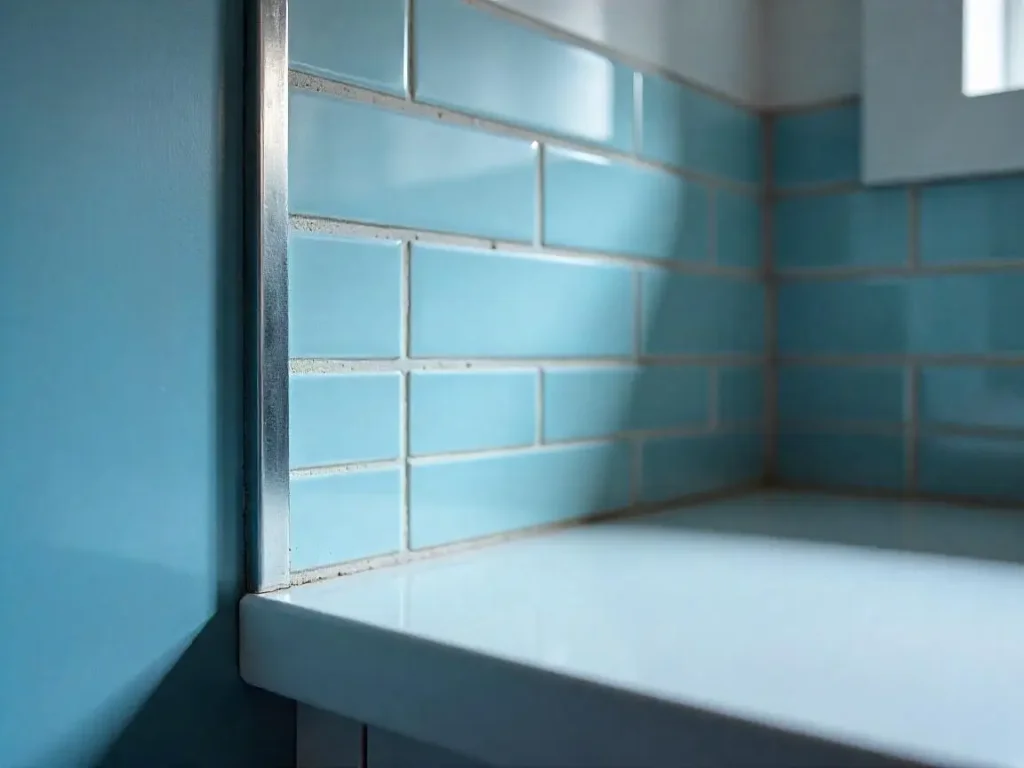
- Mitered edges: Cutting tiles at 45-degree angles for a polished look.
- Decorative trim: Schluter strips or metal edging (e.g., Jolly profiles) provide defined endpoints.
- Floating shelves: Extending a shelf beyond the backsplash’s edge hides rough cuts and adds storage.
Case Study: In a Lowell kitchen with a peninsula, O’Hanlon Kitchens used a matching granite shelf to cap the backsplash, blending functionality with elegance.
Coordinating with Adjacent Features
- Windows: Align the backsplash with the window sill for symmetry.
- Open shelving: Continue the backsplash material onto shelf brackets for continuity.
- Mixed materials: Pair a marble backsplash with stainless steel trim behind industrial-style stoves.
Material-Specific Installation Tips
Here are the material-specific installation tips:
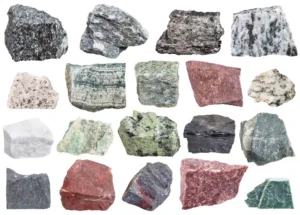
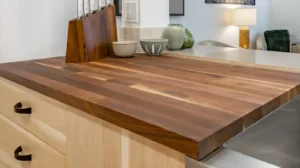
Natural Stone (Granite, Marble, Quartz)
- Heat resistance: Granite and quartz tolerate high heat, making them ideal behind stoves.
- Edge profiles: Opt for eased or beveled edges to avoid sharp corners.
- Maintenance: Seal stone backsplashes annually to prevent staining.
Ceramic/Porcelain Tiles
- Grout lines: Use narrow grout joints (1/16″) for easier cleaning.
- Patterns: Herringbone or vertical stack bonds modernize traditional kitchens.
Glass and Metal
- Reflective surfaces: Glass tiles brighten small kitchens but require frequent wiping.
- Stainless steel panels: Weld seams behind the stove to prevent grease seepage.
Professional Installation Best Practices
Given are the best practices for the professional installation:
Step 1: Measure and Mark
- Use a laser level to mark 18 inches above the stove.
- Factor in outlet placements, extend tiles 1/4 inch beyond covers for a flush finish.
Step 2: Cut and Set Tiles
- For stone, use a wet saw with a diamond blade to prevent chipping.
- Apply heat-resistant mortar (e.g., Custom Building Products’ MegaLite) for longevity.
Step 3: Finish Edges
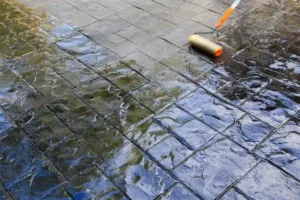
- Install schluter trim before grouting to secure tile edges.
- Seal grout lines with epoxy sealer for stain protection.
Maintenance and Long-Term Care
- Daily cleaning: Wipe splatters with pH-neutral soap and water.
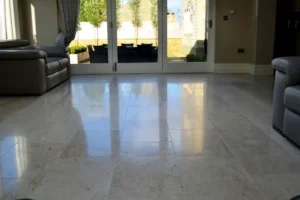
- Deep cleaning: Use a steam cleaner on grout lines every 3 months.
- Avoid abrasive pads: Scouring stones can dull polished marble or quartz.
Standard Backsplash Height Behind the Stove
When figuring out where to stop backsplash behind the stove, knowing the typical height can make your design decisions easier.
Typical Backsplash Height
- Most standard backsplashes are 15–18 inches high (from countertop to bottom of cabinets).
- This covers the wall behind sinks and counters, but stove areas may need more.
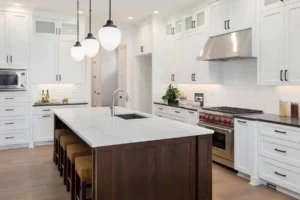
Behind the Stove: Go Higher?
Many homeowners choose to extend the backsplash higher behind the stove. You can:
- Stop it at the bottom of the range hood.
- Take it all the way to the ceiling for a bold look.
- Keep it even with surrounding tile for a uniform finish.
Safety & Code Tips
- No strict code on backsplash height, but keep these in mind:
- Use heat-resistant materials (like tile, stone, or tempered glass).
- Allow proper clearance if you have a gas stove (usually 24–30 inches to the hood).
Pro Tip
Let the stove, range hood, and cabinet layout guide you when deciding where to stop backsplash behind the stove. A balanced layout makes all the difference.
Professional Backsplash Installation in Lowell
If you’re ready to upgrade your kitchen with a beautiful, durable backsplash that’s expertly finished at every edge and corner, SF Marble & Granite Inc. is here to help. Our team specializes in precise Backsplash installation in Lowell, ensuring your tile or stone stops exactly where it should, behind your stove, under cabinets, or at open wall ends, for a seamless, polished look. We handle everything from layout and material selection to clean, professional installation, so your kitchen not only looks stunning but is easy to maintain for years to come. Let us bring your vision to life with craftsmanship you can trust.
Conclusion
Stopping your backsplash 18 inches above the stove, aligned with cabinets or range hood, ensures a functional, visually balanced kitchen. Whether you prefer the timeless elegance of marble or the durability of quartz, SF Marble & Granite Inc. offers expert fabrication and installation in Lowell, MA. Explore our honed, leathered, and polished finishes to transform your cooking space. Contact us today!
FAQs
Can I stop the backsplash at the countertop behind the stove?
No, 18 inches is the minimum height to protect walls from heat and grease.
How do I transition between backsplash heights?
Use a decorative border or change materials (e.g., marble behind the stove, subway tiles elsewhere).
Should the backsplash match the countertop?
Not necessarily. Contrasting materials (e.g., dark granite counters with white marble backsplash) add depth.
Can I install a backsplash over existing drywall?
Yes, but remove grease buildup first. Use a primer for better adhesion.