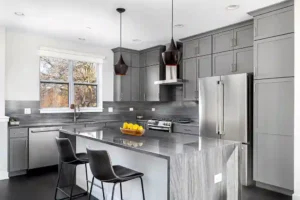
You can hide outlets in backsplash by using solutions like paintable covers, pop-up modules, tile-inset plates, or smart USB receptacles each method lets you hide outlets in kitchen walls without losing functionality. In this guide, we’ll show you how to achieve hidden backsplash outlets that blend seamlessly with your tile or stone, maintain full power access for appliances, and stay fully code-safe. From basic paintable tricks to advanced box-spacer techniques and USB charging stations, you’ll learn everything about hiding outlets in kitchen backsplashes.
How to Hide Outlets in Backsplash?
Start by swapping standard faceplates with low-profile or concealable options. Whether you choose Kitchen Power Pop Ups or tile inserts, the goal is the same: keep your counters clean, your backsplash uninterrupted, and your power readily available.
- A fresh, modern look
- Uncompromised access to every outlet in kitchen
- Peace of mind that all work meets GFCI/AFCI and local code
Understanding Building Codes & Safety
Before you hide any electrical outlet, make sure you know the rules:
- GFCI Protection: Required within 6 ft of any sink or water source.
- AFCI Protection: Often required on kitchen branch circuits.
- Tamper-Resistant Outlets: Needed if you have children at home.
- In-Cabinet Switch Rules: Some areas require a wall switch if the outlet is moved out of sight.
Tip: Always turn off the breaker and test that power is off before you touch wiring.
Planning & Material Selection
Choosing the right method starts here:
- Paintable Covers: Easiest, lowest cost.
- Pop-Up Modules: Great for islands and countertops.
- Tile-Inset Plates: Offer a perfect material match.
- Smart USB Outlets: Combine charging with concealment.
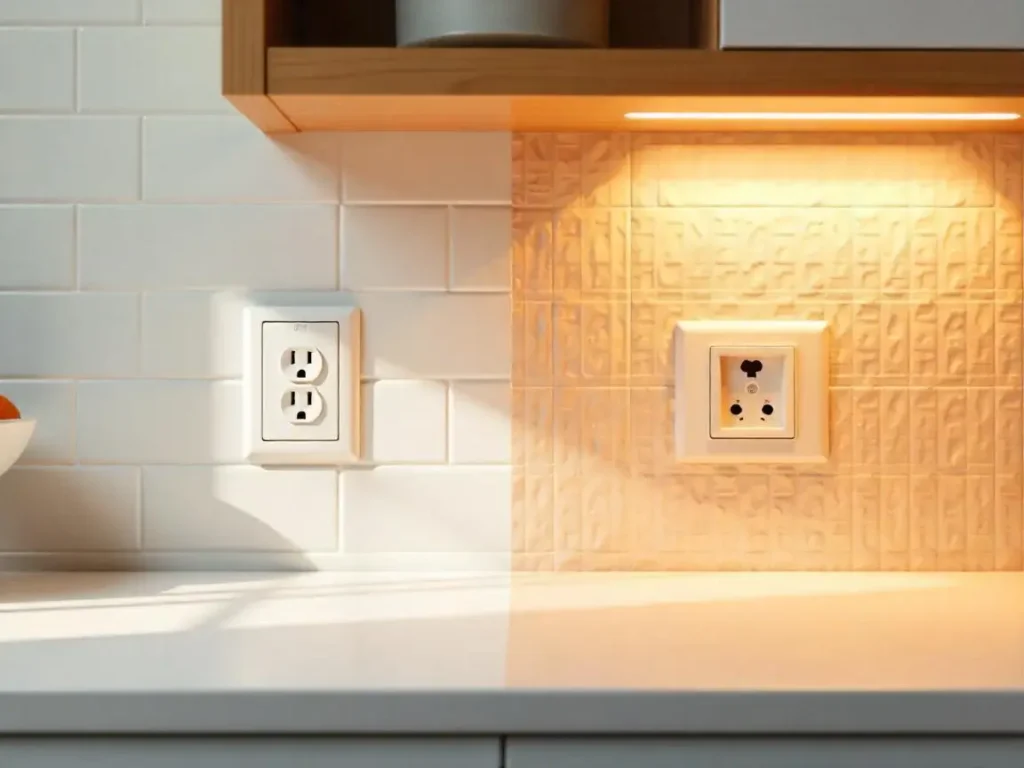
Material Match:
- Stone Backsplashes: Use stone-resin or tile inserts.
- Glass/Mosaic Backsplashes: Acrylic or clear-backplates work best.
- Large Format Tiles: Ensure faceplates and frames match thickness (you may need box spacers).
Basic Aesthetic Solutions
Paintable & Color-Matched Covers
- What You Need: Screwless, primer-ready outlet covers from brands like Kitchen Power Pop Ups.
- How to Install:
- Remove the old cover.
- Sand lightly and apply high-bond primer.
- Paint with kitchen-grade enamel matched to your tile or grout.
- Remove the old cover.
- Why It Works: The cover disappears into your backsplash, letting you hide electrical outlet points in plain sight.
Swap & Source Matching Receptacles
- Designer Receptacles: Order colored or metallic outlets (e.g., brass, stainless) from Legrand.
- DIY vs. Pro:
- DIY: Works if you’re confident turning off breakers and following wiring diagrams.
- Electrician: Ensures perfect alignment, grounding, and code compliance for every kitchen cabinet electrical outlet.
- DIY: Works if you’re confident turning off breakers and following wiring diagrams.
Advanced Concealment Methods
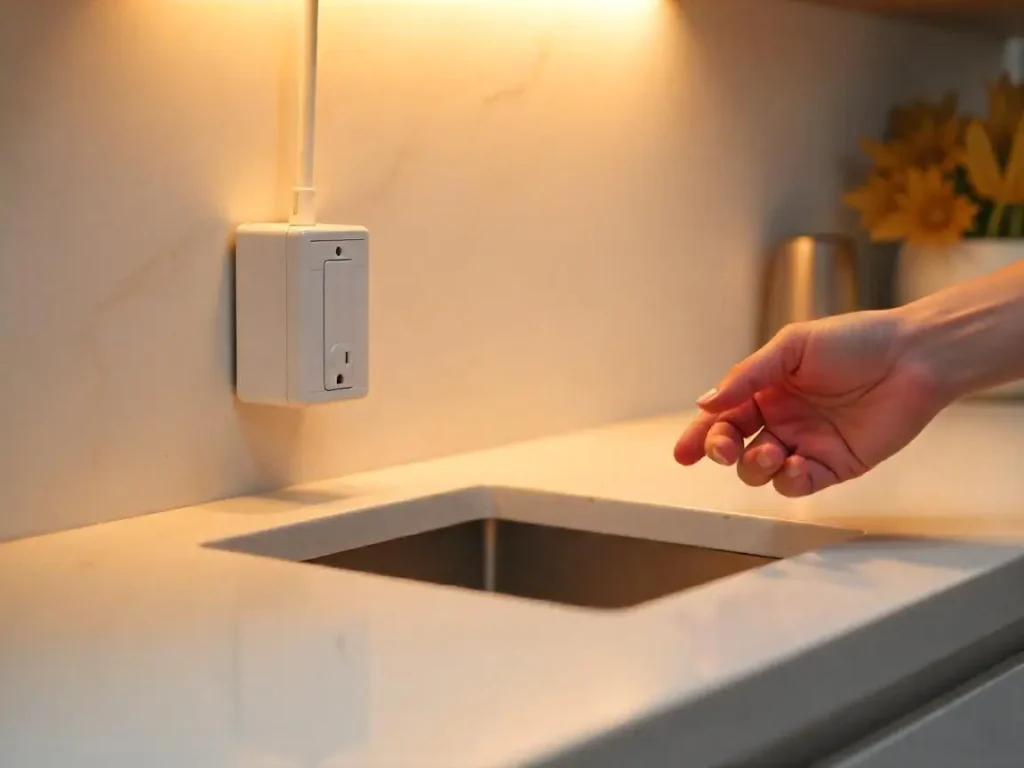
Pop-Up Countertop & Flush-Mount Receptacles
- Pop-Up Modules: Brands like Hubbell and Kitchen Power Pop Ups offer motorized or manual units that pop up when needed.
- Flush-Mount Wall Units: Slimline GFCI outlets from evoline-usa.com sit almost flush with your tile for a barely-there look.

Under-Cabinet Power Strips & Plugmold Systems
- Legrand Plugmold: Runs power strips under upper cabinets, clearing backsplash space.
- Load Tips: Balance heavy appliances across two circuits and hide cords in raceways.
Tile-Inset & Removable Cover Plates
- How They Work: A metal frame attaches to your box; you glue a matching tile or stone insert into the cover. Then snap it on for a perfect match.
- Material Choices:
- Stone Insert: Highest match, more costly.
- Acrylic Insert: Cheaper, easy to machine but may scratch over time.
- Stone Insert: Highest match, more costly.
Flush-Mounting with Box Spacers
- Why Spacers? Thick tile or stone can push your outlet box behind the finished surface.
- Installation Steps:
- Turn off power, remove the existing box.
- Slide on a ¼″–⅜″ extender ring (available at hardware stores).
- Re-mount the box, secure it to the stud, then tile up to the box face for a flush finish.
Integrating Smart & USB Charging Outlets
Designer USB Wall Outlets
- Legrand USB-A/C Receptacles: Combine two USB ports with a standard outlet in one slim faceplate.
- Circuit Options:
- Always-On: Ports stay live even when switched off.
- Switched: Conserves standby power by cutting USB when the switch is off.
- Always-On: Ports stay live even when switched off.
Pop-Up USB Power Modules
- All-In-One Units: Available on Amazon with two AC sockets, four USB ports, and Qi wireless charging pads.
- Installation:
- Hardwired: Cleaner, hides cords completely.
- Plug-In: Quick DIY solution, but uses one standard outlet to feed the module.
- Hardwired: Cleaner, hides cords completely.
Budget & Cost Breakdown
| Solution Type | Cost per Outlet | Notes |
| Paintable Covers | $5–$15 | + primer & paint |
| Pop-Up Modules | $30–$80 | Motorized vs. manual |
| Tile-Inset/Stone Inserts | $100+ | Custom fabrication |
| Smart USB & Designer Plates | $50–$120 | Depends on USB count & finish |
Example: A 10-outlet kitchen could cost $100 for basic paintable covers or $1,200+ for tile-inset smart outlets.
Installation Guide
Measuring & Box Preparation
- Trace your faceplate template onto tile layout paper before tiling.
- Install box spacers now if you’re using thick stone or porcelain.
Wiring Considerations & Code Compliance
- Pull dedicated circuits for high-draw USB chargers.
- Test each GFCI/AFCI outlet after wiring.
- Pull permits if you move or hide permanent outlets in kitchen walls.
Tiling Around Outlets: Techniques & Tools
- Mesh-Backed Tiles: Cut easily with nippers.
- Dremel/Angle Grinder: Use a diamond blade for precise cuts.
- Protect Your Counters: Mask off and lay drop cloths to catch debris.
Troubleshooting & Maintenance
Common Issues & Fixes
- Paint Peeling: Sand lightly, re-prime, and repaint with enamel.
- Pop-Up Jamming: Clean debris and apply silicone lubricant to hinges.
- Loose Spacers: Tighten screws and confirm tile adhesive has cured fully.
Periodic Maintenance Tips
- Wipe down faceplates with a mild, non-abrasive cleaner.
- Reseal grout yearly around tile-inset plates.
- Test GFCI trips and USB outputs every six months.
Bonus Design Upgrades
- Back-Painted Glass Covers: Custom-colored, high-gloss panels that reflect light.
- Colored Metal Toggle Switches: Match cabinetry hardware with brass, bronze, or matte-black switches for a cohesive look.
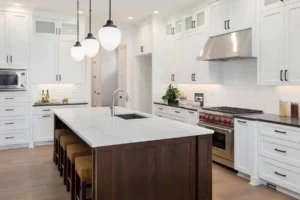
Seamless Backsplash Installation in Lowell
When planning Backsplash Installation in Lowell, you can effortlessly hide outlets in kitchen walls by swapping standard covers for paintable, screwless plates that blend with your tile or stone and even opting for pop-up modules that disappear when not in use Jenna Sue Design . For a seamless look, install outlet-box extender rings so your hidden backsplash outlets sit flush with thick backsplashes, keeping all kitchen cabinet electrical outlets aligned with the tile surface The Spruce . Ornamental covers or relocating an outlet in kitchen to an appliance garage also offer clever ways to hide electrical outlet points without sacrificing access or code compliance Decorative Ceiling Tiles . Ultimately, these simple tricks let you maintain full functionality while achieving a sleek, uninterrupted backsplash and make hiding outlets in kitchen a design highlight rather than an eyesore. Contact us today!
Conclusion
By now you know exactly how to hide outlets in backsplash from simple paintable covers to advanced pop-up USB modules and tile-inset plates. Each method balances style, function, and safety, so you can choose the perfect fit for your kitchen. For expert templating, fabrication, and seamless installation of hidden backsplash outlets, reach out to SF Marble & Granite Inc. your local specialists in stone and tile solutions.
FAQs
Can I really hide outlets and still meet code?
Yes, every solution here uses GFCI/AFCI-rated products and follows spacing rules. Just verify local requirements before you start.
What’s the easiest way to hide an outlet in backsplash?
A paintable cover is the quickest, cheapest fix. You just swap the faceplate, prime, and paint to match your tile.
Are pop-up outlets reliable long term?
Modern units from Kitchen Power Pop Ups and Hubbell are built for durability, but you should lubricate moving parts and keep them clean.
How do tile-inset outlet covers work?
They use a frame that screws to your box; you glue a matching tile or stone insert into the cover, then snap it on and off effortlessly.
Do I need an electrician?
Simple faceplate swaps can be DIY, but for any wiring changes pop-ups, smart USB outlets, or box-spacer installs we recommend a licensed pro.
How much will it cost to hide all my backsplash outlets?
Expect $5–$15 per outlet for paintable covers, up to $80 for pop-ups, and $100+ for tile-inset or smart USB solutions. A 10-outlet kitchen can range from $100 to $1,200+.