How Much Do Marble Countertops Cost in 2026?
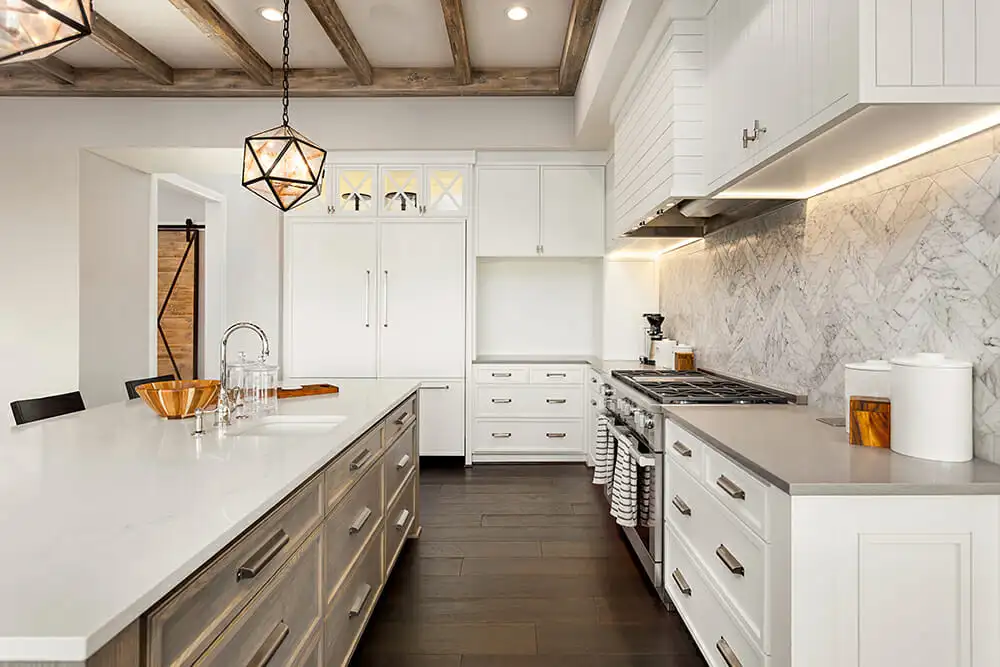
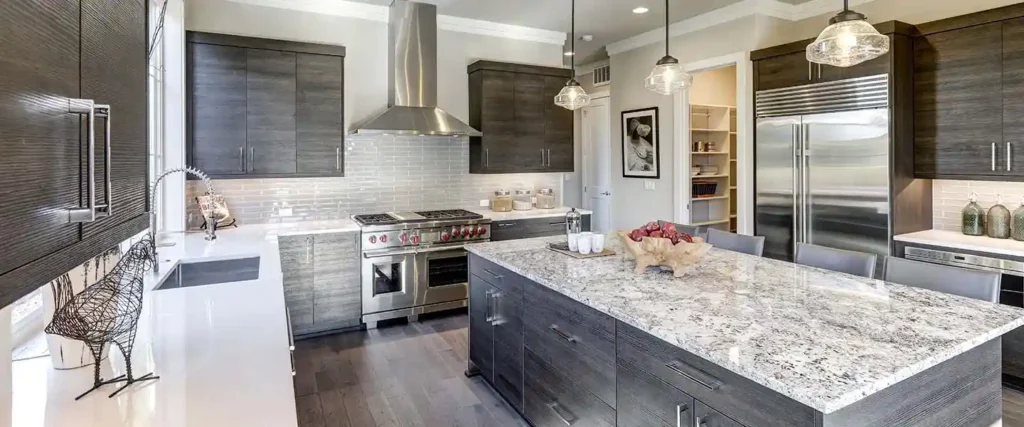
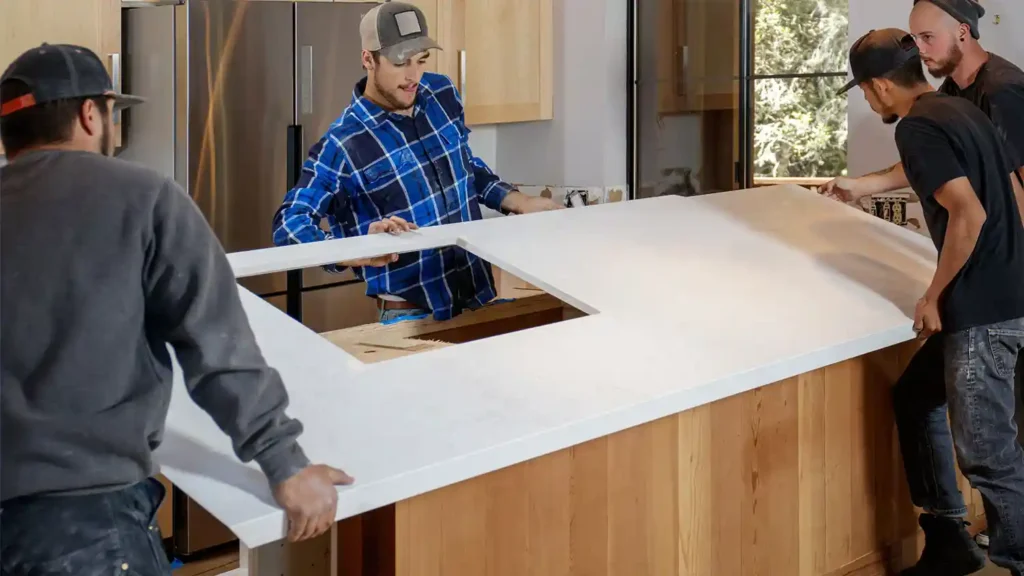
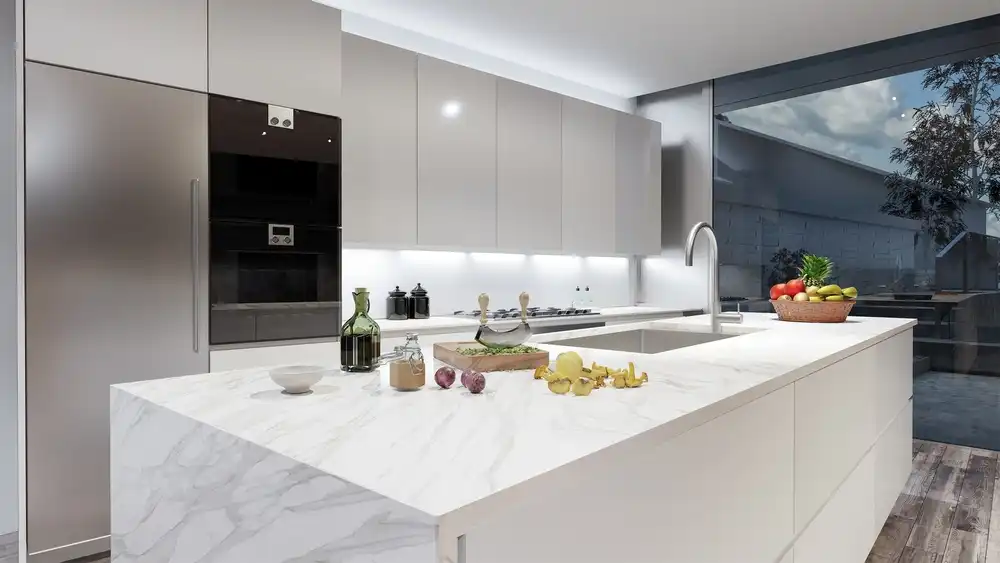
Marble has long been a symbol of luxury in kitchens and bathrooms. Before choosing it, most homeowners ask: How Much Do Marble Countertops Cost in 2026? Knowing current pricing helps you plan your remodel with confidence. At SF Marble & Granite Inc, we guide homeowners with clear estimates, honest advice, and professional installation. The total cost depends on kitchen size, marble type, fabrication details, and installation complexity. Many clients also ask how much are marble countertops for a full kitchen. Below, we break everything down step by step so you can make a smart and informed decision. Marble Countertops Cost in 2026 | Quick Overview Here’s what homeowners are paying this year: Average cost per square foot (installed): $60 – $150 Material only: $40 – $100 per sq ft Typical full kitchen installation: $3,000 – $8,500 Luxury projects: $10,000+ What most homeowners pay: $4,500 – $6,500 So when asking how much does marble cost, the short answer is: it depends on the marble type and installation details. Marble Countertops Cost in 2026 | Quick Overview Here’s what homeowners are paying this year: Average cost per square foot (installed): $60 – $150 Material only: $40 – $100 per sq ft Typical full kitchen installation: $3,000 – $8,500 Luxury projects: $10,000+ What most homeowners pay: $4,500 – $6,500 Based on real project estimates completed by SF Marble & Granite Inc, most pricing variations come down to marble selection, edge details, and overall installation complexity. So when asking how much does marble cost, the short answer is: it depends on the marble type and installation details. Marble Countertop Cost Per Square Foot Marble Slab Cost (Material Only) If you’re wondering how much is marble per square foot, material pricing in 2026 looks like this: Carrara marble: $40 – $60 per sq ft Calacatta marble: $80 – $150 per sq ft Statuario marble: $100 – $200 per sq ft Emperador marble: $50 – $90 per sq ft Premium white slabs and dramatic black and white marble counter designs cost more due to rarity and demand. Fabrication Cost Fabrication includes cutting, polishing, edging, and sink cutouts. $20 – $40 per sq ft Custom edges increase cost Waterfall edges add $500 – $1,500 Installation Cost The cost to install marble countertops typically ranges: $30 – $50 per sq ft Includes leveling, securing, and sealing For professional Countertop Installation Lowell, MA, local labor rates and project complexity influence final pricing. Total Installed Cost Per Sq Ft When combining material, fabrication, and installation: Standard marble installed: $60 – $120 per sq ft Premium marble installed: $120 – $200 per sq ft Average Marble Kitchen Countertop Cost by Size Small Kitchen (40–50 sq ft) $2,400 – $6,000 Perfect for condos or galley kitchens. Medium Kitchen (60–80 sq ft) $3,600 – $9,600 Most common kitchen size. Large Kitchen (100+ sq ft) $6,000 – $15,000+ Luxury homes with islands. Bathroom Vanity Marble Cost $800 – $2,500 Remnants often reduce costs significantly. If you’re still asking, how much are marble countertops for my kitchen? Measure your square footage and multiply by the installed cost range. Marble Countertop Cost by Type of Marble Carrara Marble Cost Most affordable white marble. Soft gray veining. $40 – $60 per sq ft. Calacatta Marble Cost Bold veining and brighter white background. $80 – $150 per sq ft. Statuario Marble Cost High-end Italian marble with dramatic veining. $100 – $200 per sq ft. Emperador Marble Cost Brown tones with elegant patterns. $50 – $90 per sq ft. Other Imported & Specialty Marbles Unique colors and rare slabs increase pricing significantly. If you’re comparing options, remember: how much does marble cost varies greatly by origin and quality. What Impacts Marble Countertop Cost in 2026? Marble Quality & Grade Higher grades have fewer imperfections and stronger veining contrast. Thickness (2cm vs 3cm) 3cm is stronger and more expensive. 2cm may require plywood support. Edge Profiles Eased edge: standard pricing Ogee or beveled: adds $10–$25 per linear foot Cutouts Sink cutout: $150 – $300 Cooktop cutout: $200 – $400 Backsplash & Waterfall Edges Adds material and labor costs. Installation Complexity Uneven cabinets or tight corners increase labor time. Geographic Location Local labor rates play a major role in overall pricing. Experienced professional installers provide transparent estimates based on accurate on-site measurements, project complexity, and regional market conditions. Marble Installation Cost Breakdown Template & Measurement Precise laser measurements ensure a perfect fit. Fabrication Process Slabs are cut, polished, and edges are shaped. Delivery & Installation Heavy slabs require skilled handling. Sealing & Finishing Sealing protects from stains and etching. The full cost to install marble countertops includes all these stages. Hidden Costs to Consider Before Buying Many homeowners forget about: Old countertop removal: $200 – $500 Plumbing reconnection: $150 – $400 Structural reinforcement (if needed) Ongoing sealing maintenance Repair or polishing costs So when calculating how much are marble countertops, always factor these extras. You may also read: Kitchen Countertop Cost in 2026 Marble vs Other Countertop Materials (Cost Comparison) Marble vs Granite Cost Granite: $50 – $120 per sq ft installed Marble: $60 – $150 per sq ft installed Granite is harder and more stain-resistant. Marble vs Quartz Cost Quartz: $70 – $140 per sq ft installed Marble: More natural variation, higher maintenance. Marble vs Laminate Cost Laminate: $20 – $50 per sq ft installed Marble: Higher investment, higher visual value. Are Marble Countertops Worth the Cost? Aesthetic Value Nothing matches natural marble beauty. Home Resale Value Luxury kitchens attract buyers. Durability Considerations Marble is softer than granite and quartz. Long-Term Maintenance Requires sealing and careful cleaning. If you love natural stone and accept maintenance, marble is worth it. Ways to Save on Marble Countertops Choose Carrara Instead of Premium Marble Significant savings. Consider Marble Remnants Ideal for vanities. Limit Custom Edge Profiles Keep edges simple. Keep Layout Simple Fewer seams = lower cost. Work With Local Fabricators Local companies reduce transportation costs. Marble Countertop Care & Maintenance Costs Over Time Sealing Frequency Once every 6–12 months. Daily Cleaning
How Much Do Marble Countertops Cost in 2026? Read More »