Granite is one of the most popular stones in homes...
Read More
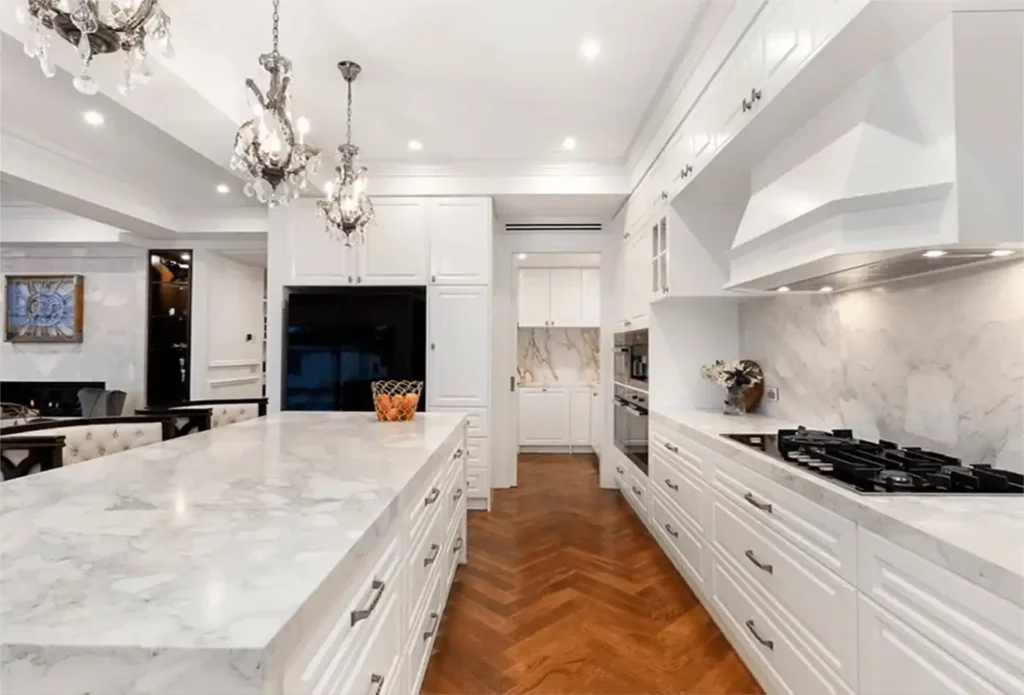
Most Expensive Marble | World’s Top Luxury Stones
Stone-like marble often stands for elegance, grace, and not fading...
Read More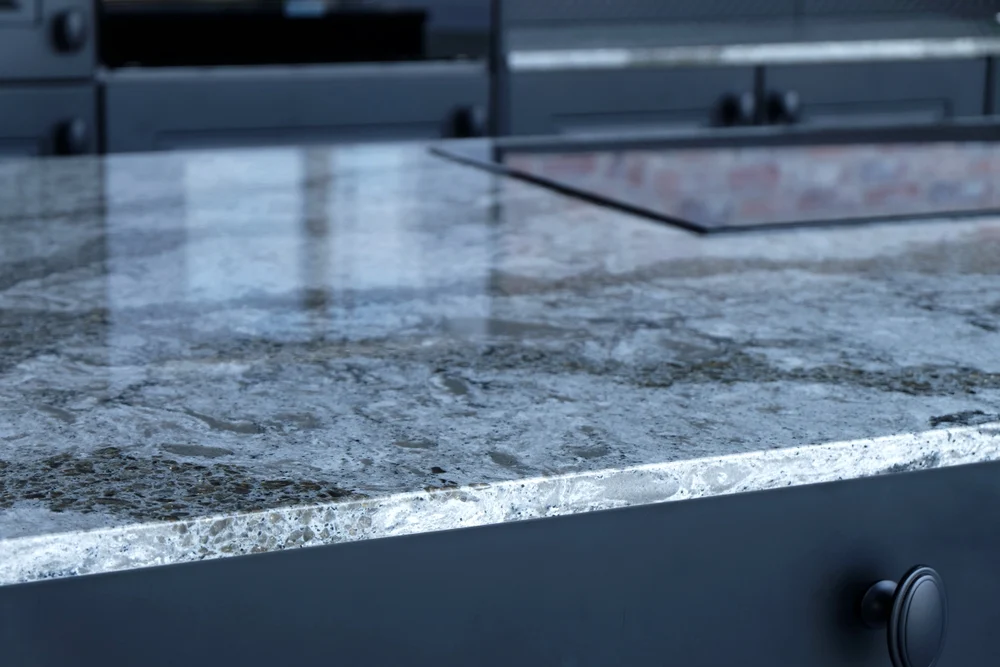
Is Granite an Expensive Stone? Real Costs, Smart Choices & What You Need to Know
Granite is one of the most popular materials for kitchen...
Read More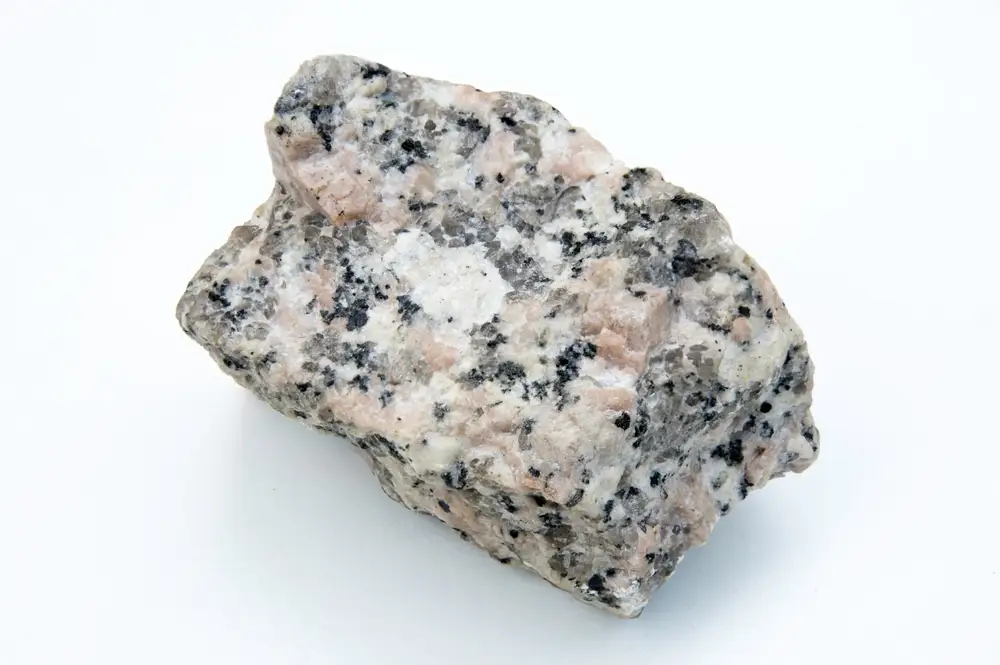
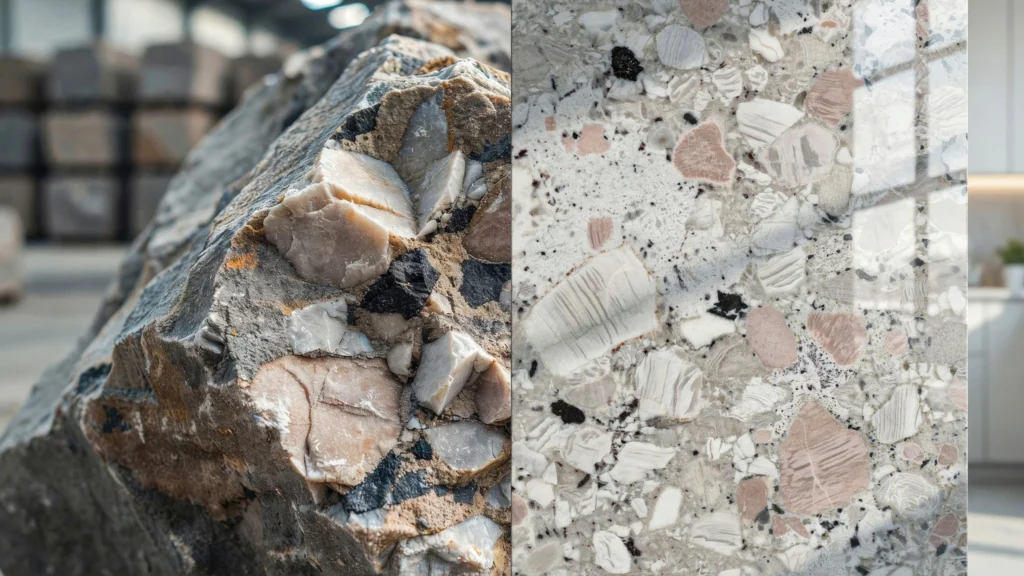
Is Granite Intrusive or Extrusive? Geology Guide
Granite is one of the hardest, most recognizable rocks on...
Read More
What Are Soapstones? Uses, Types & Benefits
You’ve probably heard the word “soapstone” thrown around in kitchen...
Read More
How to Install Kitchen Countertops: Full Guide
Installing new kitchen countertops transforms the entire look of your...
Read More