Granite is one of the most popular stones in homes...
Read More

Most Expensive Marble | World’s Top Luxury Stones
Stone-like marble often stands for elegance, grace, and not fading...
Read More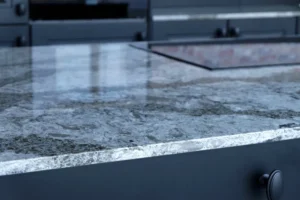
Is Granite an Expensive Stone? Real Costs, Smart Choices & What You Need to Know
Granite is one of the most popular materials for kitchen...
Read More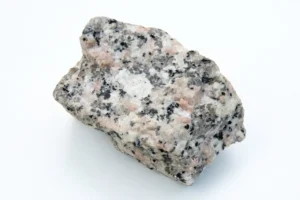
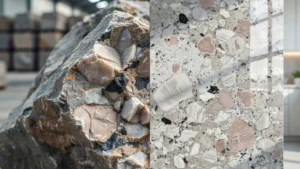
Is Granite Intrusive or Extrusive? Geology Guide
Granite is one of the hardest, most recognizable rocks on...
Read More
What Are Soapstones? Uses, Types & Benefits
You’ve probably heard the word “soapstone” thrown around in kitchen...
Read More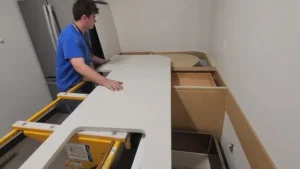
How to Install Kitchen Countertops: Full Guide
Installing new kitchen countertops transforms the entire look of your...
Read More
Does Quartz Need to Be Sealed? Facts & Care Tips
One of the most common questions homeowners ask before buying...
Read More
Which Is More Expensive Granite or Quartz | Cost Comparison
Picking between granite and quartz is one of the biggest...
Read More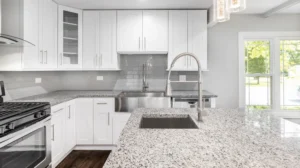
How often do you reseal granite countertops? | Guide
Granite looks tough, but it is actually porous. Water, oil,...
Read More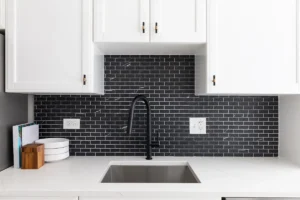
How to Install Backsplash: Step-by-Step Guide
A kitchen backsplash does two important jobs. It protects your...
Read More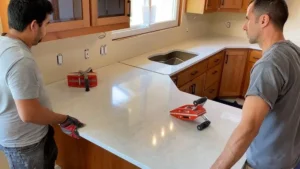
How Long Does It Take to Install Countertops | Guide
Getting new countertops is one of the best upgrades you...
Read More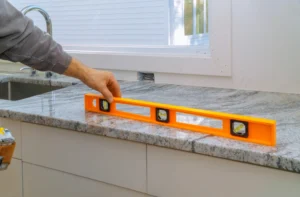
How to Repair Cracked Granite Countertop: Step-by-Step Guide
Granite is tough, but it is not unbreakable. A heavy...
Read More
How to Get Scratches Out of Marble: A Complete Repair Guide
Marble looks stunning until the first scratch appears. It can...
Read More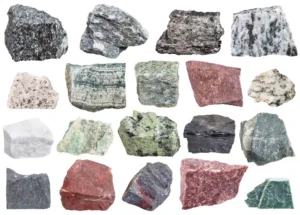
What Type of Rock Is Marble? Explained Simply
Marble is a metamorphic rock that forms when limestone or...
Read More
What Color Cabinets Go with Taj Mahal Quartzite | SF
Taj Mahal quartzite is one of the most beautiful natural...
Read More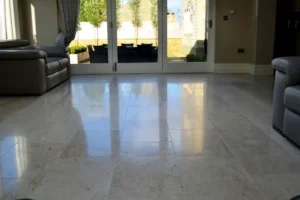
How to Clean Limestone Floors Without Damage
Cleaning limestone is straightforward if you use the right tools....
Read More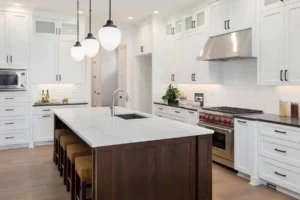
How Much Does It Cost to Install Countertops in 2026
New countertops can transform your kitchen or bathroom. Most homeowners...
Read More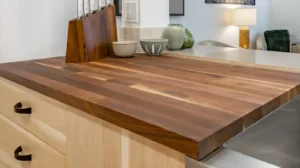
Cost to Install Butcher Block Countertops: Full Pricing Guide
Butcher block countertops bring warmth and character to any kitchen....
Read More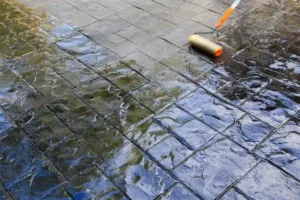
How Do You Clean Travertine Floors? Simple Guide
You spent good money on travertine floors. They looked stunning...
Read More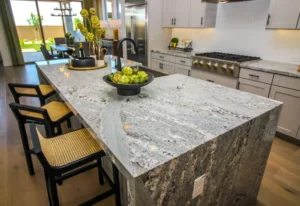
Is Marble Stronger Than Granite? Honest Answer
You’re standing in a showroom. Both slabs look stunning. The...
Read More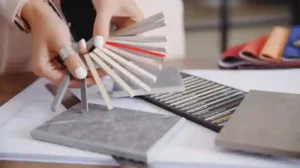
When to Use Sanded or Unsanded Grout: The Complete Guide
Most tile installation mistakes don’t happen during the tiling itself...
Read More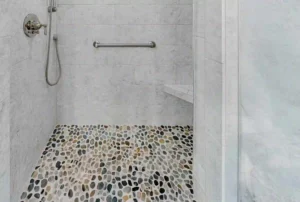
How to Clean Pebble Shower Floor: Full Guide
Pebble shower floors look beautiful. But those small stones and...
Read More
How Big Is a Slab of Granite? Standard Size Guide
Shopping for granite countertops can be daunting when you don’t...
Read More
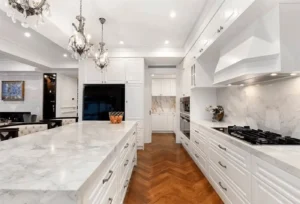
Kitchens with Dark Granite Countertops: The Complete Design Guide
Dark granite has a bold, natural look that most other...
Read More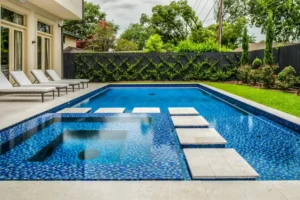
Swimming Pool Tiles Design: Ideas, Trends & Expert Tips
Picking the right tile for your pool changes everything. The...
Read More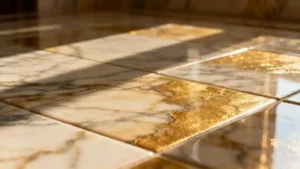
How Much Is Marble Per Square Foot? Cost Guide 2026
Beautiful stone, often seen in houses and shops, goes by...
Read More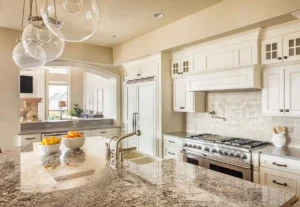
Best Most Durable Countertops for Busy Kitchens
A busy kitchen tells a real story. Breakfast rush before...
Read More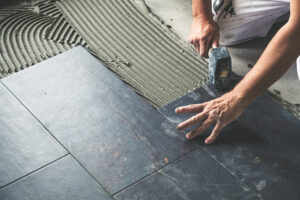
How To Fix Tiles With Tile Adhesive | Step-by-Step Expert Guide
Tiles can transform any kitchen, bathroom, or floor, but poor...
Read More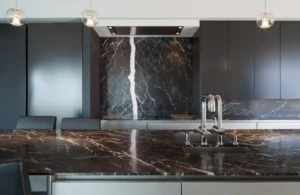
25 Stylish and Functional Kitchen Countertops Ideas You’ll Love
Choosing the right kitchen countertop is one of the most...
Read More
Top Countertop Patterns That Define a Luxurious Kitchen
A luxury kitchen is not defined by appliances alone. What...
Read More
Marble Countertops Pros and Cons: A Complete Homeowner’s Guide
Choosing the right surface for your kitchen or bathroom isn’t...
Read More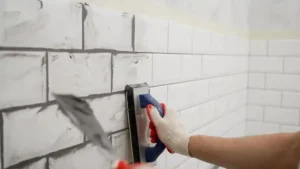
Bathroom Tile Grout | How To Choose The Best Joint Filler
Bathroom renovations often focus on aesthetics, but one small element...
Read More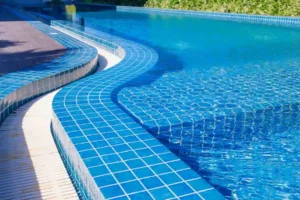
How Much Does Pool Tile Cost in 2026?
Swimming pool renovation planning often begins with one common question:...
Read More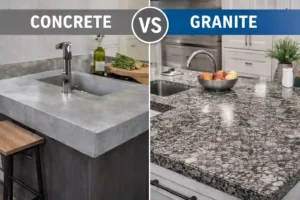
Concrete vs Granite Countertops: A Detailed, Honest Comparison for Homeowners
Choosing the right countertop is not just about looks. It...
Read More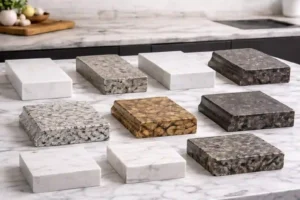
Types of Countertop Edges: Popular Profiles and How to Choose the Right One
Choosing a countertop is not just about color or stone...
Read More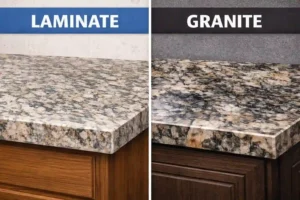
Laminate Countertops vs Granite: Which One Is Better for Your Kitchen?
Choosing a kitchen countertop seems simple until you compare options....
Read More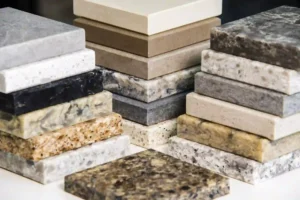
Types of Granite Countertops: Complete Guide to Colors, Finishes & Grades
Granite has been used in homes for centuries, and it...
Read More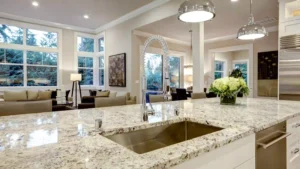
How Much Do Granite Countertops Cost
Granite remains one of the most requested countertop materials for...
Read More
How Much Do Marble Countertops Cost?
Marble counter tops have lengthy been related to luxury, elegance,...
Read More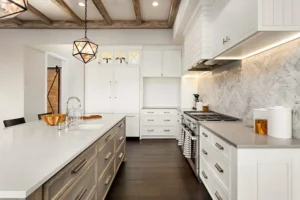
Kitchen Countertop Cost in 2026 (Complete Pricing Guide)
Upgrading your kitchen is exciting, but most homeowners first want...
Read More
Quartz Countertop Cost in 2026: Updated Pricing, Factors & Value
Planning a kitchen or bathroom upgrade in 2026 often starts...
Read More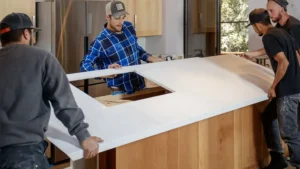
The Cost of Granite Crack Repair | What Homeowners Need to Know
Granite countertops are valued for their strength, beauty, and long...
Read More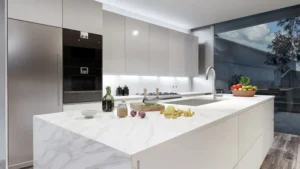
Why White Quartz Kitchen Countertops Are a Smart Investment
A kitchen is more than a place to cook. It...
Read More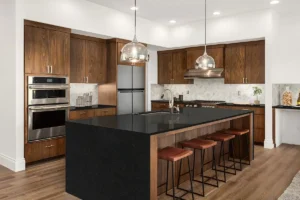
Is Leathered Granite Right For You? Pros, Cons, Cost & Expert Advice
Granite countertops are everywhere, but not all granite looks or...
Read More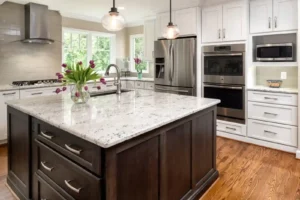
Is Soapstone Cheaper Than Granite? A Cost & Performance Comparison
Choosing the right countertop material often comes down to one...
Read More
How to Clean Swimming Pool Tiles: A Complete Professional Guide
Cleaning swimming pool tiles is an important part of maintaining...
Read More
Bathrooms with Hexagon Tile Floors: Style, Function, and Timeless Appeal
Bathrooms with hexagon tile floors are one of the most...
Read More
Wondering About: Cost to Repair Crack in Granite Countertop, Here is The Complete Breakdown By Experts
Noticing a crack in your granite countertop can be stressful;...
Read More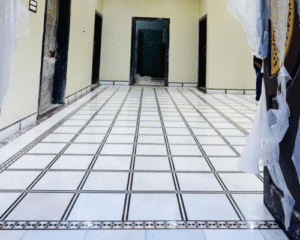
Tiling with Natural Stone: A Complete Guide to Choosing, Installing, and Maintaining Your Stone Tiles
Tiling with natural stone is a rewarding choice that brings...
Read More
Tiling Ideas for Small Bathrooms: Transforming your compact bathroom into a stylish and spacious‑feeling sanctuary
Designing tiling ideas for a small bathroom can feel challenging,...
Read More
Is Quartzite a Natural Stone? A Complete Guide for Homeowners and Designers
If you have been exploring options for countertops or flooring,...
Read More
How to Care for Marble Floor | Cleaning & Maintenance Tips
When you invest in marble flooring, you bring a timeless...
Read More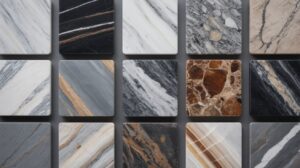
Types of Natural Stone: The Complete Guide for Homeowners & Designers
People have long loved natural stone. It is tough, beautiful,...
Read More
Which Is Better for Flooring, Granite or Marble? A Complete Guide For Home and Business Owners
Choosing the perfect flooring material is more than just a...
Read More
Marble Countertop Installation Guide: A Complete Professional Roadmap
Marble has always belonged to the world of timeless beauty....
Read More
Difference Between Marble and Granite: A Complete Homeowner’s Guide
When choosing natural stone surfaces for your home, two premium...
Read More
Cutting Tile with Angle Grinder: Step-by-Step Guide for Perfect Results
Cutting tiles is an important step in many home improvement...
Read More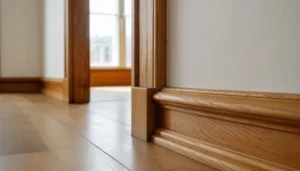
Best Floor Molding Ideas for Stylish Interiors
Floor molding, often referred to as baseboard trim, is the...
Read More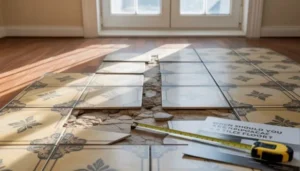
Tile Floor Replacement Guide: Steps, Costs & Tips
Floors play a big role in how your home looks...
Read More
Terrazzo Floor Restoration: A Complete Step-by-Step Guide
Terrazzo floors are built to last for decades. They look...
Read More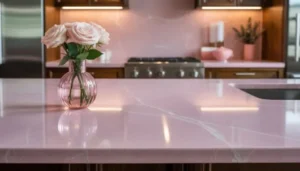
Upgrade Your Space with Rose Quartz Countertops
Rose quartz countertops are quickly becoming a favorite choice for...
Read More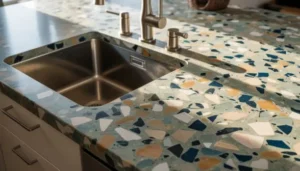
Terrazzo Countertops | Benefits, Cost, and Installation Guide
Terrazzo countertops are making a strong comeback in today’s home...
Read More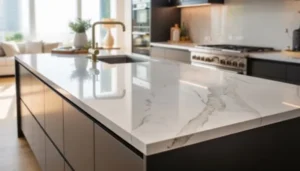
Infinity White Quartzite | Elegance, Durability, and Care
Infinity White Quartzite is a premium natural stone admired for...
Read More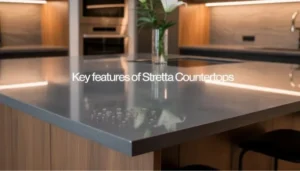
Ultimate Guide to Stretta Countertops: Features, Pros, and Installation
Stretta countertops are a modern laminate solution designed to bring...
Read More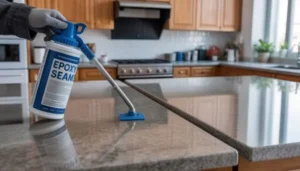
Epoxy for Granite Seams: The Complete Guide to Seamless Countertop Repair
Epoxy for granite seams is the best way to keep...
Read More