Marble Countertop Installation Guide: A Complete Professional Roadmap
Marble has always belonged to the world of timeless beauty. Its soft veining, natural glow, and classic charm can transform any kitchen or bathroom into a refined space. But to bring this beauty into your home successfully, one thing matters more than anything: the installation.
In this comprehensive marble countertop installation guide, you will learn what goes into a proper installation, what to expect at each stage, how long it usually takes, how to prepare your space, and how to maintain your new marble surface. Whether you’re curious as a homeowner or planning to hire professionals, this guide gives you the clarity you need.
And if you’re looking for trusted craftsmanship, professionals at SF Marble & Granite Inc. specialize in premium countertop installation, with years of hands-on experience, the team ensures elegance meets strength in every project.
Why Marble Needs Professional Installation
Marble is beautiful but delicate. It’s a natural stone with unique veining, natural pores, and varying thickness. A small mistake in cutting, leveling, or sealing can lead to cracks, chips, and costly replacements. That’s why professional handling matters.
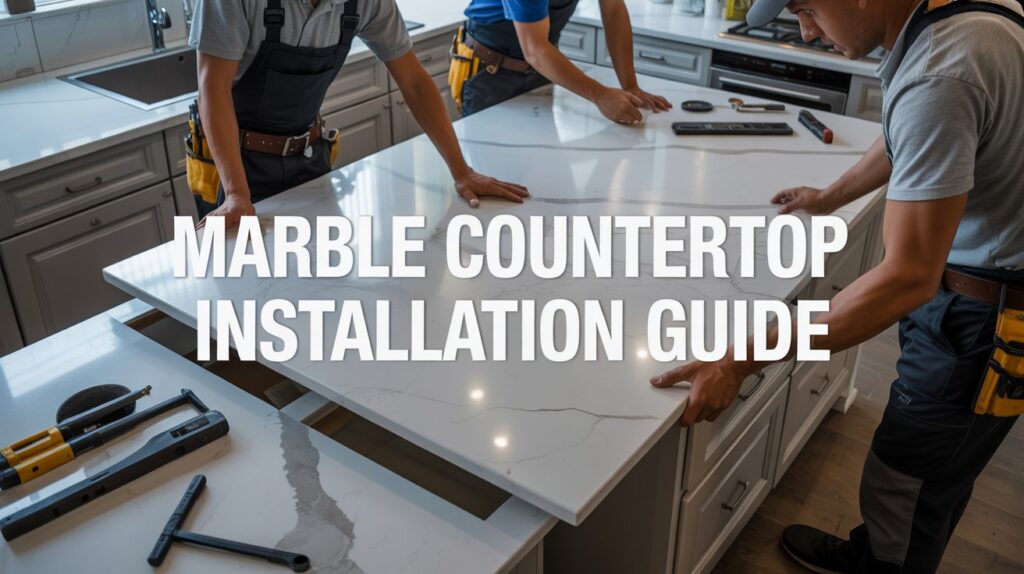
Marble countertops are heavy, often requiring multiple installers. They must be measured precisely, cut to fit appliances and sinks, and supported evenly to prevent stress fractures. That’s where experts trained in stone handling come in, especially when dealing with large slabs in kitchen islands or luxury kitchens. If a homeowner wants durability, beauty, and a long life from marble, proper installation is the foundation.
Phase One: Planning & Professional Templating
Every good marble installation begins long before the slab reaches your home.
1. Accurate Measurements
Professionals visit your space to measure:
- Countertop length & depth
- Sink & cooktop cut-out positions
- Cabinet flatness & support
- Backsplash height
- Edge design requirements
- Seams (if needed) and flow of marble veining
Digital templating tools are often used for precision. This reduces errors and ensures the marble fits perfectly.
During this stage, homeowners review finish options — polished, honed, or leather — and slab thickness (commonly 2cm or 3cm). This is also when edge profiles like beveled, bullnose, or waterfall styles are finalized.
2. Selecting the Marble Slab
Choosing the slab is one of the most exciting steps. Homeowners visit a stone yard and hand-select the exact slab. Marble varies naturally — no two pieces look identical. It’s wise to view slabs in person rather than relying on photos.
Look for:
- Smooth, consistent veining
- Minimal natural fissures
- Strong edges & corners
- Desired color tone (Carrara, Calacatta, Statuario, and more)
Phase Two: Preparing the Space for Installation
A well-prepared workspace ensures safety and precision.
1. Removing Old Countertops
If you already have countertops, they must be removed carefully to avoid damaging:
- Cabinets
- Walls
- Plumbing fixtures
- Appliances
Professionals disconnect plumbing and remove the old surface with a smooth technique — no forced lifting or chipping.
2. Cabinet Leveling & Support
Marble needs full, even support. That means installers check for:
- Cabinet flatness
- Structural strength
- Reinforcements under sink areas
- Support brackets for overhangs
Even a slight cabinet tilt can lead to stress cracks. Reinforcement is added where necessary. This is one reason professional services matter — beginners rarely notice these details.
3. Area Clearing & Safety Prep
Homeowners should clear items like:
- Dishes
- Electronics
- Food products
- Small decor items
Pets and kids should stay out of the work zone. The installation team needs clear pathways from the entry to the workspace.
Phase Three: Marble Cutting & Fabrication
Fabrication takes place in a stone workshop before the slab arrives.
Cutting & Edging
Using diamond-tipped tools and water-cooled saws, fabricators cut:
- Sink openings
- Faucet holes
- Cooktop openings
- Sides and corners
- Backsplash sections
Phase Four: On-Site Installation
Now comes the moment of transformation. Your space begins to take shape as marble arrives.
1. Dry Fitting the Slab
Installers place the marble carefully to check:
- Alignment
- Leveling
- Seam positions
- Edge fit
They may make slight adjustments before securing permanently.
2. Securing the Countertop
A special stone adhesive anchors the slab to the cabinets. Installers:
- Level the marble
- Secure edges
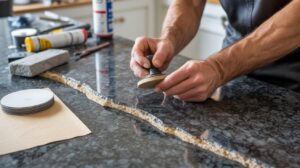
- Fill seams with color-matched epoxy.
- Blend seams into the pattern
Precision matters here; a good seam becomes nearly invisible.
3. Plumbing & Sink Placement
Undermount sinks are anchored to the marble from below with strong clips and resin. Installers ensure zero movement and perfect alignment.
Phase Five: Sealing & Final Touch
Marble is porous; sealing protects it from stains, acids, and moisture.
After installation, the surface is:
- Cleaned gently
- Sealed with professional stone sealant
- Polished for a clean, glowing finish
Installers guide homeowners on proper marble care — how often to reseal, what cleaners to use, and what habits protect the stone.
How Long Does Marble Installation Take?
Most marble countertop installations take 4 to 8 hours, depending on:
- Counter size
- Number of cut-outs
- Layout complexity
- Accessibility to the home
- Removal of old countertops
Post-Installation Care Tips
For the first 48 hours, avoid placing heavy items or exposing the marble to water.
For long-term beauty:
- Use cutting boards; never cut directly on marble
- Use coasters; marble can absorb liquids.
- Clean spills quickly
- Avoid acidic cleaners
- Reseal every 12–18 months
- This keeps your countertop glowing for decades.
Why Hire Professionals Instead of DIY?
DIY marble installation looks tempting in videos, but real installation demands:
- Strength
- Stone handling knowledge
- Professional cutting equipment
- Seaming expertise
- Stone supports knowledge
- A small mistake can crack a slab worth thousands.
Choosing the right team matters as much as choosing the right stone. That’s why many homeowners trust SF Marble & Granite for expert countertop installation services. With skilled craftsmanship, attention to detail, and a commitment to durable finishes, the team ensures every surface is cut, fitted, and polished to perfection. When professionals handle the process, you’re investing in precision, safety, long-term value, and a countertop that truly enhances your space.
Final Thoughts
Marble countertops are more than a design choice; they’re a statement of taste and lifestyle. With proper planning, skillful installation, and regular care, your marble surfaces can last for generations.
Understanding the installation journey gives you confidence and helps you make informed decisions. And when you’re ready to bring your vision to life, we stand ready with expert fabricators, careful installers, and unmatched stone craftsmanship.
FAQs
1. How long does marble countertop installation take?
Most marble countertop installation projects take 4–8 hours, depending on layout and cut-outs.
2. Can I place hot pans directly on marble after installation?
Marble can handle heat, but direct hot pans may dull the finish — use trivets for protection.
3. How soon can I use my marble surface after installation?
Allow 24 hours for adhesives to cure fully before heavy use or placing weight on the countertop.
4. Does marble need sealing right after installation?
Yes, sealing is done immediately after marble countertop installation to protect against stains.
5. Can marble countertop installation be done without removing the old countertop?
No, old countertops must be removed to ensure proper support and secure marble installation.


